An interview edit is not hard, it is long. The craft decisions live in about 10 percent of the time you spend, and the other 90 percent is syncing, hunting for the good answer, cutting between two cameras, and covering the joins. Doing those four things in the wrong order is what turns a one day edit into a three day edit.
Here is the order that holds up, the native Premiere Pro way to do each step, and the places where automation earns its keep.
What order should you edit an interview in?
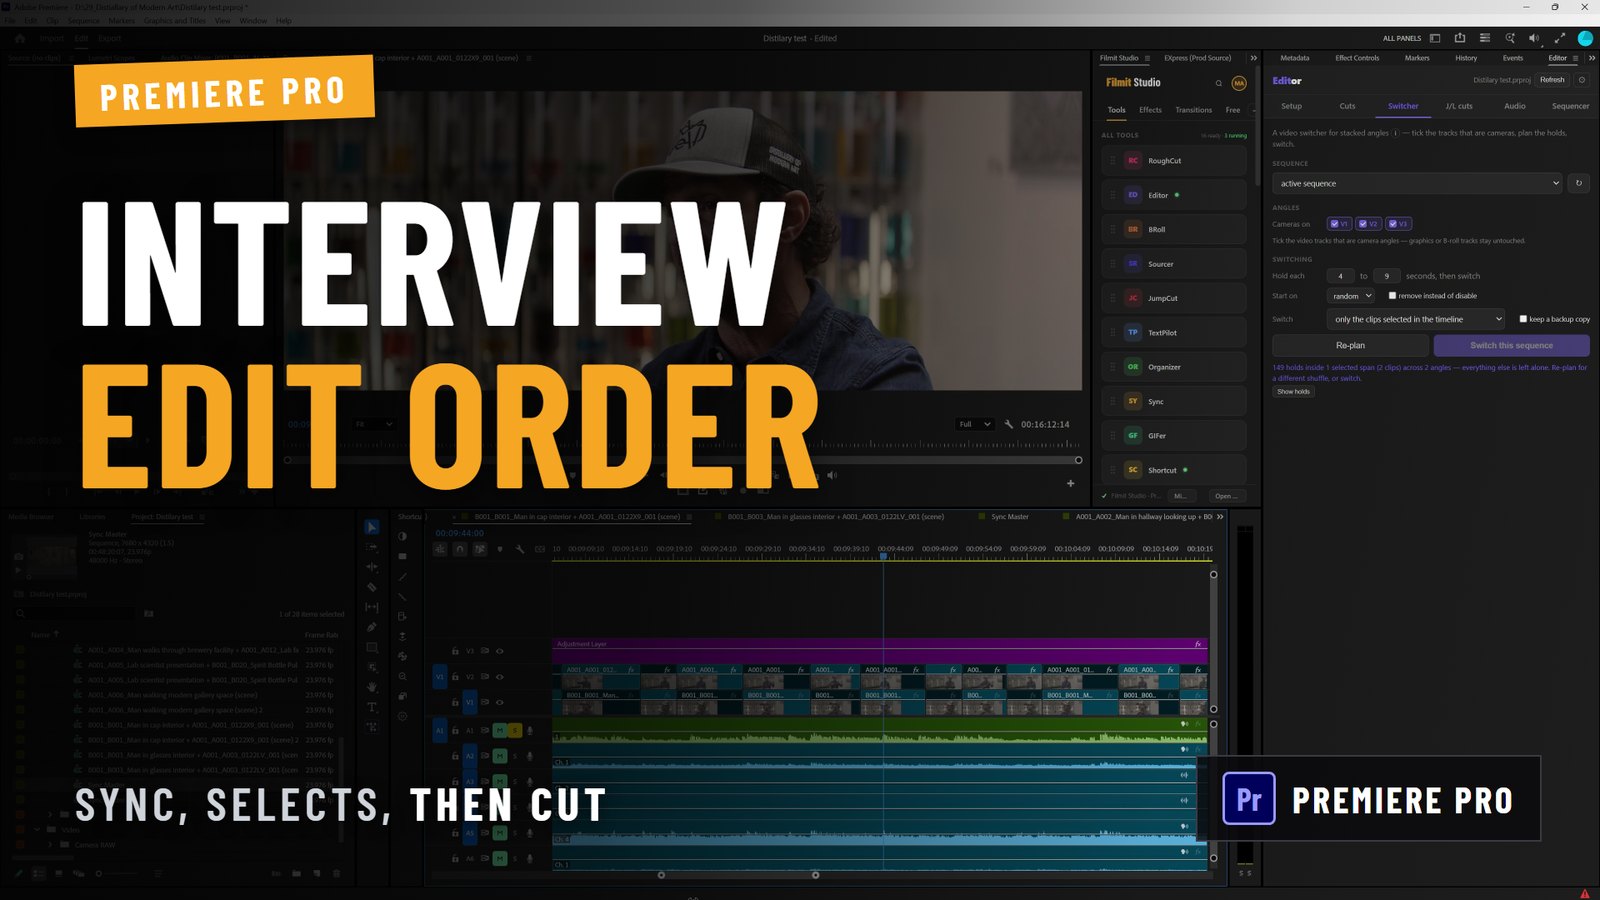
Sync, selects, structure, camera cuts, B-roll, polish. In that order.
- Sync the recorder audio to every camera clip.
- Selects: transcribe, read, and pull the answers that are actually going in.
- Structure: arrange those answers into an argument before you touch a transition.
- Camera cuts: switch angles, which also hides the trims inside answers.
- B-roll over the seams that still show.
- Polish: audio levels, fillers, colour, titles.
The reason the order matters is that each step throws work away. Selects delete most of your footage. Structure deletes some of your selects. If you sync after cutting, or grade before the story locks, you paid for work that the next step removes.
How do you sync the interview audio to the cameras?
If you recorded to a separate recorder, sync before anything else.
Natively, select the camera clip and the audio clip in the Project panel, right-click, choose Merge Clips, and sync by Audio. You get a single merged clip with the good sound attached. For clips already on a timeline, select them, right-click and choose Synchronize, then pick Audio. Our guide to syncing audio and video in Premiere Pro walks through both, including the cases where Synchronize greys out.
Two things bite people here. Cameras that were not jam-synced drift over a long take, so a pair that looks aligned at the top can be a frame or two out at minute 30. And a merged clip does not carry the original camera audio unless you ask it to, which you will miss the moment you need a scratch track to check the sync.
Pro Tip: Check the sync at the END of the longest take, not the start. Anything that drifts will have drifted by then, and if the end is still locked the middle is fine.
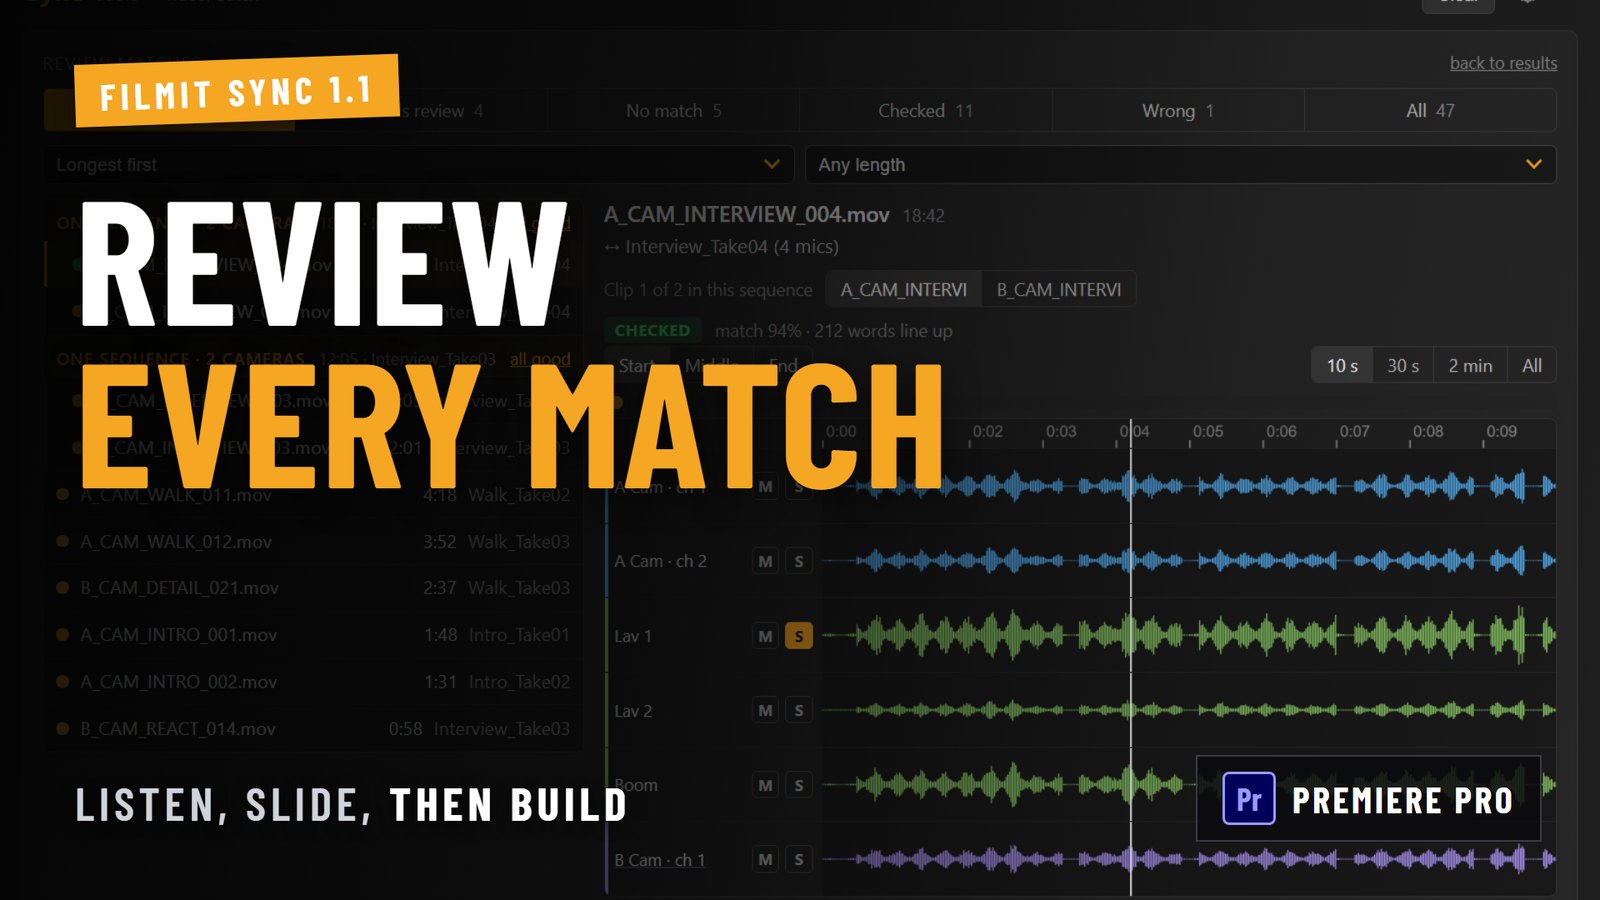
When a shoot is one interview, this is five minutes of work. When it is a day of them, it is the afternoon, which is the point where our Sync panel pays for itself: you give it a bin of camera clips and a bin of recorder files, it matches them in a batch, and in the Review screen you listen to each match before it builds anything.
How do you find the good answers without watching everything?
Read the interview instead of watching it.
Premiere transcribes your sequence in the Text panel. Once you have a transcript, text-based editing lets you select a passage and set In and Out points around that selection, so the timeline follows what you highlighted. Reading a 40 minute interview and marking the keepers is maybe 15 minutes. Scrubbing for them is an afternoon.
The habit that makes this work: put the keepers in a selects sequence of their own, in the order they were said, before you rearrange anything. You want one place that holds every usable answer, so that when the client asks for the version where she talks about the family history first, you are re-ordering blocks instead of hunting the rushes again.
Mark the alternates too. The second-best take of an answer is the one you will want when the best take has a phone ringing under it.
How do you build the story before you polish it?
Lay the selects end to end and watch it once, ugly. No transitions, no music, no colour. This is the assembly, and it is the only version where you can still hear whether the argument makes sense.
Cut it down in passes. First pass removes whole answers that repeat a point. Second pass removes the run-ups, the "so, I think what happened was" openings that almost every spoken answer starts with. Third pass tightens inside sentences.
Answer-first editing works in an interview the same way it works in writing: start the sequence with the sharpest sentence the subject said, not with the first thing they said.
Pro Tip: Cut the first ten seconds of your assembly last. Almost every interview edit opens on a warm-up answer that the editor keeps because it was first. Watch the piece without it and see if you miss it.
How do you cut between two cameras?
Every trim inside an answer leaves a jump cut, and the second camera is what hides it.
Natively, select your synced angles in the Project panel and choose Create Multi-Camera Source Sequence, drop that into a sequence, then open the Multi-Camera view in the Program Monitor. Play the timeline and click an angle, or press 1 to 9, and Premiere records the switches as cuts as it plays. Our multicam guide covers the setup and the sync failures in detail.
What the manual gets wrong is the rhythm. Live switching makes you cut in real time, which tends to produce either too many cuts or a long stare at one angle. The reasons to cut are: to hide a trim, to mark a change of subject, and to refresh the eye every 20 to 40 seconds. Nothing else.
For a long two-camera interview where the switching is really just about coverage, an automatic pass gets you a watchable version fast. Our Editor panel has a Switcher that cuts between your angles on a rhythm you set, which is genuinely useful for a client preview of a 40 minute conversation. Then you go back and put the cuts where the meaning is.
When does B-roll go in?
After the story is locked, not before.
B-roll has two jobs in an interview: show the thing being described, and cover an edit that still reads as a jump. If you lay it before the structure is settled, every re-order breaks your coverage and you place it twice.
Work through the timeline once and mark the joins that still show, then find footage for those specific moments. When the shoot produced hundreds of unlabelled clips, finding that footage is the slow part, which is what our BRoll panel is for: it searches your own footage by what is in it and places the clip on the timeline over your selection.
What does the polish pass actually include?
- Fillers and dead air. Ums, long pauses, repeated takes. Premiere can do this by hand; Editor does the pass automatically and shows you what it plans to remove first.
- Levels. Get dialogue consistent before you add music. The Essential Sound panel's Loudness match is the fastest honest route.
- Colour. Match the two cameras to each other first, then grade the matched pair. Grading them separately is how you end up with a warm A cam and a green B cam.
- Titles. Lower thirds last, because names and job titles change right up until delivery.
What goes wrong most often?
- Cutting before syncing. The most expensive mistake in this list, and the most common.
- Polishing the assembly. Grading a sequence that still loses half its length is paid work you throw away.
- Cutting on a timer. Switching angles every few seconds because the tool made it easy reads as nervous.
- No selects sequence. Without one, every revision request sends you back to the rushes.
- Deleting the alternates. Keep the second-best take until delivery.
Where the time really goes
On a two-camera shoot we cut recently, the footage was 136 files: two interviews, a walkthrough, and a pile of B-roll with no matching sound. Syncing that batch took about five minutes of machine time. Reading the transcripts and pulling selects took most of a morning. The craft, the part that makes it good, was the afternoon.
That ratio is the argument for doing the mechanical steps in the right order and automating the ones that repeat. Nobody hires you for your syncing.
Which parts are worth automating?
The repetitive ones, in the order they hurt: batch syncing a day of footage (Sync), the filler and bad-take pass (Editor), finding B-roll in your own rushes (BRoll). All three are in Filmit Studio, which is a subscription with a 7-day free trial, and all three are worth nothing if the order above is wrong. If you would rather see the whole plugin landscape first, our honest picks by category covers the field, ours and everyone else's.