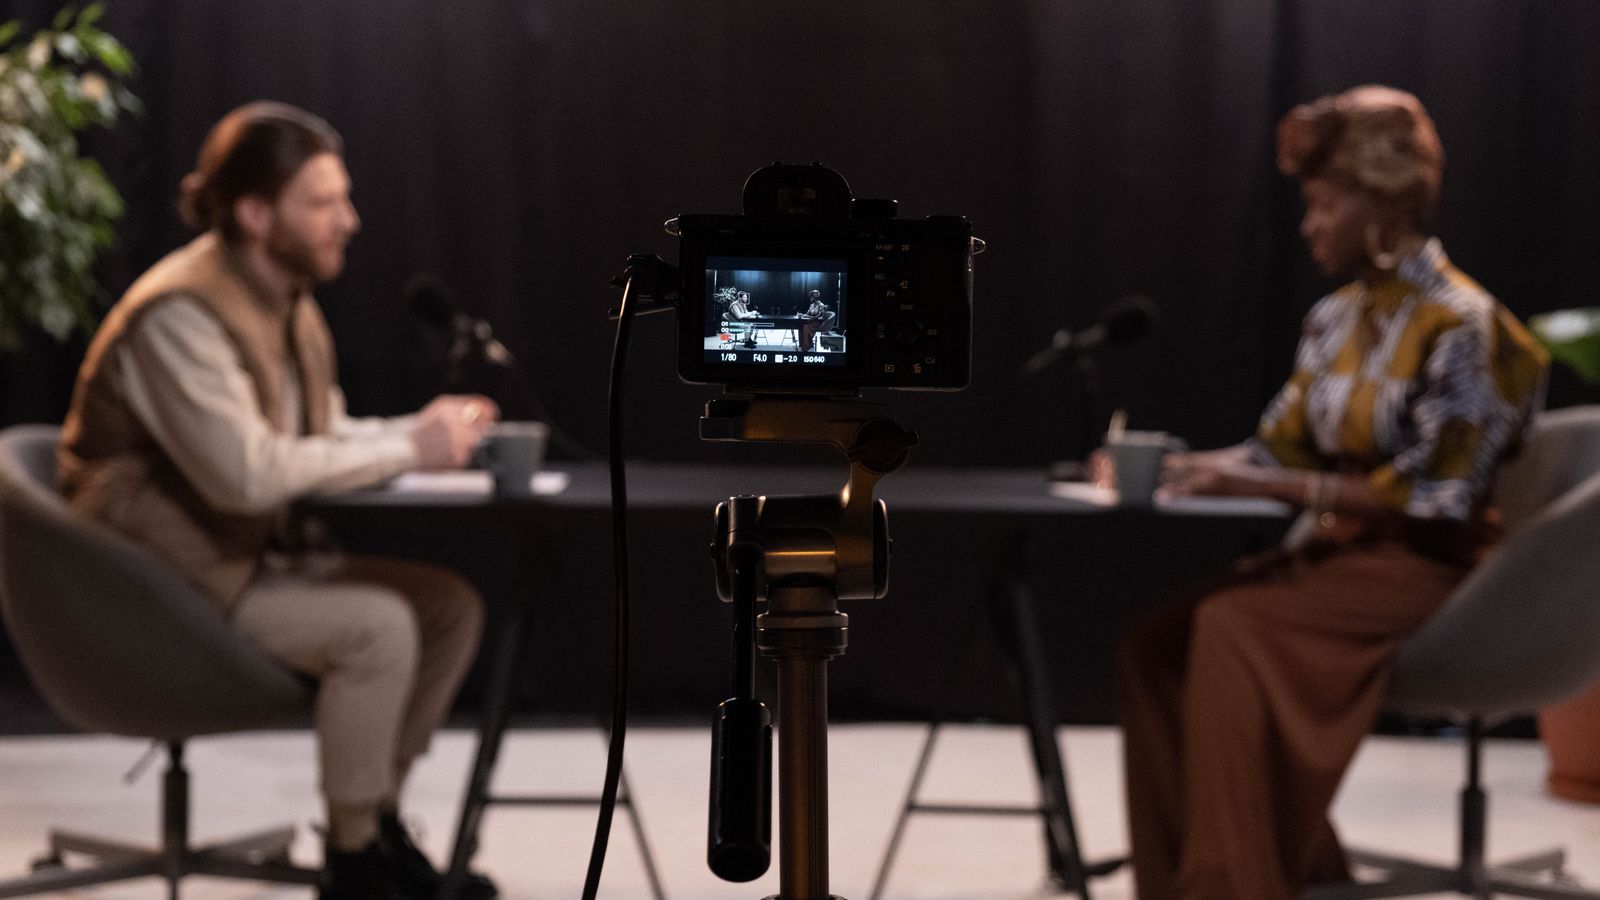
The fastest way to edit multicam in Premiere Pro is to build a multi-camera source sequence, sync your angles, then cut between them live while the footage plays. You select all your camera angles, let Premiere sync them by audio or timecode, switch on Multi-Camera view, and tap the number keys to cut to each angle in real time.
That native workflow is all you need for most projects, and nothing in the core of this guide requires a plugin. At the end we will also cover how to automate the switching for long interviews and podcasts, where clicking every cut by hand gets old fast.
What is multicam editing in Premiere Pro?
Multicam editing is cutting between two or more synchronized camera angles of the same moment, switching to whichever angle tells the story best. In Premiere Pro it runs on a multi-camera source sequence, a special sequence that stacks your angles in sync so you can switch between them as if you were directing a live broadcast.
It is the standard workflow for interviews, podcasts, concerts, weddings, and anything shot with more than one camera. The job splits cleanly into two stages: sync the angles once, then switch between them. Get the sync right and the rest is fast.
How do you create a multi-camera source sequence?
Select all your angle clips in the Project panel, right-click, and choose Create Multi-Camera Source Sequence. Premiere stacks and synchronizes the angles into one sequence you can switch inside. The only decision that really matters is how it syncs them.
Select every angle
In the Project panel, select all the clips from the shoot: each camera, plus a separate audio recording if you have one. They can be different lengths, sync handles the offsets.
Create the source sequence
Right-click the selection and choose Create Multi-Camera Source Sequence. Adobe documents the full dialog in its multi-camera source sequence guide.
Pick a sync method
This is the one choice that decides whether sync just works (see the breakdown below). Audio waveforms is the safe default when you do not have matching timecode across cameras.
Set the audio behavior
Leave your main microphone as the constant audio if you recorded one clean feed. Only turn on Switch Audio if you actually want the sound to follow whichever angle is live.
Click OK
Premiere builds one synced source sequence into a new bin. That single item is now your whole multicam shoot, ready to switch.
The sync method is where multicam succeeds or fails, so pick it for how you actually shot. Here is when to use each.
How do you cut between camera angles?
Once the angles are synced, create an editing sequence from the source, turn on Multi-Camera view in the Program monitor, and cut between angles by pressing the number keys while the footage plays. Every switch you make is recorded as a normal edit you can trim later.
Make a sequence from the source
Right-click the multi-camera source sequence in the Project panel and choose New Sequence From Clip. This gives you a normal timeline to cut on.
Turn on Multi-Camera view
In the Program monitor, open the button editor (the plus icon) and drag Toggle Multi-Camera View into the bar, then click it. You will see every angle at once on the left and the live output on the right.
Switch angles live
Press play, then tap the number keys (1, 2, 3, and so on) or click an angle to cut to it in real time. Premiere records each switch as an edit on the timeline as it plays.
Refine the cuts
Scrub back and nudge any cut that landed a beat late. The switches are ordinary edit points, so you trim, ripple, or delete them like any other cut.
Can you automate multicam switching?
Premiere Pro has no built-in way to switch angles automatically. You cut every angle by hand, live. That is fine for a music video, but for a two-hour podcast it means sitting through the entire runtime tapping number keys before you have even started the real edit.
For dialogue-driven footage, JumpCut and its Auto-Switcher automate that pass. It reads which microphone is active and cuts your multicam to whoever is talking, so an interview or podcast comes back as a finished, angle-switched rough you refine instead of build from scratch. It works in Premiere Pro, and it also removes silence and dead air from the same footage.
Manual or automatic: which should you use?
Neither is better, they fit different jobs. Manual live-switching gives you total control and works on any footage. Auto-switching is faster and hands-free, but because it follows the audio it shines on dialogue and interviews and does little for music or action. Many editors use both: auto-switch the talking, then hand-switch the moments that need an eye.
Every cut is your call
Follows who is talking, you refine after
Real time, you sit through it
Automated pass, no watching
Music, action, anything visual
Interviews, podcasts, dialogue
Yes
Dialogue-driven
New to the Premiere timeline in general? Our guide to the Premiere Pro timeline panel covers the basics the multicam workflow sits on top of.
Why will not my multicam angles sync?
When sync fails, it is almost always one of three things, and each has a quick fix. Check them in this order before you resync anything.
A camera recorded no usable audio
Audio-waveform sync needs sound on every clip. If one camera was set to record no audio, or its mic was dead, that angle has nothing to match against. Switch that shoot to timecode, an In point on a clap, or a clip marker instead.
The clips do not actually overlap
Premiere can only sync moments recorded at the same time. If one camera started rolling after another stopped, there is no common audio between them. Sync the angles that overlap, and lay any non-overlapping clips in by hand.
Mismatched frame rates or sample rates
Different frame rates or audio sample rates can drift over a long take, so angles that start in sync slowly slide apart. Conform your clips to one frame rate and 48 kHz audio before you build the source sequence and long recordings stay locked end to end.
Multicam in Premiere Pro, the short version
Build a multi-camera source sequence, then cut on a sequence made from it.
Use it any time your cameras recorded scratch audio and you have no matching timecode.
Play the sequence and tap 1, 2, 3 to cut to each angle in real time.
Every angle change is a manual, live decision.
JumpCut auto-switches your multicam to whoever is talking, then hands you an editable cut.