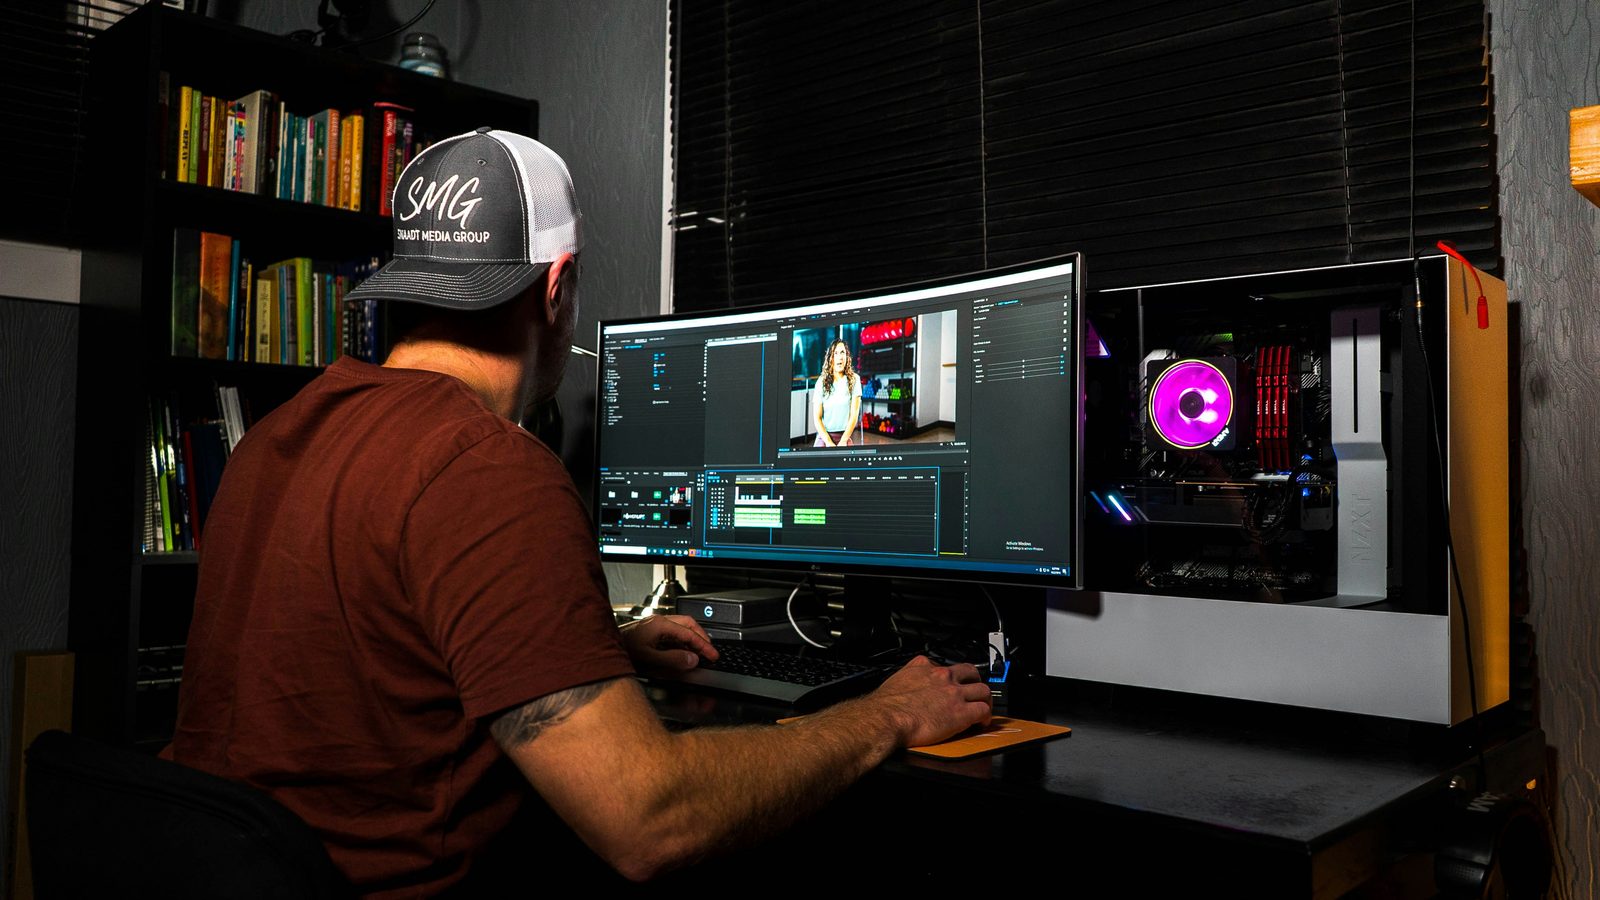
The timeline panel in Adobe Premiere Pro is defined as the core editing workspace where you arrange, cut, and layer every video and audio clip in your sequence. Think of it as the canvas where raw footage becomes a finished edit. Video tracks stack vertically above the playhead, audio tracks sit below, and the Program Monitor previews your work in real time. Understanding the timeline panel in Premiere Pro is not optional for serious editors. It is the difference between spending three hours on a two-minute cut and finishing it in forty-five minutes.
What are the essential editing tools in the timeline panel?
The timeline panel gives you access to three tools you will use on every single project. Each one maps to a keyboard shortcut, and learning those shortcuts is the fastest way to close the gap between what you see in your head and what appears on screen.
- Selection tool (V). Move clips horizontally across tracks, drag clip edges to trim, and select multiple clips by drawing a marquee. This is your default state.
- Razor tool (C). Click anywhere on a clip to cut at that point. Use it to split a clip before removing a section, or to isolate a segment you want to reposition.
- Ripple Edit tool (B). Trim a clip edge and all downstream clips shift automatically to close the gap. This is the single most time-saving tool in Premiere Pro for dialogue and interview edits.
- Spacebar. Play and pause the sequence. Combine with J (rewind) and L (fast forward) for scrubbing without touching the mouse.
- Insert edit (comma key). Drops a Source Monitor selection into the timeline and pushes all existing clips forward. Use this when you need to add material without overwriting anything.
- Overwrite edit (period key). Drops a Source Monitor selection directly onto the timeline and replaces clips in place. Use this for frame-accurate replacements where timeline length must stay fixed.
Misunderstanding insert versus overwrite is one of the most common causes of audio sync problems for newer editors. Insert edits shift everything downstream, which can knock your music or narration out of alignment if you are not careful. Overwrite edits leave the timeline length unchanged, making them the safer choice when your audio bed is already locked.
Pro Tip: Set in and out points in the Source Monitor using I and O before placing any clip. This habit alone eliminates the need to re-trim clips on the timeline and keeps your sequence clean from the first cut.

Non-destructive editing is the principle that makes all of this safe to experiment with. Your source files stay untouched in the Project panel regardless of how aggressively you cut, trim, or rearrange on the timeline. You can always relink or restore original media because Premiere Pro never modifies the files on disk.
How can you customize and navigate the timeline panel?
Customizing your timeline view is not cosmetic. It directly affects how accurately you edit and how quickly you catch mistakes. Here is a practical sequence for setting up your timeline before you start cutting.
- Zoom in and out. Press the plus (+) and minus (–) keys on your keyboard to zoom the timeline horizontally. Use the backslash key (\) to fit the entire sequence in view instantly. For precise timeline navigation, zoom in tight before making cuts near dialogue breaths or music beats.
- Adjust track heights. Hover over the divider between two tracks in the track header area and drag to resize. Taller video tracks display thumbnail frames directly on the clip, which lets you identify shots at a glance without scrubbing.
- Toggle thumbnail views. Right-click on a video track header and select the thumbnail display option. Seeing a frame from each clip on the track turns a wall of colored bars into a visual storyboard.
- Use workspace layouts. Premiere Pro ships with preset workspaces including Editing, Color, Audio, and Graphics. The Editing workspace positions the timeline, Program Monitor, and Source Monitor for maximum efficiency. Access these under Window > Workspaces.
- Dock and resize panels. Drag any panel by its tab to reposition it. Editors working on wide monitors often expand the timeline horizontally and stack the Source Monitor and Program Monitor side by side above it.
- Use the track header controls. The eye icon mutes video visibility, the speaker icon mutes audio, and the lock icon prevents accidental edits. Learning to mute and hide tracks quickly is critical when you are isolating a single layer for review.
Pro Tip: Press Shift+T to expand all video tracks and Shift+Alt+T to collapse them. This two-keystroke toggle is faster than manually resizing every track when you switch between detailed work and a high-level overview.
Adjusting track heights and enabling thumbnails is often overlooked but critical for avoiding editing errors. When tracks are too thin to show thumbnails, you are editing blind. A few seconds of setup at the start of a project saves minutes of hunting for the wrong clip mid-session.
What advanced timeline features enhance professional workflows?
Once you are comfortable with the core tools, the timeline panel reveals a second layer of capabilities that separate fast editors from truly efficient ones.
- Multilayer tracks. Premiere Pro supports up to 99 video and audio tracks. Stacking titles, lower thirds, color overlays, and B-roll on separate tracks keeps each element independently editable. You can copy and paste effects across clips on different tracks without disrupting the layer order.
- Nested sequences. A nested sequence is a sequence placed inside another sequence as a single clip. Use nesting to group a complex multi-track segment, apply a single effect to the whole group, or simplify a crowded timeline. Nested sequences and markers are essential organizational tools that beginners consistently skip, then regret skipping on large projects.
- Markers. Press M to drop a marker at the playhead position. Markers label key moments: a music beat, a client note, a section transition. Double-click any marker to add a color code and a text comment. On a 30-minute documentary timeline, markers are the difference between finding a specific moment in ten seconds and scrubbing for two minutes.
- Adjustment layers. Create an adjustment layer in the Project panel and place it on a video track above your clips. Any effect you apply to the adjustment layer, such as a Lumetri color grade or a vignette, affects every clip beneath it simultaneously. This is far faster than applying the same effect to fifty individual clips.
- Multi-camera sync. Premiere Pro can sync multiple camera angles through matching audio waveforms. Once synced, you switch between angles in real time during playback using the Multi-Camera Monitor. The audio waveform sync is accurate to the frame, which matters when you are cutting between two cameras that recorded the same room tone.
Here is a quick comparison of the three most powerful organizational features in the timeline panel:
What practical workflows maximize productivity on the timeline?
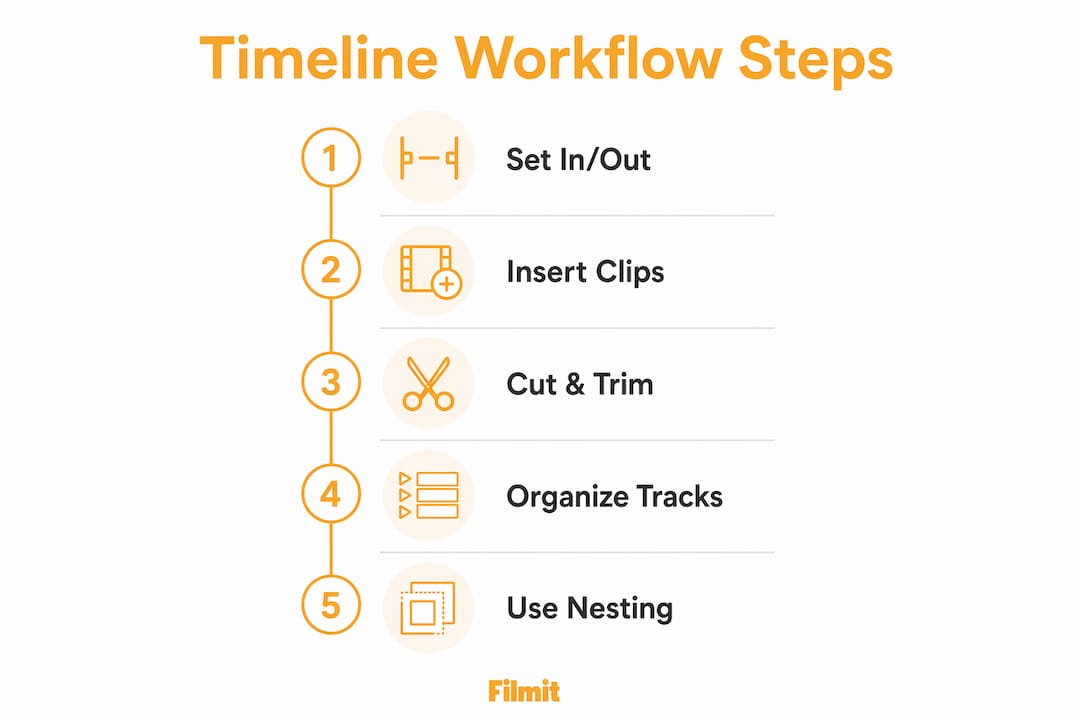
Efficient editing is a cycle, not a linear process. The editors who finish fastest are the ones who have internalized a repeatable loop rather than improvising their approach on every project.
- Set in and out points in the Source Monitor first. Use I and O to mark the exact portion of a clip you need. This reduces rework on the timeline because you are placing only the frames you actually want.
- Choose insert or overwrite deliberately. Ask yourself whether the timeline needs to shift before you press comma or period. Insert for adding material, overwrite for replacing it. Getting this wrong once on a locked audio bed is a memorable lesson.
- Switch tools with keyboard shortcuts. V, C, and B should become muscle memory. Reaching for the toolbar with your mouse adds up to minutes of lost time across a full edit session.
- Use Ripple Edit to close gaps. After trimming a clip with the Ripple Edit tool, downstream clips close the gap automatically. This maintains sync across all tracks without manual repositioning.
- Preview in loops. After every significant cut, loop playback across the edit point using the in/out loop feature. The cut, preview, adjust cycle catches rhythm problems and awkward transitions before they compound.
- Organize tracks by type. Keep dialogue on tracks A1 and A2, music on A3 and A4, and sound effects on A5 and A6. Label each track in the track header. When you need to manage media assets across a complex project, a consistent track layout means you always know where to look.
Pro Tip: Use the snapping tool (S key) to toggle magnetic snapping on and off. Snapping aligns clip edges and markers precisely, but turn it off when you need to nudge a clip by a single frame. Learn to use snapping strategically and you will eliminate the micro-gaps that cause flash frames in your export.
Efficient timeline editing depends on mastering shortcuts and workflow cycles rather than relying on mouse drag-and-drop for every action. The mouse is slow. Shortcuts are fast. The gap between the two compounds over a six-hour edit session.
Key takeaways
The timeline panel in Premiere Pro is the editing workspace where non-destructive, shortcut-driven workflows separate slow editors from fast ones.
V, C, and B map to Selection, Razor, and Ripple Edit — learn these before anything else.
Source files stay untouched on disk, so every cut and trim is reversible at any time.
Insert shifts downstream clips forward; overwrite replaces in place. Confusing them breaks audio sync.
Adjusting track heights and enabling thumbnails prevents mis-clicks and speeds clip identification.
Nested sequences, markers, and adjustment layers scale to large, complex projects.
Why the timeline is where editors actually grow
Talking to editors all day, the same pattern shows up: most spend their first year fighting the timeline — dragging clips with the mouse, manually closing gaps, wondering why their edits feel labored. The turning point is always the same. They commit to shortcuts and stop reaching for the toolbar.
The non-destructive nature of Premiere Pro's timeline is genuinely freeing once you trust it. You can make aggressive cuts, try a completely different structure, and revert without panic, because nothing has touched your source media. That freedom is what encourages the kind of experimentation that produces better edits.
The feature editors skip most consistently is track organization. Unlabeled tracks with clips scattered across random layers are a nightmare to revisit. Fifteen minutes of setup at the start — naming tracks and establishing a consistent layout — pays back hours by the end. Visibility toggles and lock icons exist for a reason; use them.
Nested sequences are the other underused tool. Editors avoid them because they feel like extra steps. They are not — they are the difference between a timeline you can read and one that requires archaeology to understand three weeks later. The timeline rewards patience and repetition: every shortcut you internalize removes one more moment of friction between your instinct and the finished cut.
Take your Premiere Pro workflow further with Filmit
If you spend real hours inside Premiere Pro, you already know which tasks eat your time without adding creative value. Filmit builds plugins and extensions specifically for editors who want to cut that overhead without leaving Adobe’s ecosystem.

Filmit’s tools handle the repetitive mechanics of editing: JumpCut strips silence and dead air from your timeline, Sourcer drops stock footage straight onto a track, and Comper builds a sequence from your selected clips with the right settings detected automatically. Every plugin installs and updates through Filmit Studio, the free companion desktop app for Windows and macOS. Whether you are a solo YouTuber or a post-production agency running multiple projects simultaneously, the workflow tools for editors are built around the same timeline-first thinking this article covers. Explore the full suite and see which tools fit your current bottlenecks.