You can use ChatGPT in Premiere Pro by connecting it with an MCP connector. Once Filmit MCP is connected, ChatGPT stops describing menu clicks and starts making the edits itself: it reads your sequence, finds problems, and fixes them in the project you have open.
Here is how to connect it, a real first job from the video, the native way to do the same job, and what to expect.
What do you need?
- Premiere Pro with the Filmit Studio panel. The free Filmit Studio app installs it for you, on Mac or Windows.
- A Filmit account. A free one is enough for MCP.
- ChatGPT, signed in to your OpenAI account.
How do you connect ChatGPT to Premiere Pro?
Turn on MCP in Premiere Pro
Open Window, Extensions, Filmit Studio, go to the MCP tab and flip the switch. The status line says Premiere Pro is ready, and MCP starts with the app from then on.
Add Filmit in ChatGPT
In ChatGPT, open Plugins, click the + button and choose Add custom MCP server (some accounts show Settings, Connectors with Developer mode instead, then Create). Name it Filmit and paste the connector address https://mcp.filmit.io/mcp. Our ChatGPT setup steps show it in full.
Sign in with Filmit
ChatGPT opens the Filmit sign-in page. Sign in with your Filmit email and password, or with Google.
Ask something harmless first
In a new chat with Filmit turned on, ask "What is in my open Premiere Pro sequence?" If it lists your tracks and clips, you are connected.
A first real job: get a cut ready to send
The video runs a job every editor knows: a cut that goes to the client today, with a few loose ends. Ask for it the way you would ask an assistant editor.
"Check this timeline before I send it"
It reads the sequence and lists every gap and every disabled clip.
"Fix that on a copy"
It duplicates the sequence, removes the disabled clips and closes the gaps on the copy. Your original stays as it was.
"Fades on the music, dissolves on every cut"
One more sentence, and the audio fades and cross dissolves are in.
Each change is a normal Premiere Pro step, so Ctrl+Z (Cmd+Z on Mac) undoes it like any edit you made yourself.
Pro Tip: In your AI app’s connector settings, Filmit actions are marked read-only or project-changing. Allow the read-only ones and set the rest to ask first, so it looks around freely and checks with you before it edits.
How would you do the same thing by hand?
Duplicate the sequence in the Project panel. Step through every edit point with the Up and Down arrow keys, close gaps with Sequence, Close Gap, and delete the dimmed, disabled clips. Then select everything and use Sequence, Apply Default Transitions to Selection. It is a few minutes on a short cut, and the ten-minute version of this job on a long timeline is exactly where asking pays off. Our guide to QCing a Premiere Pro timeline lists everything worth checking before delivery.
What else can you ask for?
Anything you can describe in a sentence and check afterwards. A few that work well:
- "Cut out everything between 0:12 and 0:18 and close the gap on every track."
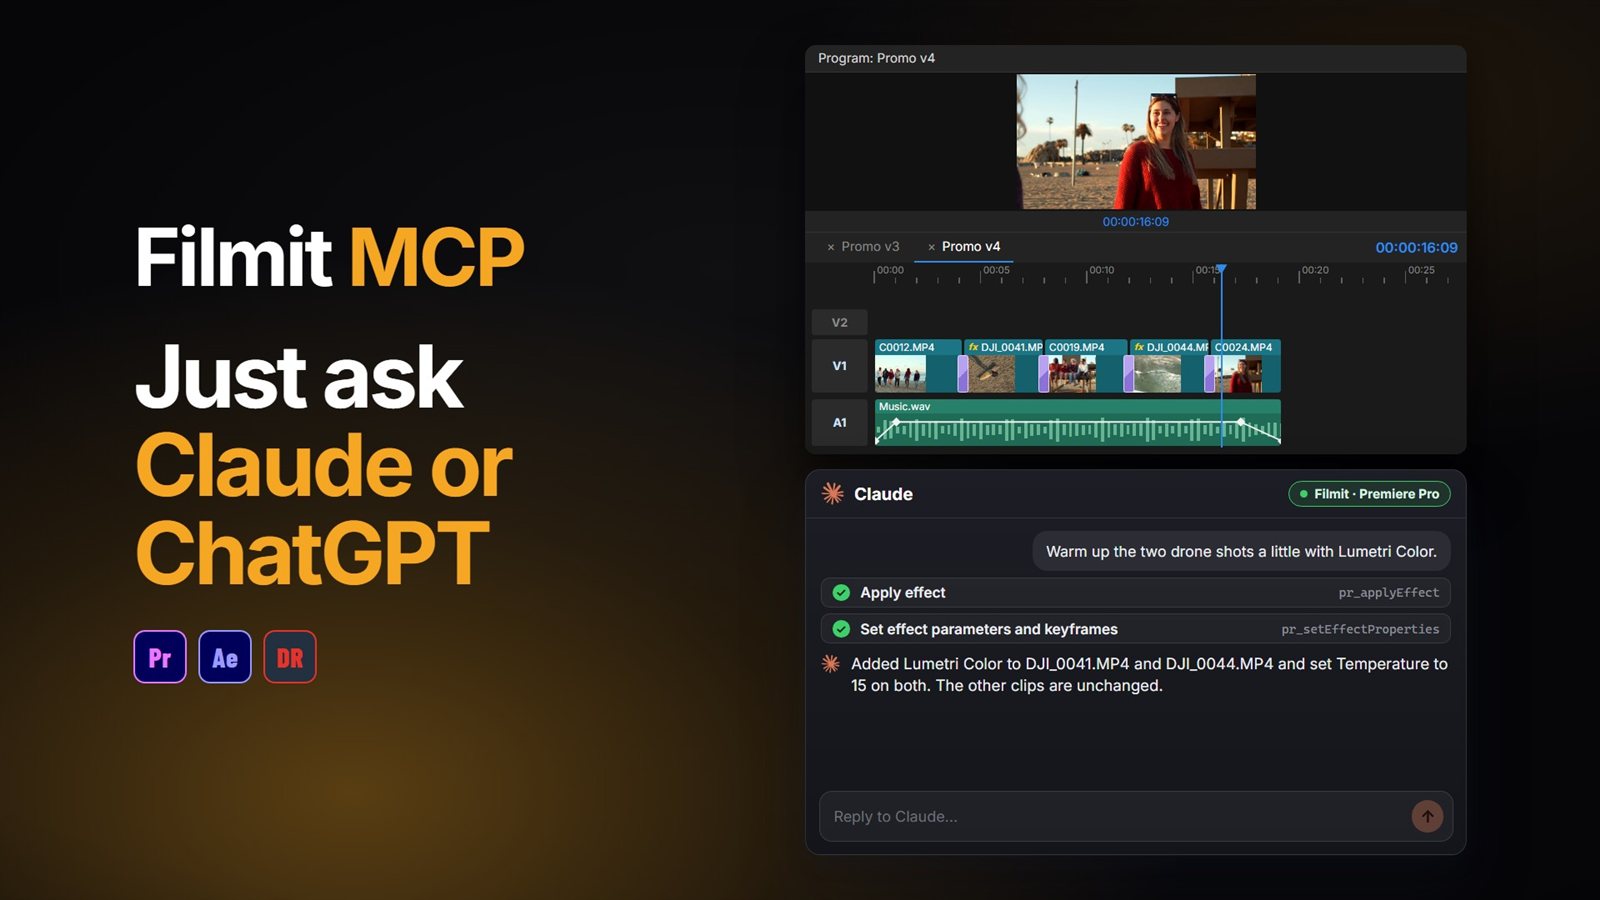
- "Add Lumetri Color to the drone shots and warm them up a little."
- "Put a marker on every cut so the client can leave notes."
- "Import the files in this folder into a bin called Selects." (Give it the full folder path.)
Everything it can do in Premiere Pro is listed in the Filmit MCP docs. Our Premiere Pro MCP guide goes deeper into how the connector works and a longer cleanup job.
ChatGPT or Claude?
It is the same Filmit connector either way, with the same Premiere Pro actions. Use the one you already pay for and like talking to. If you use Claude, our guide to using Claude in Premiere Pro covers that setup.
What it will not do
It reads names, tracks and timings, and looks at a still frame when it asks for one. It does not scrub through video looking for a moment.
It cuts where you say. Where a cut should land is still your decision.
Flip the switch off in the Filmit Studio panel and nothing can reach Premiere Pro.