You cut the pauses and the retakes out of a talking head, and now the speaker jumps every few seconds. The usual fix is a cutaway: b-roll on the track above, placed over the cut so the viewer never sees the jump.
This guide shows how to cover jump cuts with b-roll by hand in Premiere Pro, then how one prompt to Claude through Filmit MCP lays in a rough pass for you. It also covers what Max says in the demo about working that way.
How do you cover a jump cut with b-roll by hand?
Put a b-roll clip on V2 so it sits across the cut on V1. The picture hides the jump and the voice carries on underneath.
- Find the cut. Click the timeline and press the Up or Down arrow to move the playhead from one edit to the next.
- Pick a moment of b-roll. Open the clip in the Source Monitor and mark the part you want with I and O. The demo uses 3 seconds per cutaway.
- Drop it on V2. Drag from the Source Monitor with the Drag Video Only icon, so the b-roll audio stays out of the edit, and place the clip on V2 above the cut.
- Center it on the edit. Slide the clip until the cut on V1 sits under its middle, so the b-roll starts before the jump and ends after it.
- Fill the frame. If the b-roll is smaller than the sequence, right-click the clip and choose Set to Frame Size, or raise Scale under Motion in Effect Controls. 1080p b-roll in a 4K UHD sequence needs a Scale of 200.
- Vary the clips. Use a different shot each time, and leave some cuts uncovered so the speaker stays on screen.
One cutaway is quick. A long interview has a jump cut every few sentences, and each one is the same handful of moves: find the cut, find a shot, place it, center it, scale it.
What do you need before you start?
- Premiere Pro, with the project open.
- Filmit Studio. The desktop app installs it into Premiere Pro, on Mac or Windows.
- A Filmit account. Connecting Filmit MCP is free with one.
- Claude. Your Claude plan is separate from Filmit.
To connect, open Window, Extensions, Filmit Studio in Premiere Pro, go to the MCP tab and click Connect. In Claude, add a custom connector and paste the address the panel gives you. The setup guide has every step, and how to use Claude in Premiere Pro walks through a first edit.
How does Claude cover the jump cuts for you?
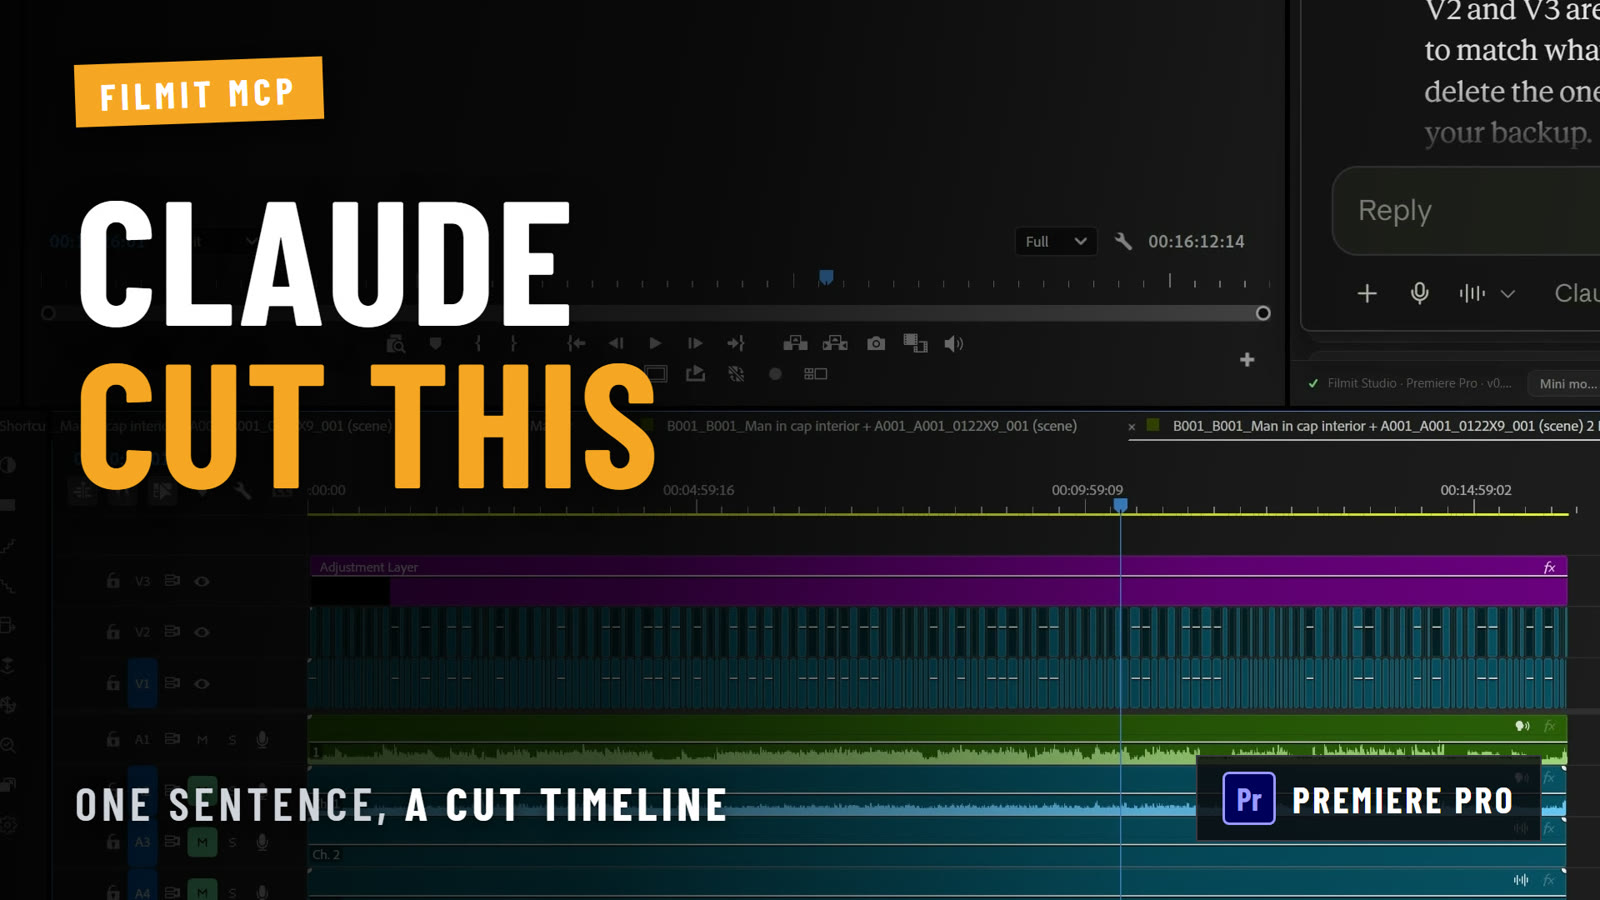
You describe the whole pass in one message and Claude builds it on your timeline: cutaways on V2, music underneath, and markers on the cuts it left alone.
Once Claude is connected, set its Filmit tools to always allow, so it does not stop to ask at every step. If Claude says Premiere Pro is not connected, restart Premiere Pro.
The prompt Max uses in the video:
In "Interview Rough Cut" I have a talking head with a lot of jump cuts. Cover about every other cut with b-roll on V2: 3 seconds each, centered on the cut, using a different b-roll clip each time. The sequence is 4K and the b-roll is 1080p, so scale the b-roll to fill the frame. Then add "Anthony Vega - Open Horizons" on A2 at -22 dB under the whole thing with a 2 second fade out at the end. Add a marker at each cut you left uncovered so I can review them.
- Claude finds the sequence. It reads Interview Rough Cut to see where the cuts are and what b-roll is in the project.
- B-roll lands on V2. Each cutaway is centered on a cut and uses a different clip. Claude starts on the second cut, so the piece opens on the speaker.
- It checks its own work. Claude pulls a still frame as it goes, to see whether the b-roll fills the frame. It sets the scale to 200 percent.
- Music goes on A2. The track named in the prompt, at the level asked for, with the fade out at the end.
- Markers go on the rest. Each cut that still shows gets a red marker, so you can step through them.
- It reports back. In the demo: six b-roll cutaways on V2, the music bed on A2, and six markers. It also says the project is not saved yet.
Is this a good way to work? Max answers that in the video while Claude runs, and his answer is mixed. For rough work he says it is fine: it lays things out and gets a music track in. He does not call it final work, and he says the question is up for debate.
The b-roll in the demo is stock footage from Sourcer, our free tool that finds free stock media and sends it to your timeline.
Pro Tip: Put the numbers in the prompt: the track, the clip length, the music level, the fade. Claude decides anything you leave out. Ask for a marker on every cut it leaves uncovered, and the review becomes a walk from marker to marker.
Where does it stop?
- It is a rough pass. Max says he is going to go in, change things and fix things. Expect to swap shots and move cutaways.
- It does not match b-roll to the words. Claude works from project details like clip names and timings. It does not listen to the interview, cut to the music or make taste calls. In the demo a shot of a seal turns up over the interview. BRoll is the tool we built for that job. It places b-roll matched to what is being said, and BRoll for Premiere Pro shows how.
- It does it a little differently each run. Which cuts get covered and which clips get used can change from one run to the next. Review the result, and save the project yourself.
Getting started
Connecting Claude starts on the Filmit MCP page, and it is free with a Filmit account. If the pauses are still in your talking head, JumpCut is our tool for cutting the silences out first.