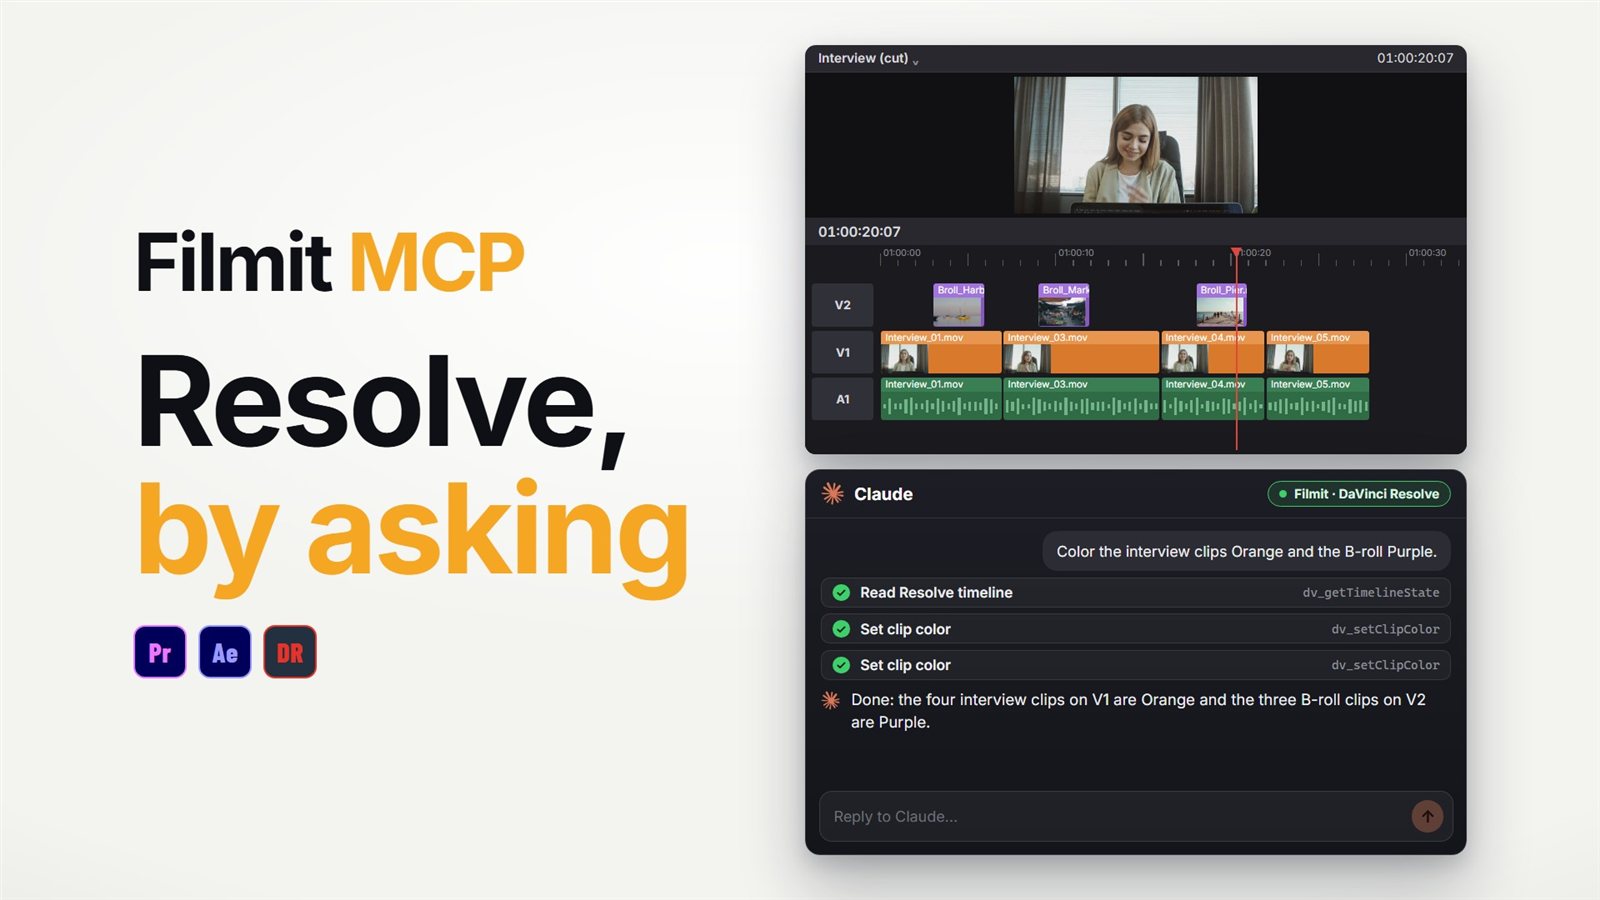
A DaVinci Resolve MCP is a connector that lets an AI app work inside your real Resolve timeline. With Filmit MCP connected, you ask Claude or ChatGPT for an edit in plain words, and it reads your timeline, makes the change in the project you have open, and can look at a frame to check its work.
This guide covers what it can do in DaVinci Resolve Studio, the six jobs from the video below done by hand and done by asking, how to connect it, and where Resolve itself draws the line.
What does an MCP do in DaVinci Resolve?
MCP, the Model Context Protocol, is the open standard AI apps use to connect to other software. A connector gives the AI a list of named actions. Filmit MCP is that connector for Resolve, and it runs through Filmit Studio, which opens in Resolve under Workspace, Workflow Integrations. There are 22 Resolve actions:
Media Pool bins and items, every timeline, every track, clip and marker, and one clip’s Inspector values.
Import files, make bins, create, duplicate and open timelines, including a vertical copy.
Place and remove clips, cut a section out into a fresh timeline, turn clips off and on, set clip colours.
Zoom, position, rotation, crop, opacity and composite mode, markers, Text+ titles, and exporting EDL, FCPXML or OTIO.
Render a frame so the AI can see the result and fix what looks off.
Your media stays on your computer. The AI sees names, tracks, timings and markers, and a still frame only when it asks for one.
The six jobs in the video, by hand
Everything in the film is something you can do in Resolve yourself, and it is worth knowing how:
Cut out a bad take
Right-click the timeline in the Media Pool and duplicate it as a backup. Then blade the start and end of the take at the playhead (Ctrl+B, Cmd+B on Mac), select the piece and use Edit, Ripple Delete.
Colour code interviews and B-roll
Select the interview clips, right-click, and pick a Clip Color. Repeat for the B-roll.
Mark the long clips
Scrub the timeline, park on every clip that runs longer than five seconds, and press M for a marker. Resolve has no "select by length", so this one is by eye.
Add an opening title
Drag a Text+ title from the Effects Library onto a track above the first shot and type into it in the Inspector.
Punch in on a long answer
Select the clip and raise Zoom in the Inspector’s Transform section.
Make a vertical copy
Duplicate the timeline, open its Timeline Settings, untick Use Project Settings and set 1080 x 1920. Then zoom and reposition every clip to fill the frame.
On a short timeline that is a pleasant half hour. On a long interview with dozens of clips, the colour coding, the markers and the vertical reframing are the parts that drag, and they are exactly the parts an assistant can do from one sentence.
The same six jobs, by asking
Here is what the video shows, in order. Each line is one request.
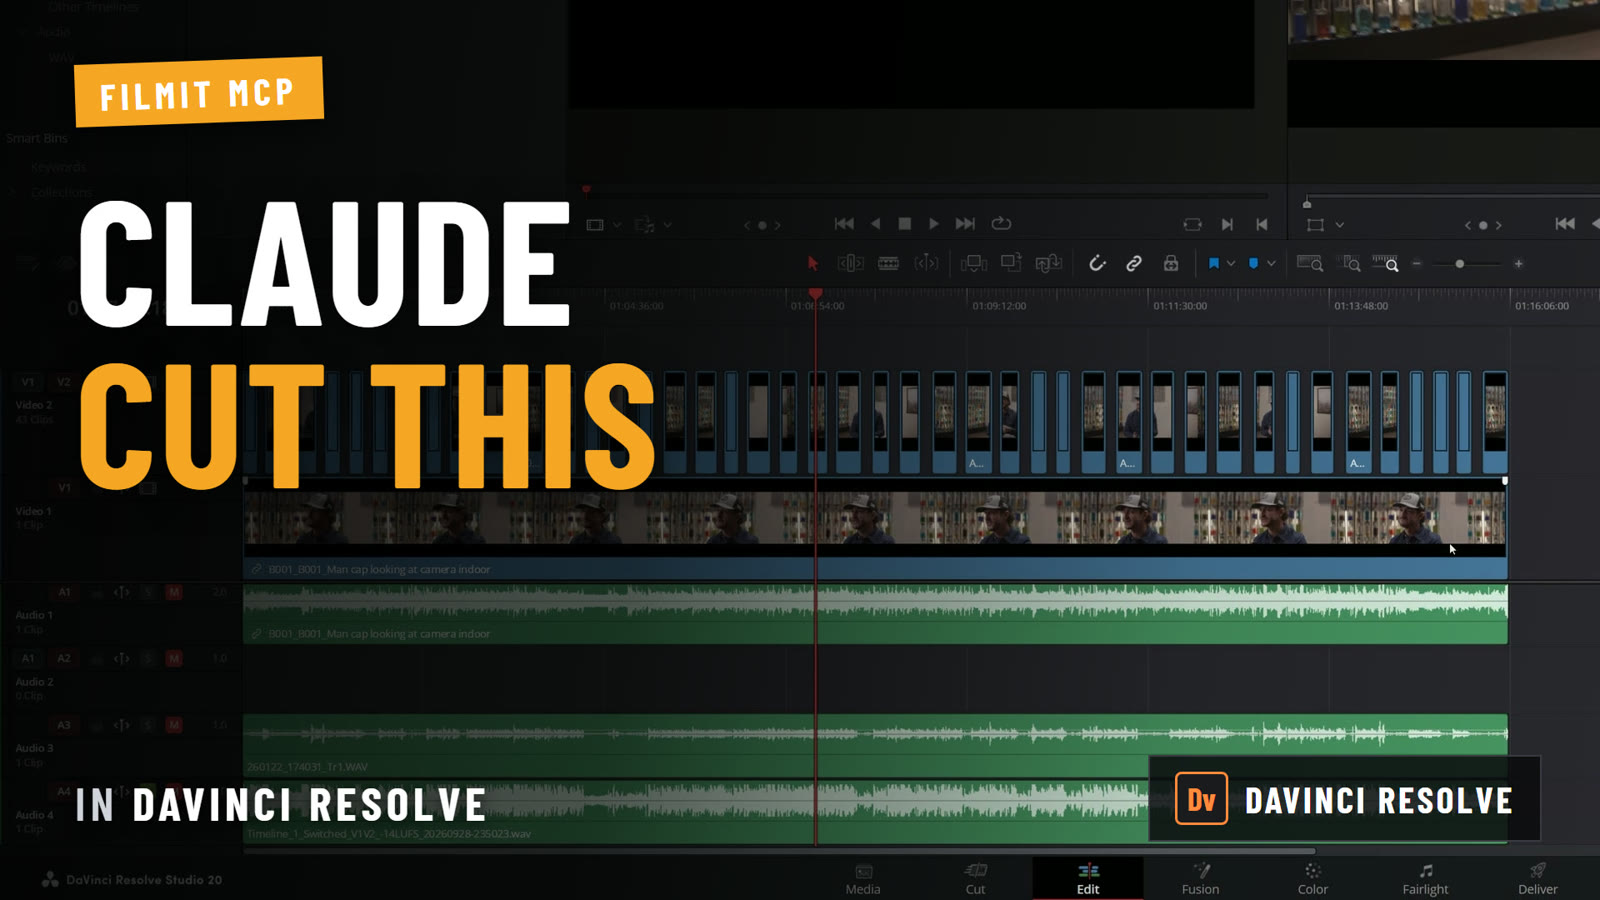
"Cut out the bad take"
Claude cuts that section out into a new timeline and keeps your original safe.
"Colour code the interviews and the B-roll"
It reads every clip and colours the interviews and the B-roll differently in one pass.
"Green marker on every clip longer than five seconds"
It works out the clip lengths and drops a green marker on each one, a quick start on your selects.
"Add an opening title"
It adds a Text+ title, then looks at the frame to check its work.
"Punch in on this answer"
It sets the zoom on that clip, so a long answer gets some movement.
"Make a vertical copy for socials"
It makes a vertical copy of the whole timeline, ready to post, and your widescreen timeline stays as it was.
How do you connect it?
Install the free Filmit Studio app, which adds Filmit Studio to Resolve. In Resolve, open Workspace, Workflow Integrations, Filmit Studio, go to the MCP tab and flip the switch. Then connect your AI app and sign in with your Filmit account:
- Claude: click Connect next to Claude in the MCP tab. In Claude, click Browse connectors, search Filmit, pick Filmit.io and click Connect.
- ChatGPT: add Filmit in ChatGPT using the connector address
https://mcp.filmit.io/mcp, then sign in with Filmit (ChatGPT setup steps).
The full walkthrough is in the docs under Connect Claude (Filmit MCP), and our guide to using Claude in DaVinci Resolve shows a real two-camera cut. If the Resolve side of Filmit Studio is new to you, start with the Filmit Studio in DaVinci Resolve walkthrough.
What Resolve does not allow
Resolve gives add-ons less access than Premiere Pro and After Effects do, so some jobs still need your hands. The full list is in What Claude can do.
Add-ons cannot split a clip in place, apply effects or transitions, set keyframes or change clip volume. Cutting a section out builds a new timeline instead.
Without keyframes, a punch in is a fixed zoom on the clip, not an animated push. Add the move yourself if you want one.
A clip cannot be placed over another one. It goes on the next free track, and the AI tells you where.
Leave the Filmit Studio window open in Resolve while the AI works. Closing it ends the connection.
Text+ titles land as a compound clip in a Filmit Titles bin. Open it in Resolve to restyle the text.
Working in Adobe apps too? The same connector covers our Premiere Pro MCP guide and After Effects MCP guide, and ChatGPT users can start with using ChatGPT in Premiere Pro.