To make a split screen with borders in Premiere Pro, scale and crop each clip into its own cell with a small gap around it, then put a Color Matte on a track underneath. The matte shows through every gap, so the gaps read as clean borders in whatever colour you choose. For a thin outline around each cell instead, draw a rectangle with no fill and a stroke on top.
Below is the native method step by step, where it gets slow, and the one-click version with GridMaker, where a single Padding slider sets every border at once.
The native way: Scale, Crop and a Color Matte
Everything here is built into Premiere Pro. The trick is to think of the border as the background showing through, not as something you draw on each clip.
Stack the clips on their own tracks
One clip per cell, each on its own video track, lined up in time. Leave the lowest track (V1) free for the border colour.
Add the border colour
In the Project panel choose New Item, Color Matte, pick the border colour, and lay it on V1 under the whole split screen.
Scale and position each clip
In Effect Controls, under Motion, scale each clip down and set its Position so it sits in its cell. For a two-way split on a 1920x1080 sequence, the cell centres sit at 480 and 1440 on the X axis.
Crop to open the gaps
Add the Crop effect and trim each clip a few percent short of its cell edge. The matte appears in the gap. Match the crop values on every clip so the borders stay even.
Optional: outline each cell
For a frame rather than a gap, draw a rectangle with the Rectangle tool in the Program Monitor, switch Fill off and Stroke on, and size it to the cell.
Pro Tip: Decide the border width in pixels before you start and write it down. Even borders are what make a split screen look designed, and they are the first thing to drift when you nudge one clip by eye.
Our guide to making a split screen in Premiere Pro covers the Scale and Crop maths in more depth, including fill and crop versus letterboxing.
Where the native way gets slow
Two clips with one border is ten minutes. Four or six cells is a different job: every cell has its own Position and four Crop values, every border depends on all of them, and a client asking to swap two people or widen the gaps means redoing the numbers on every clip. Reframing a face inside a cropped cell means adjusting Position and Crop together until it looks right.
The faster way with GridMaker
GridMaker adds a live canvas panel to Premiere Pro. You select your clips (one clip to split, or clips across tracks) and see real frames from your footage in the layout before anything lands. These are the steps in the video:
Pick a layout
Want a different layout? Click any card and your clips jump into the new grid on the canvas.
Open the gaps with Padding
Need some breathing room? Drag Padding and even gaps open up between every shot. Those gaps are your borders.
Reframe any cell
Framing a little off? Click any cell and drag to reframe it right on the canvas. Scroll to zoom, or use Fit to letterbox a shot inside its cell.
Apply Layout
Hit Apply Layout and the grid lands in your sequence, all native Motion and Crop, editable in Effect Controls and renderable with no plugin required.
Because the output is ordinary Motion and Crop, the Color Matte trick still works on top: put the matte on a track below the grid and the padding becomes a coloured border. To change the border later, change the padding and apply again instead of re-cropping every clip by hand.
Tips for clean borders
A gap shows whatever is underneath. On an empty track that is black, which is a fine border on its own. Add a Color Matte below for any other colour.
Decide whether the grid is full bleed or has a border around the outside too, and keep that the same in every video of a series.
For a two-person podcast, select the one wide clip and GridMaker splits it into cells, ready for a stacked vertical. The clip’s audio stays as it was.
Edit mode lets you drag the lines between cells with snapping to centres and thirds, and you can save the result as a preset for the next episode.
Building a bigger grid? Our guide to making a video wall in Premiere Pro covers walls of many clips, and split screens in DaVinci Resolve covers the Inspector route there.
Or ask Claude or ChatGPT
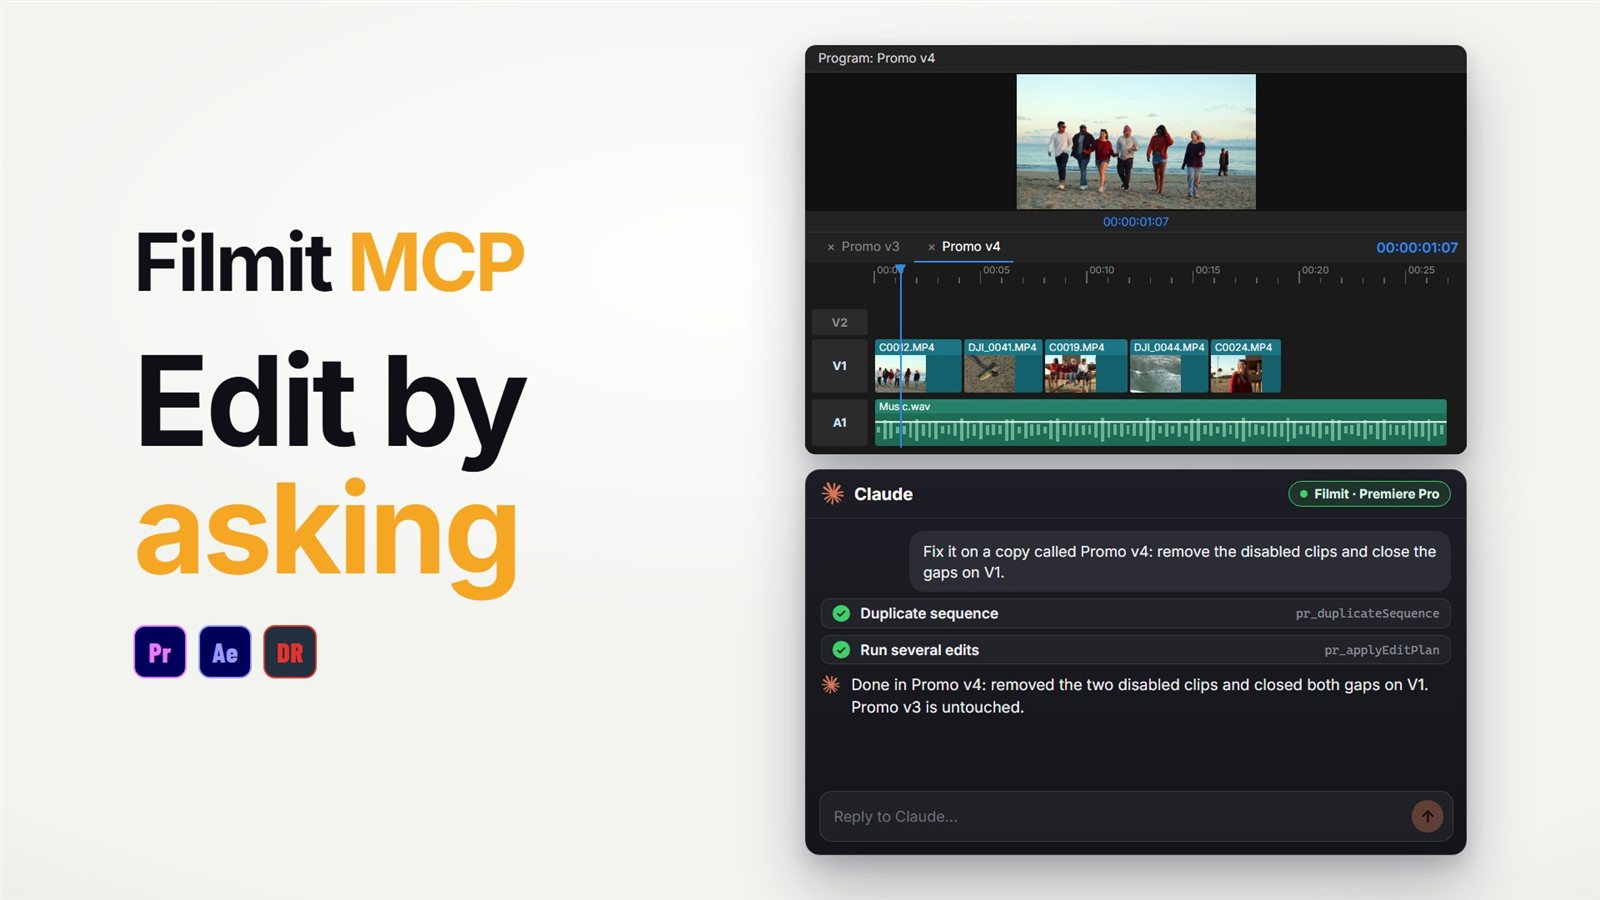
The Filmit MCP can do the native version by asking. It reads your sequence, places clips on tracks, sets scale and position, and adds and adjusts the Crop effect, then renders a frame to check its work. "Put these two clips side by side with a 20 pixel gap between them" is one request. Our guide to using Claude in Premiere Pro covers the setup.
GridMaker comes with Filmit Studio, our free desktop app, with a 7-day free trial of the full toolkit.