To add an adjustment layer in Premiere Pro, click the New Item button at the bottom of the Project panel (or use File, New), choose Adjustment Layer and click OK to match your sequence. Then drag it onto the track above your clips and trim it to cover them. Any effect you put on it, a grade, a blur, a film look, applies to everything underneath.
That takes four steps and some trimming every time. Below is the native way with the tips that save you trouble, then the one-click version with Shortcut, our free Premiere Pro panel, plus the other everyday jobs it handles in the video.
The native way, step by step
Make the adjustment layer
In the Project panel, click New Item and choose Adjustment Layer. The settings match your sequence by default, so click OK.
Put it above your clips
Drag it from the Project panel to the track above the clips you want to affect. If that track is busy, drop it on the empty space above the top track and Premiere adds a new one.
Trim it to the selection
Drag its ends to line up with the first and last clip. With snapping on (S), the edges lock to the edit points.
Add the effect
Drag an effect from the Effects panel onto the adjustment layer and adjust it in Effect Controls. Lower its opacity to dial the whole effect back.
Pro Tip: If File, New, Adjustment Layer is greyed out, click once in the Project panel first. The menu only offers it when that panel is active.
Once you have one, Alt-drag (Option-drag on Mac) it along the timeline to copy it to another section, instead of making a new one each time.
The other small jobs, natively
The same kind of chore turns up all day. A freeze frame is right-click, Add Frame Hold or Insert Frame Hold Segment, then moving it where you want it. Syncing cameras with Clip, Synchronize needs every clip on its own track first. And checking for gaps and disabled clips before export means stepping through every edit point. None of it is hard; all of it adds up.
The fast way: one click with Shortcut
Shortcut is a small bar of buttons you dock beside the timeline. Each button does one job. These are the ones in the video:
Adjustment layer
Need an adjustment layer over these clips? Select them and click once. It spans the selection.
Freeze frame
Want to hold this frame? Freeze frame drops a three second still on the track above, and your original clip is left alone.
Paste image
Copied an image from your browser? Paste image puts it on the timeline at the playhead.
Pitch fix
Sped up a voice clip? Pitch fix adds Premiere’s own Pitch Shifter, set to undo the speed. No more chipmunks.
QC scan
Before you export, QC scan drops a marker on every gap and disabled clip.
Staircase
Syncing camera clips? Staircase puts each one on its own track, ready for Synchronize.
Close others
Too many sequence tabs open? Close others keeps the one you are on and closes the rest.
Tips for the bar
Shift-click the adjustment layer button for one per clip instead of one over the lot. Ctrl-click it in Premiere Pro for one over every cut in the selection.
Every button has an on and off switch in Settings, so you can dock a three-button strip.
Settings also holds the freeze frame hold length and the adjustment layer padding.
Premiere Pro has no single undo group for scripts, so a button that rearranges several tracks can take a few presses of Ctrl+Z (Cmd+Z) to walk back.
The results are ordinary adjustment layers, frame holds and markers, so the project opens anywhere without Shortcut.
Or ask Claude or ChatGPT
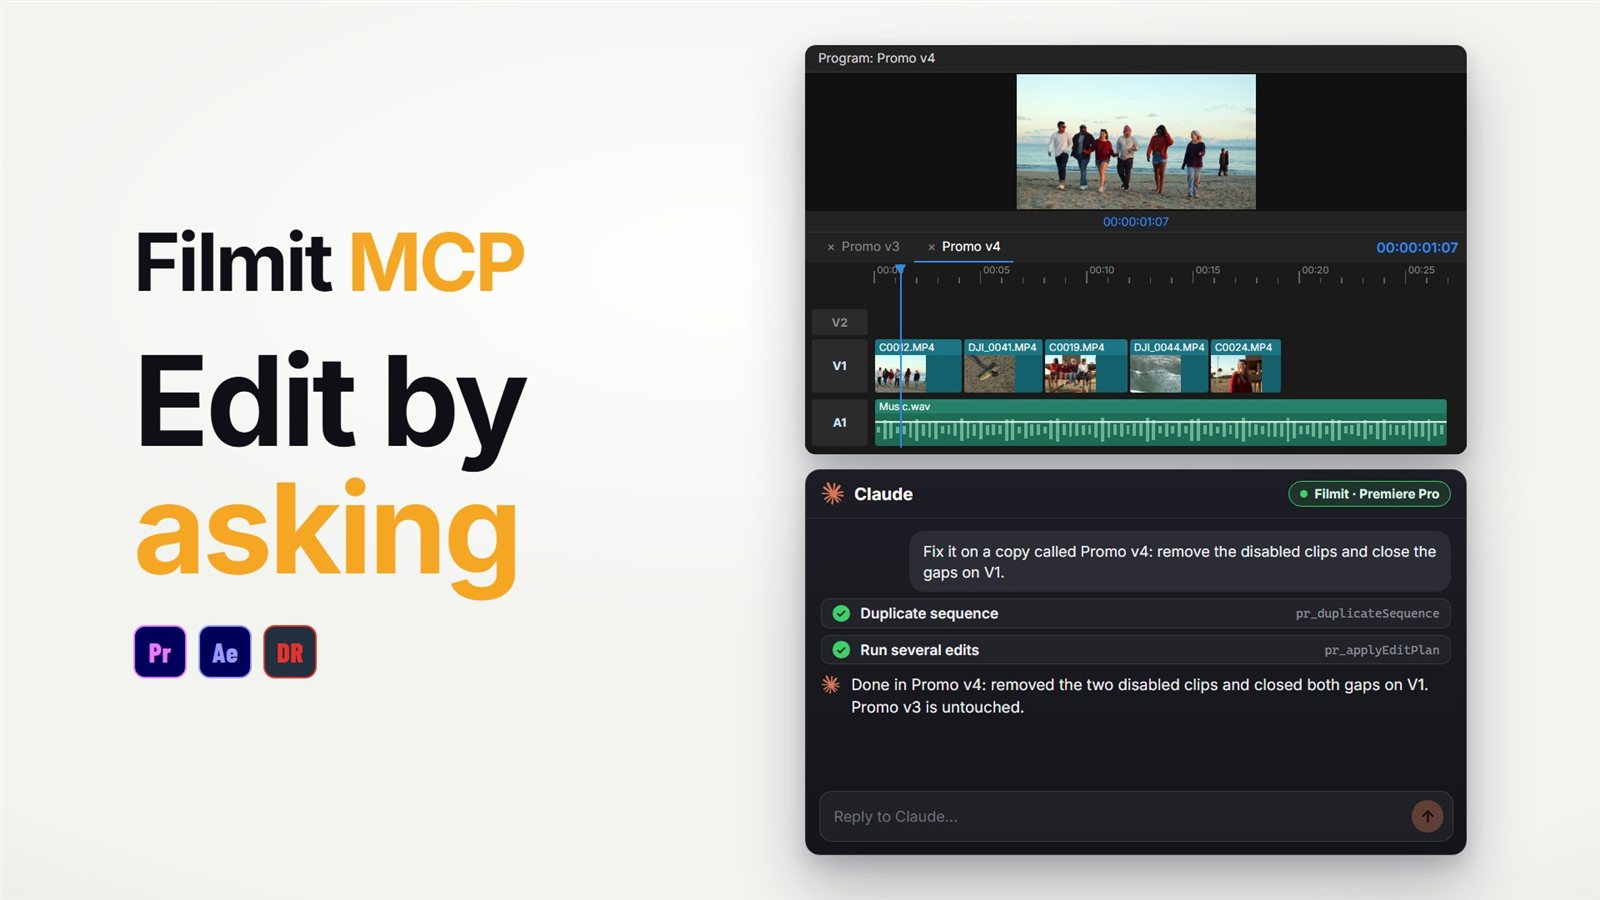
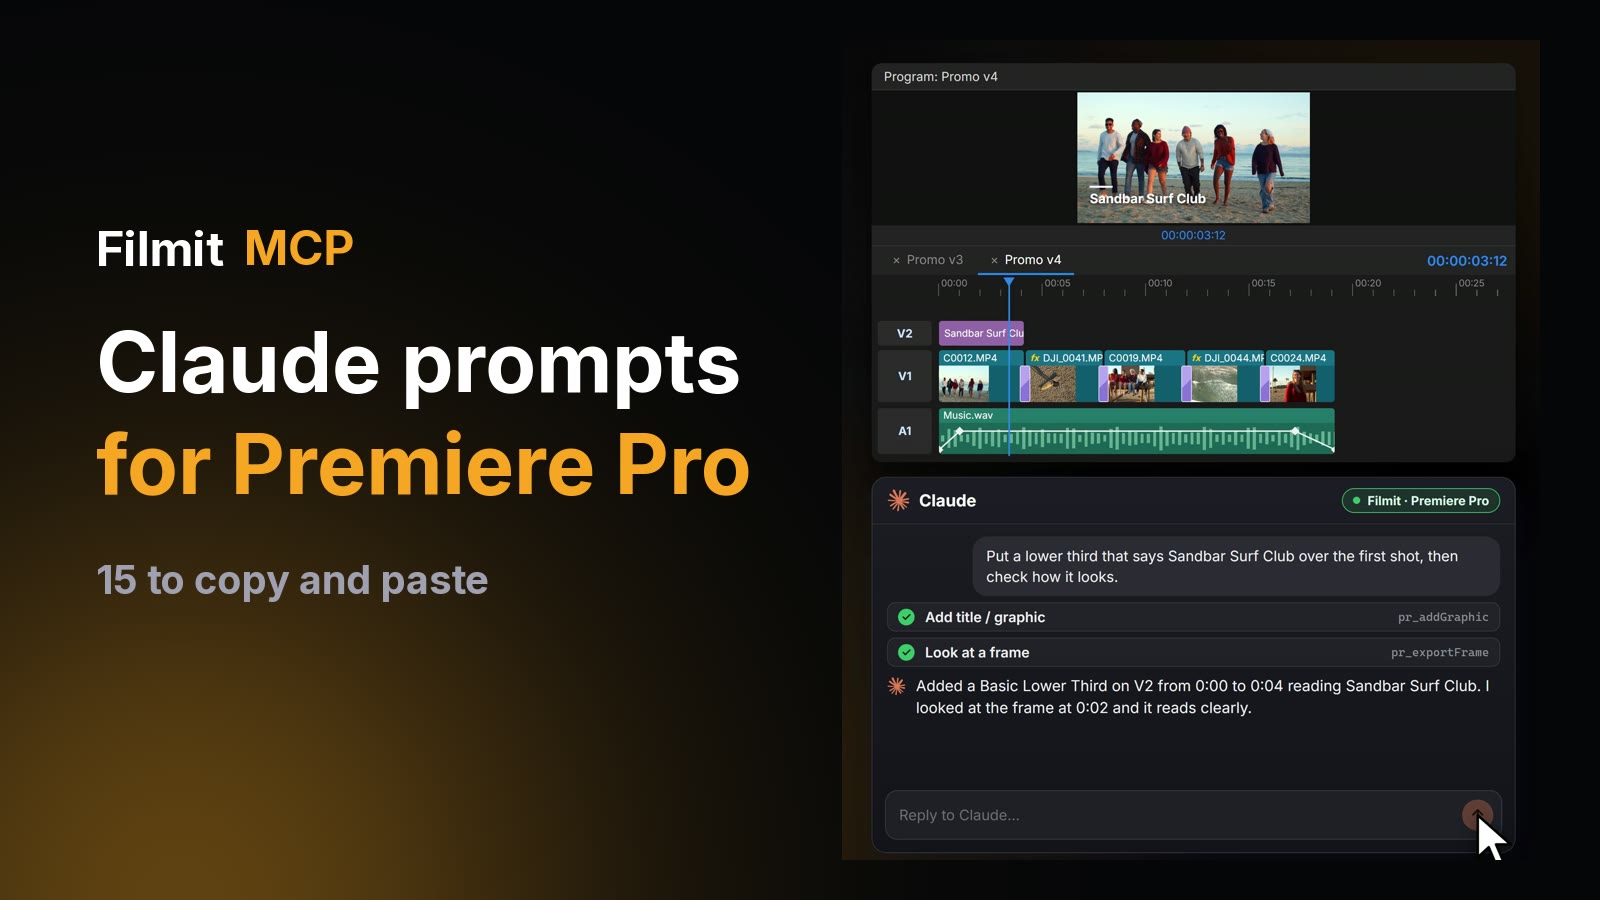
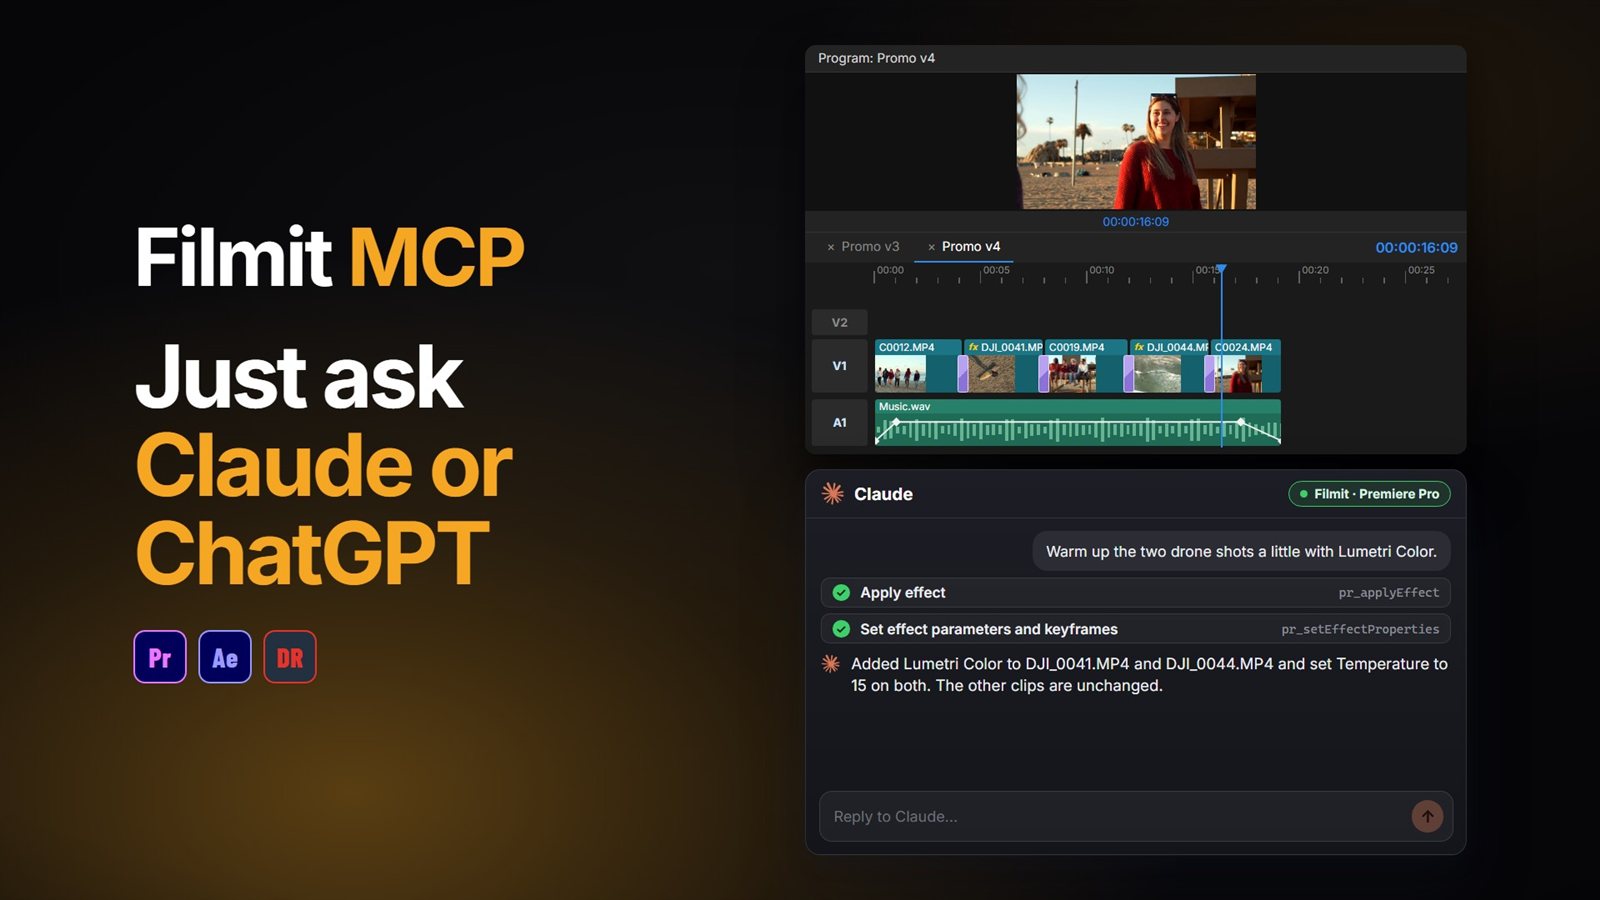
Sometimes you do not need the adjustment layer at all. With the Filmit MCP connected, Claude or ChatGPT can apply an effect straight to the clips you selected ("add Lumetri Color to the selected clips and warm them up"), or check the timeline for gaps and disabled clips and put a marker on each. Our guide to using Claude in Premiere Pro covers the setup, and the After Effects MCP guide shows the same connector building motion graphics.
For more on the bar, see Shortcut for Premiere Pro and Shortcut for After Effects, and our checklist for QCing a Premiere Pro timeline before delivery. Shortcut installs free from Filmit Studio.