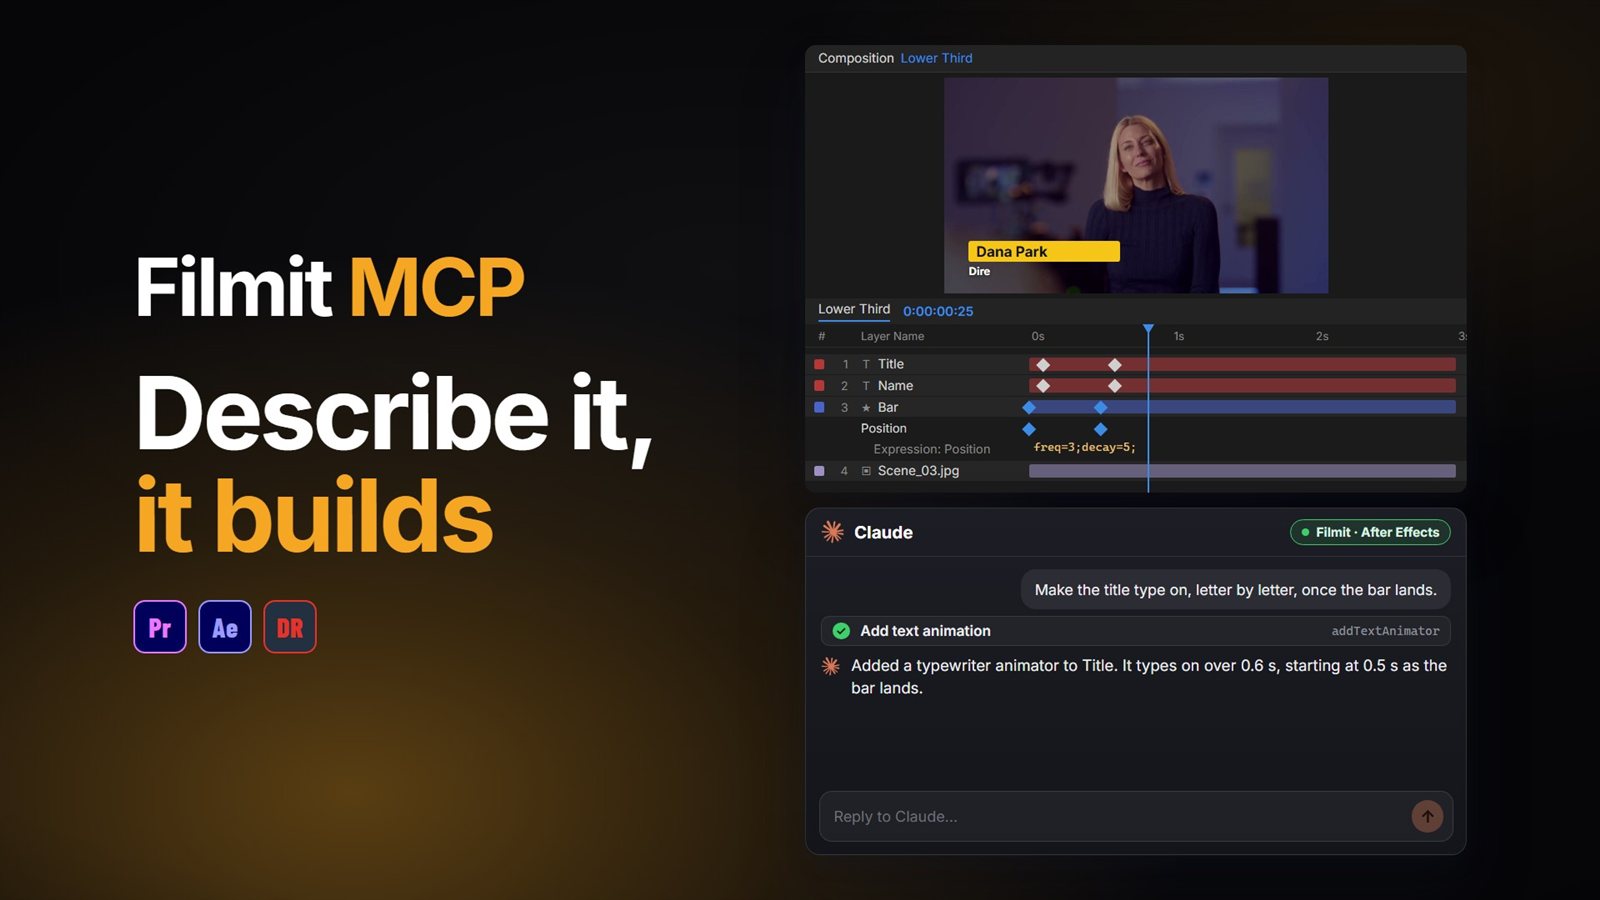
Most “AI motion graphics” tools give you a rendered clip you cannot open up and change. With an MCP connector, Claude or ChatGPT works inside After Effects instead: you describe the graphic, and it builds real shape and text layers in your comp, sets the keyframes and easing, and writes the expressions. Everything it makes stays editable, like a comp you built yourself.
This guide shows a lower third built by hand, the same lower third built by asking with the Filmit MCP, as in the video, and where it helps and where it does not.
Building a lower third by hand
It is worth knowing the manual version, because it is exactly what the AI does for you, step for step.
Draw the bar
Select the Rectangle tool with nothing selected and drag in the comp to make a shape layer. Set its fill and size, and round the corners in the Rectangle Path properties.
Add the text
Type the name and title with the Type tool. Set font, size and colour in the Character panel, and line the text up with the bar.
Slide it in
Set Position keyframes for the bar and the text, off frame to on frame. Select the keyframes and press F9 for Easy Ease, then shape the curve in the Graph Editor.
Add a bounce
Alt-click (Option-click) the Position stopwatch and paste a bounce or overshoot expression so the bar settles when it lands.
On one graphic that is ten minutes. On a series of twelve names, or a client who wants it faster and a little bigger, it is an afternoon of the same clicks.
The same lower third, by asking
With Filmit MCP connected, Claude or ChatGPT reads your comp first, then builds into it. These are the steps in the video:
"Build a lower third"
Describe it, and Claude builds the shape and text layers in your comp, with the font, colours and position you asked for.
"Make it slide in"
Claude sets the keyframes and the easing, right on the layers, so the motion is in the Timeline where you can adjust it.
"Add a little bounce when it lands"
Claude writes the expression and adds it to the property for you. Ready-made ones include wiggle, loops, bounce, inertia and overshoot.
Pro Tip: In your AI app’s connector settings, Filmit actions are marked read-only or project-changing. Allow the read-only ones and set the rest to ask first, so it looks at your comp freely and checks with you before it builds.
It can also render a frame and look at it, so it checks the result against what you asked for and fixes what is off. The full list of After Effects actions, from text animators to track mattes and precomps, is in What Claude can do.
How do you connect it?
Install the free Filmit Studio app, then open Window, Extensions, Filmit Studio in After Effects, go to the MCP tab and flip the switch. Click Connect next to Claude and sign in with your Filmit account. For ChatGPT, add Filmit as a connector using the address https://mcp.filmit.io/mcp and sign in with Filmit (ChatGPT setup steps). The setup guide has every step, and our guide to using Claude in After Effects walks through a first comp.
Tips for better results
Drop a screenshot of a lower third you like into the chat. Give it the image’s full file path and it can bring it in as a dimmed guide layer to trace.
Refer to layers and comps by name. "Make the logo layer 10% bigger" lands on the right layer every time.
End visual requests with "show me a frame when you’re done", so it looks before it reports back.
Build, then animate, then polish. Each step is easy to check and easy to undo with Ctrl+Z (Cmd+Z), one action at a time.
Masks are rectangles. For other shapes it builds a shape layer and uses it as a track matte.
Beyond After Effects
The same connector works in Premiere Pro and DaVinci Resolve Studio. In Resolve, add-ons cannot apply effects, transitions or keyframes, so it sticks to timelines, markers and Text+ titles there. Our After Effects MCP guide goes deeper on the comp side, the DaVinci Resolve MCP guide covers Resolve, and using ChatGPT in DaVinci Resolve covers the ChatGPT setup. For Premiere Pro, see our guide to using Claude in Premiere Pro.