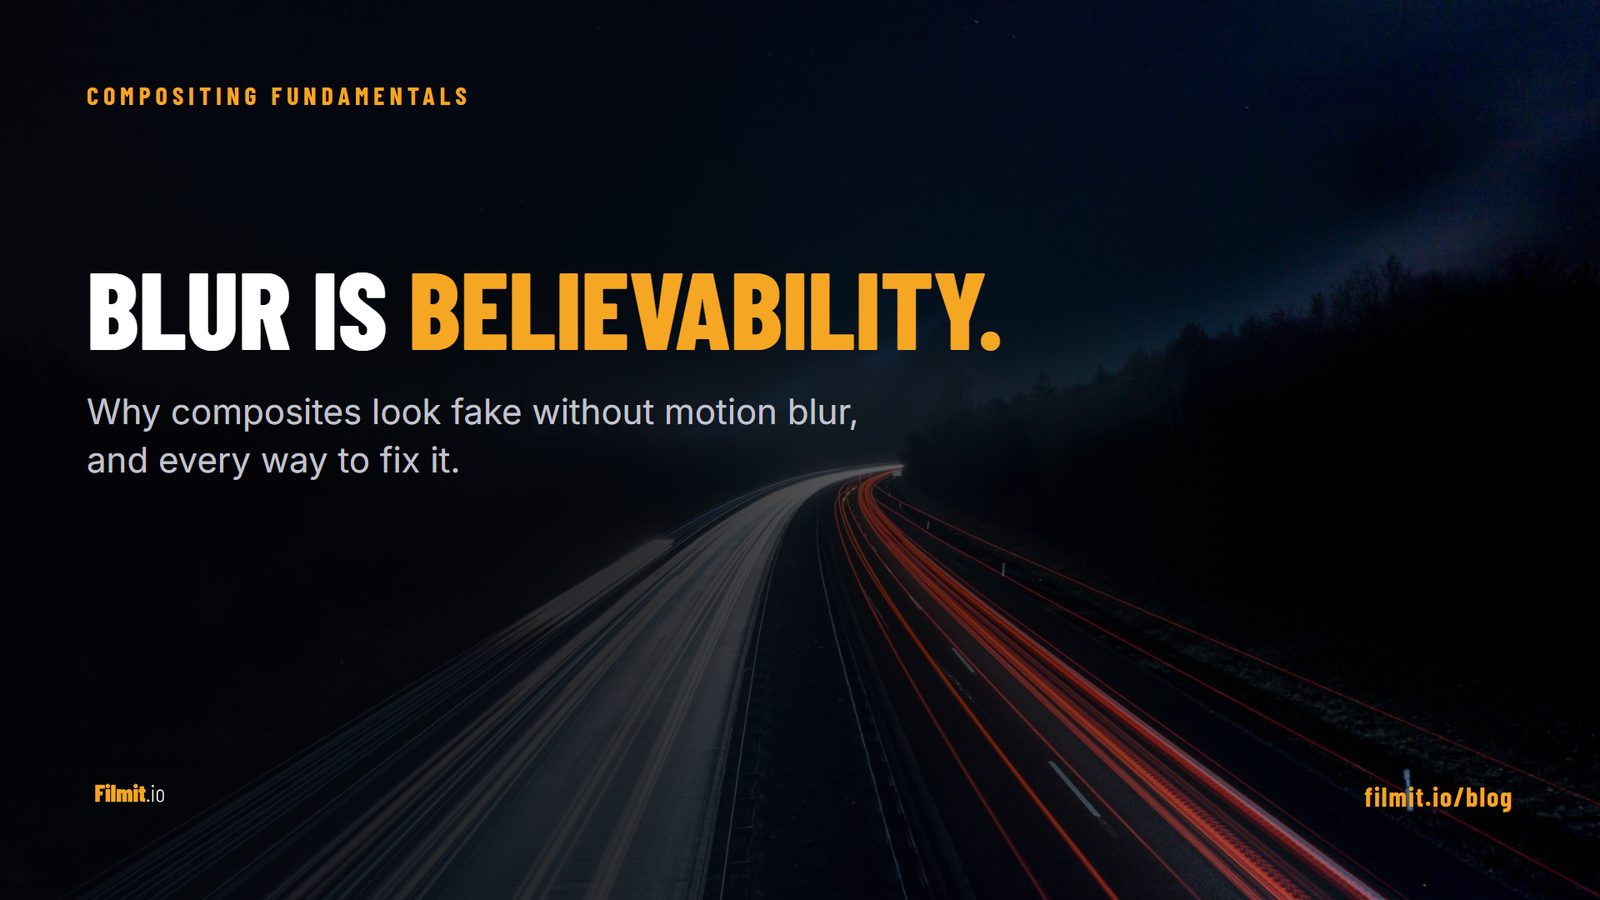
Motion blur compositing is the practice of adding, controlling, and matching the directional streaking a real camera shutter creates, so that animated layers and composited elements move believably instead of teleporting between frames. In After Effects it comes down to two switches, a handful of shutter settings, and one effect for footage, and the difference it makes is the difference between "made on a computer" and "shot with a camera."
This guide covers what motion blur actually is, why composites look pasted-on without it, every way to enable and tune it in After Effects, and how to match the blur that is already in your footage.
What is motion blur and why does it exist?
Motion blur is the streaking a camera records when something moves while the shutter is open. Film cameras traditionally expose each frame for half its duration, a 180 degree shutter, which at 24fps means about 1/48 of a second of movement smeared into every frame. Because every movie and phone video we have ever watched contains that smear, our eyes read it as natural motion.
That is the whole trick: your brain does not notice motion blur when it is there, but it instantly notices when it is missing. Animation with no blur reads as crisp, digital, and slightly wrong, which is sometimes a style choice and usually just an oversight.
Why do composites look fake without motion blur?
Because the elements stop matching. Your footage carries real shutter blur, and anything you animate on top of it ships with none by default, so fast-moving graphics look like stickers sliding over the frame. The mismatch is most obvious on quick moves: a real object travels, an unblurred layer teleports.
Strobing, stuttery, "PowerPoint" feel
Reads as one smooth, weighty move
Sticker pasted on the frame
Sits inside the scene
Every frame razor sharp, reads as fake
Streaks like a real operator moved the camera
This is the same reason we call motion blur the single cheapest polish pass in our guide to callout animation: fast-moving elements without it look like they are teleporting rather than traveling through space.
How do you enable motion blur in After Effects?
Two switches, and you need both. This is the number one "motion blur is not working" cause on every forum: the layer switch is on but the composition switch is off, or the other way around.
Turn on the layer switch
In the Timeline, enable the motion blur switch (the three overlapping circles column) for every layer that should blur. No switch, no blur, no matter what else is set.
Turn on the composition master switch
Click the Enable Motion Blur button at the top of the Timeline panel. This is what makes checked layers actually show blur in your preview.
Make sure something is actually moving
Motion blur only renders where animated transforms change over time: position, rotation, scale. A static layer, or footage whose motion is baked into the pixels, gets nothing from these switches (see the footage section below).
Check the renderer if blur refuses to appear
Some 3D renderer choices in Composition Settings disable standard motion blur (a known issue with the Cinema 4D renderer). If blur works in a fresh comp but not yours, check Composition Settings > 3D Renderer.
Know the render-time setting
In the Render Queue, Render Settings has its own Motion Blur option ("On for Checked Layers" by default). Your final render follows that setting plus the layer switches, so a preview with blur hidden can still render blurred, and vice versa.
What shutter angle should you use?
Start at 180 degrees, the film-camera standard and After Effects' default, then treat shutter angle as a style dial: lower is crisper, higher is smearier. The controls live in Composition Settings > Advanced, and they affect every motion-blurred layer in the comp.
Subtle, crisp, controlled
UI animations, small text, clean corporate work
Natural, filmic, invisible
Almost everything; matching real footage
Heavy, dreamy, energetic
Fast logo hits, dance edits, stylized motion
Exaggerated smear (AE allows up to 720)
Deliberate speed-streak effects, anime-style smears
Two settings sit next to it. Shutter Phase (default -90) controls where the blur falls relative to the movement; the default centers the streak on the layer so it does not appear to lead or lag its own motion. Samples Per Frame and the Adaptive Sample Limit control blur quality: more samples means smoother streaks on 2D layers and slower renders, so raise them only when a fast move shows visible stepping inside the blur. Adobe's motion blur guide covers the full parameter reference.
How do you add motion blur to footage or pre-rendered motion?
The switches only blur motion After Effects itself creates, so footage of a fast-moving subject shot at a high shutter speed, game captures, or animation rendered without blur all need an effect that analyzes pixels instead:
Pixel Motion Blur for most footage
Effect > Time > Pixel Motion Blur tracks pixel movement between frames and synthesizes blur from it. It is the modern default: apply it, keep Shutter Control on Automatic to start, and raise Shutter Angle if you want more smear.
CC Force Motion Blur for pre-comps
The older option, same idea, applied to a nested comp whose layers animate inside it. Pixel Motion Blur usually looks cleaner; keep CC Force Motion Blur in your pocket for legacy projects.
The Transform-effect trick for shakes and wiggles
Apply the Transform effect, animate position through it (a wiggle expression is the classic case), untick "Use Composition's Shutter Angle," and dial the effect's own shutter angle. You get blur on expression-driven movement with per-layer control, independent of the comp settings.
Watch the edges
Every pixel-analysis blur guesses. Spinning wheels, crossing objects, and fine repeating detail can smear into artifacts, so preview fast sections at full resolution before committing, and split problem layers so the effect handles one motion at a time.
Why is motion blur slow, and how do you keep previews fast?
Because every blurred frame is rendered multiple times: the samples that make the streak are extra renders of the layer at fractional times. The fix is workflow, not sacrifice: animate with blur off, polish with it on.
The routine we recommend in our workflow best practices guide: keep the layer switches set correctly from the start, leave the comp's Enable Motion Blur button off while you block the animation, and flip it on for review passes and final tweaks. The comp button only affects what you see, so your setup stays intact, and the Render Queue setting takes care of the final output either way. If renders still crawl, lower the Adaptive Sample Limit before touching anything else.
How do you match motion blur when compositing over real footage?
Read the plate first: find something in the footage that moves fast, step through it frame by frame, and look at how long its streaks are. That tells you the shutter the camera used, and your graphics need to match it, not the other way around.
- Long streaks on moving objects mean a slow shutter: keep your comp at 180 or nudge higher.
- Crisp, nearly frozen frames mean a fast shutter (common in action and sports footage): drop your shutter angle to 90 or lower so your graphics stay as crisp as the plate.
- One scene, one shutter. Every animated element over the same plate should share the comp's shutter settings; a mix of blur amounts is what reads as "collage" instead of "scene."
- Keyframe interpolation matters too. Blur follows speed, so eased moves blur less at their ends and more in the middle, exactly like a real object. If a move feels wrong, fix the keyframe curve before fighting the shutter.
Key takeaways
The layer switch and the comp's Enable Motion Blur button work together; the missing one is almost always why "motion blur is not working."
The film standard and the AE default. Go lower for crisp UI work, higher for stylized smear, and match the plate when compositing.
Native blur covers AE-animated transforms; Pixel Motion Blur and the Transform-effect trick cover baked-in and expression-driven motion.
Leave the comp button off while animating and on for review; the Render Queue's own Motion Blur setting governs the final output.
Nobody compliments motion blur. They just believe the shot, which is the entire point of compositing.
Motion blur is one of those fundamentals that costs two clicks and a little render time and quietly upgrades everything you animate. Get the switches right, learn the shutter dial, and your composites stop looking composited. The mechanical work around your animations, inserting stock and GIFs, building grids and callouts, organizing the project itself, is the part we build tools for; the blur, happily, After Effects gives you for free.