To center the anchor point in After Effects, select the layer and press Ctrl+Alt+Home on Windows or Cmd+Option+Home on Mac. That runs Layer, Transform, Center Anchor Point in Layer Content, and the layer stays exactly where it is on screen while its anchor moves to the middle.
Below are the other ways to set the anchor point, how to center the layer itself in the comp, and the guide tricks that go with it. At the end, a panel that turns all of it into single clicks.
Why the anchor point matters
The anchor point is the pivot for everything: rotation spins around it, scale grows from it, and position is measured to it. A logo that should spin in place but swings in a wide circle, or text that scales from its corner, almost always has its anchor point somewhere odd. Shape layers and text are the usual suspects, because their anchor often starts at the comp origin or the text baseline.
Three native ways to set it
The shortcut
Ctrl+Alt+Home (Cmd+Option+Home) centers the anchor in the layer’s content. It works on several selected layers at once.
The Pan Behind tool
Press Y for the Pan Behind (Anchor Point) tool and drag the anchor where you want it. Hold Ctrl (Cmd) while dragging to snap it to the layer’s edges, corners and center.
Typing a value
You can type into Anchor Point in the Transform properties, but the layer will move on screen, because position is measured from the anchor. Use this when you want that, not to re-pivot a layer.
Pro Tip: For text that animates in line by line, center the anchor before you add animators. Animators that scale or rotate characters use their own anchor settings, but the layer anchor still decides where the whole block scales from.
Centering the layer in the comp
A centered anchor is not the same as a centered layer. To put the layer in the middle of the frame, select it and press Ctrl+Home (Cmd+Home). For more control, open Window, Align, set Align Layers To to Composition, and click the horizontal and vertical center buttons. With Selection instead of Composition, the same buttons line layers up with each other.
Guides, thirds and safe zones
The grid and guide button at the bottom of the Composition panel turns on title and action safe margins (the apostrophe key toggles them) and a proportional grid. Set the proportional grid to three by three in Preferences, Grids and Guides and you have a rule of thirds overlay. None of these render. For guides that live in the comp and travel with it, any layer can be made a guide layer with Layer, Guide Layer: you see it while you work, and it never appears in the render.
To grab a still for a client, Composition, Save Frame As, File adds the current frame to the Render Queue as a single image.
The one-click way with ToolKit
All of the above is a few menus deep. ToolKit puts the everyday ones in one After Effects panel. This is what the video shows:
Anchor point presets
Anchor stuck in a corner? Click the center square on the anchor grid and it jumps to the middle. The other squares send it to a corner or an edge.
Align to Comp
Layer sitting off to one side? Align to Comp centers it in two clicks.
Rule of Thirds
One click drops rule of thirds guides on your comp. They never render.
Safe Zones
Making it for broadcast? Safe Zones adds title safe and action safe in one click.
Show / Hide Guides
Tuck every guide away for a clean view, and bring them back with one more click.
Capture Screenshot
Client wants a still? Capture Screenshot saves the current frame as a PNG on your desktop, no Render Queue.
Or ask Claude or ChatGPT
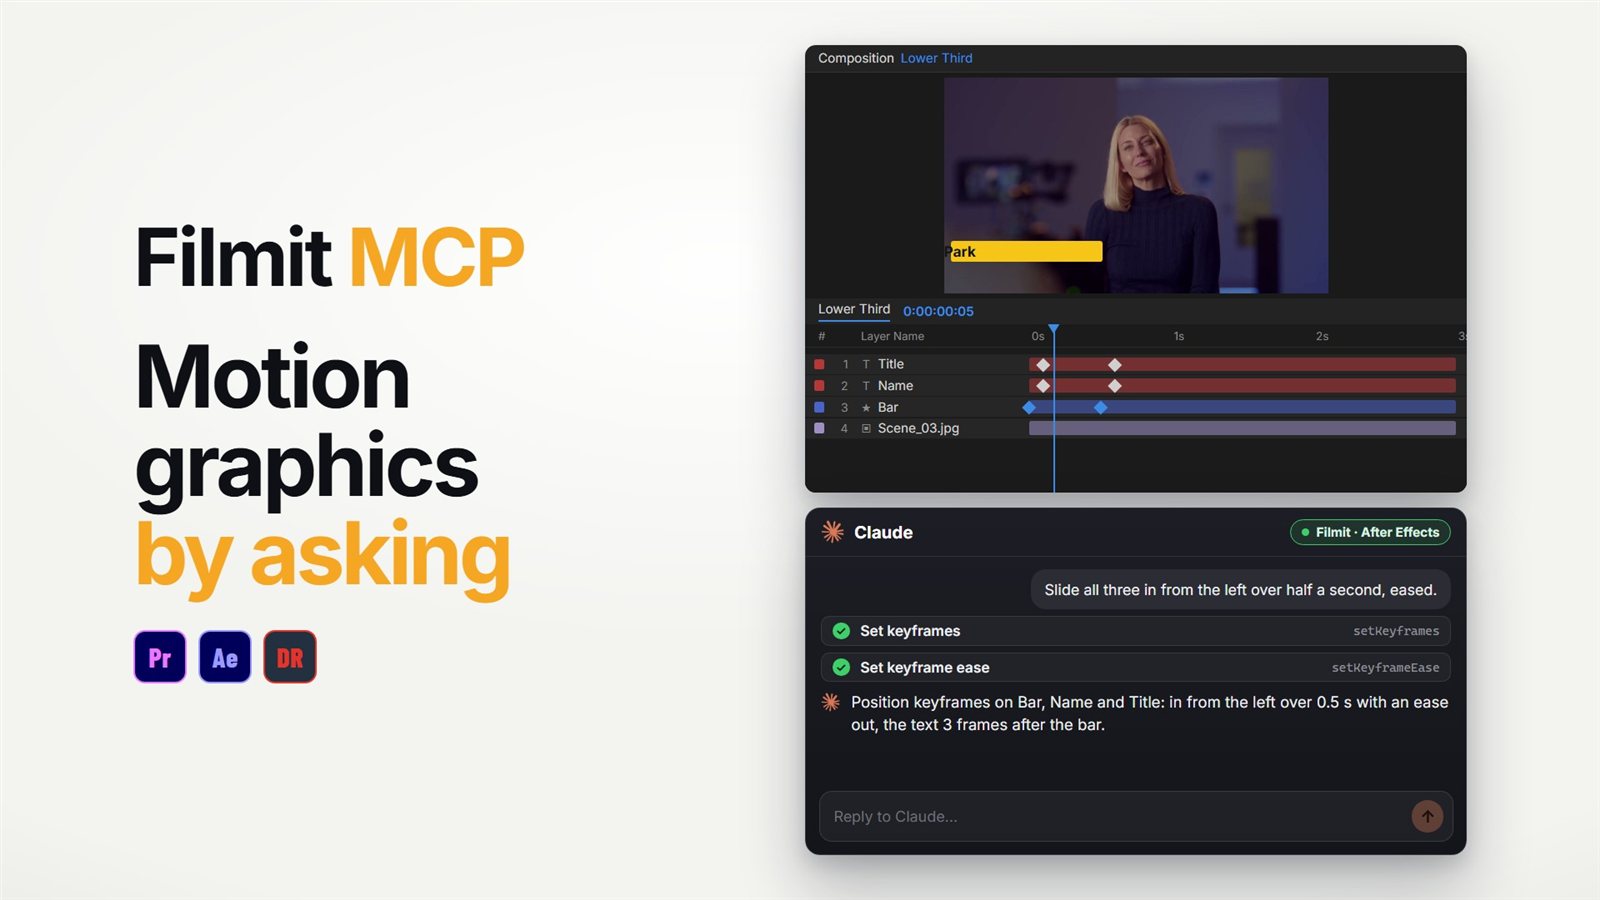
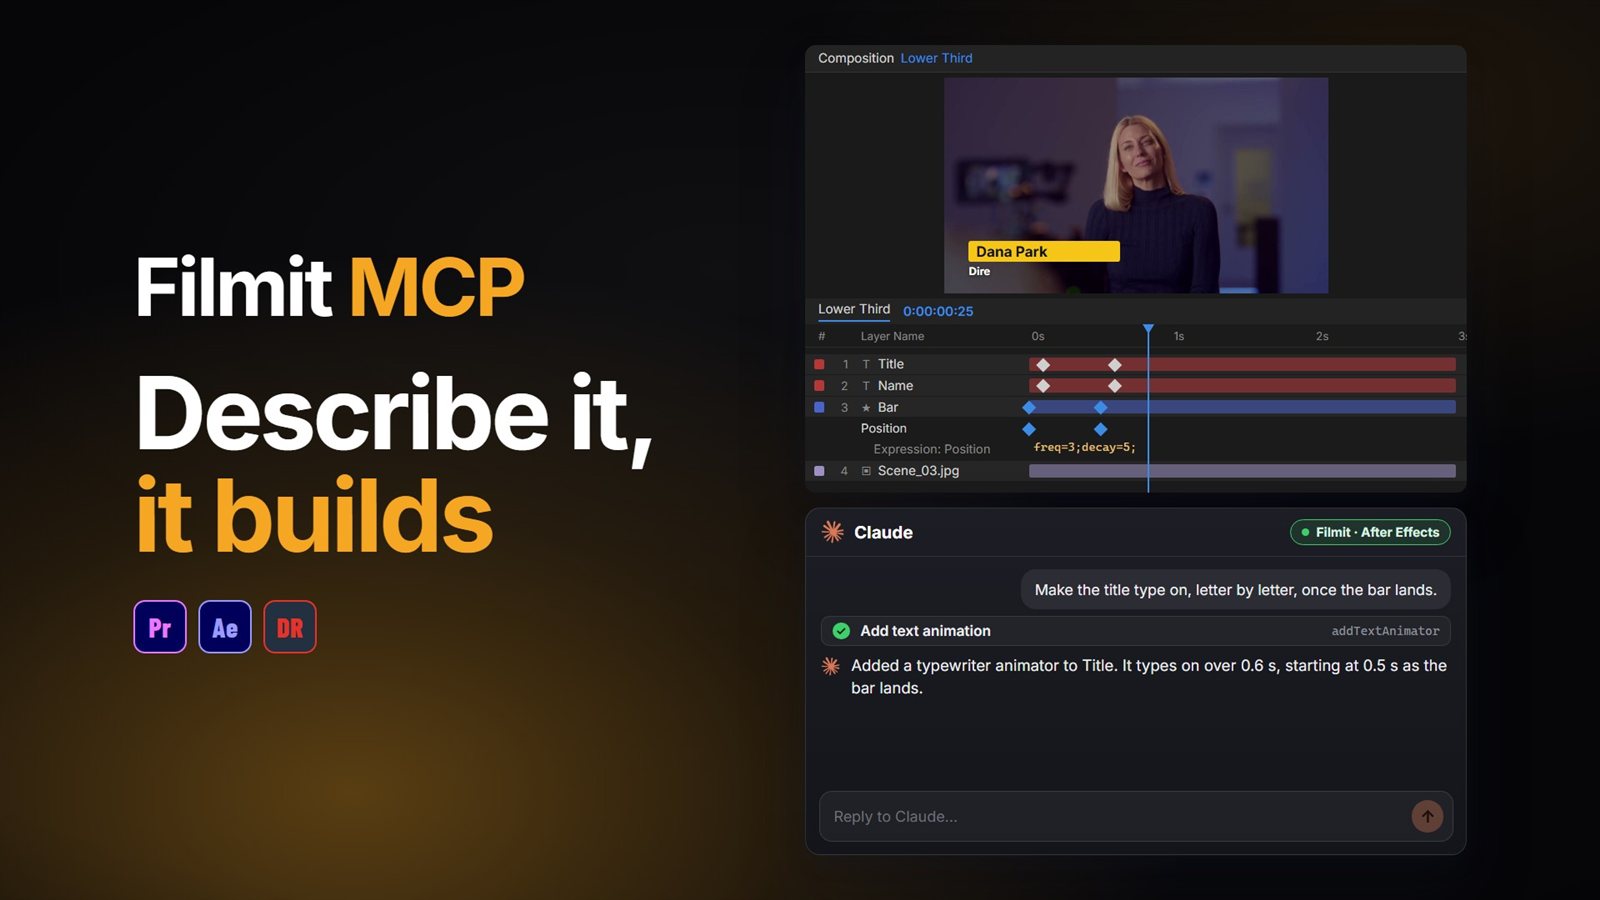
For the same change across many layers, the Filmit MCP can do it by asking. It reads your comp and can set position, scale, rotation, opacity and anchor on any layer: "center the anchor point on every text layer in this comp" is one request. Our guide to using Claude in After Effects shows the setup.
Quick reference
Ctrl+Alt+Home (Cmd+Option+Home), or ToolKit’s center square.
Pan Behind tool (Y), hold Ctrl (Cmd) to snap.
Ctrl+Home (Cmd+Home), or Align to Composition.
Safe margins and the proportional grid in the viewer, or Layer, Guide Layer.
For a longer tour of ToolKit, see our ToolKit demo. ToolKit comes with Filmit Studio, our free desktop app, with a 7-day free trial of every tool.