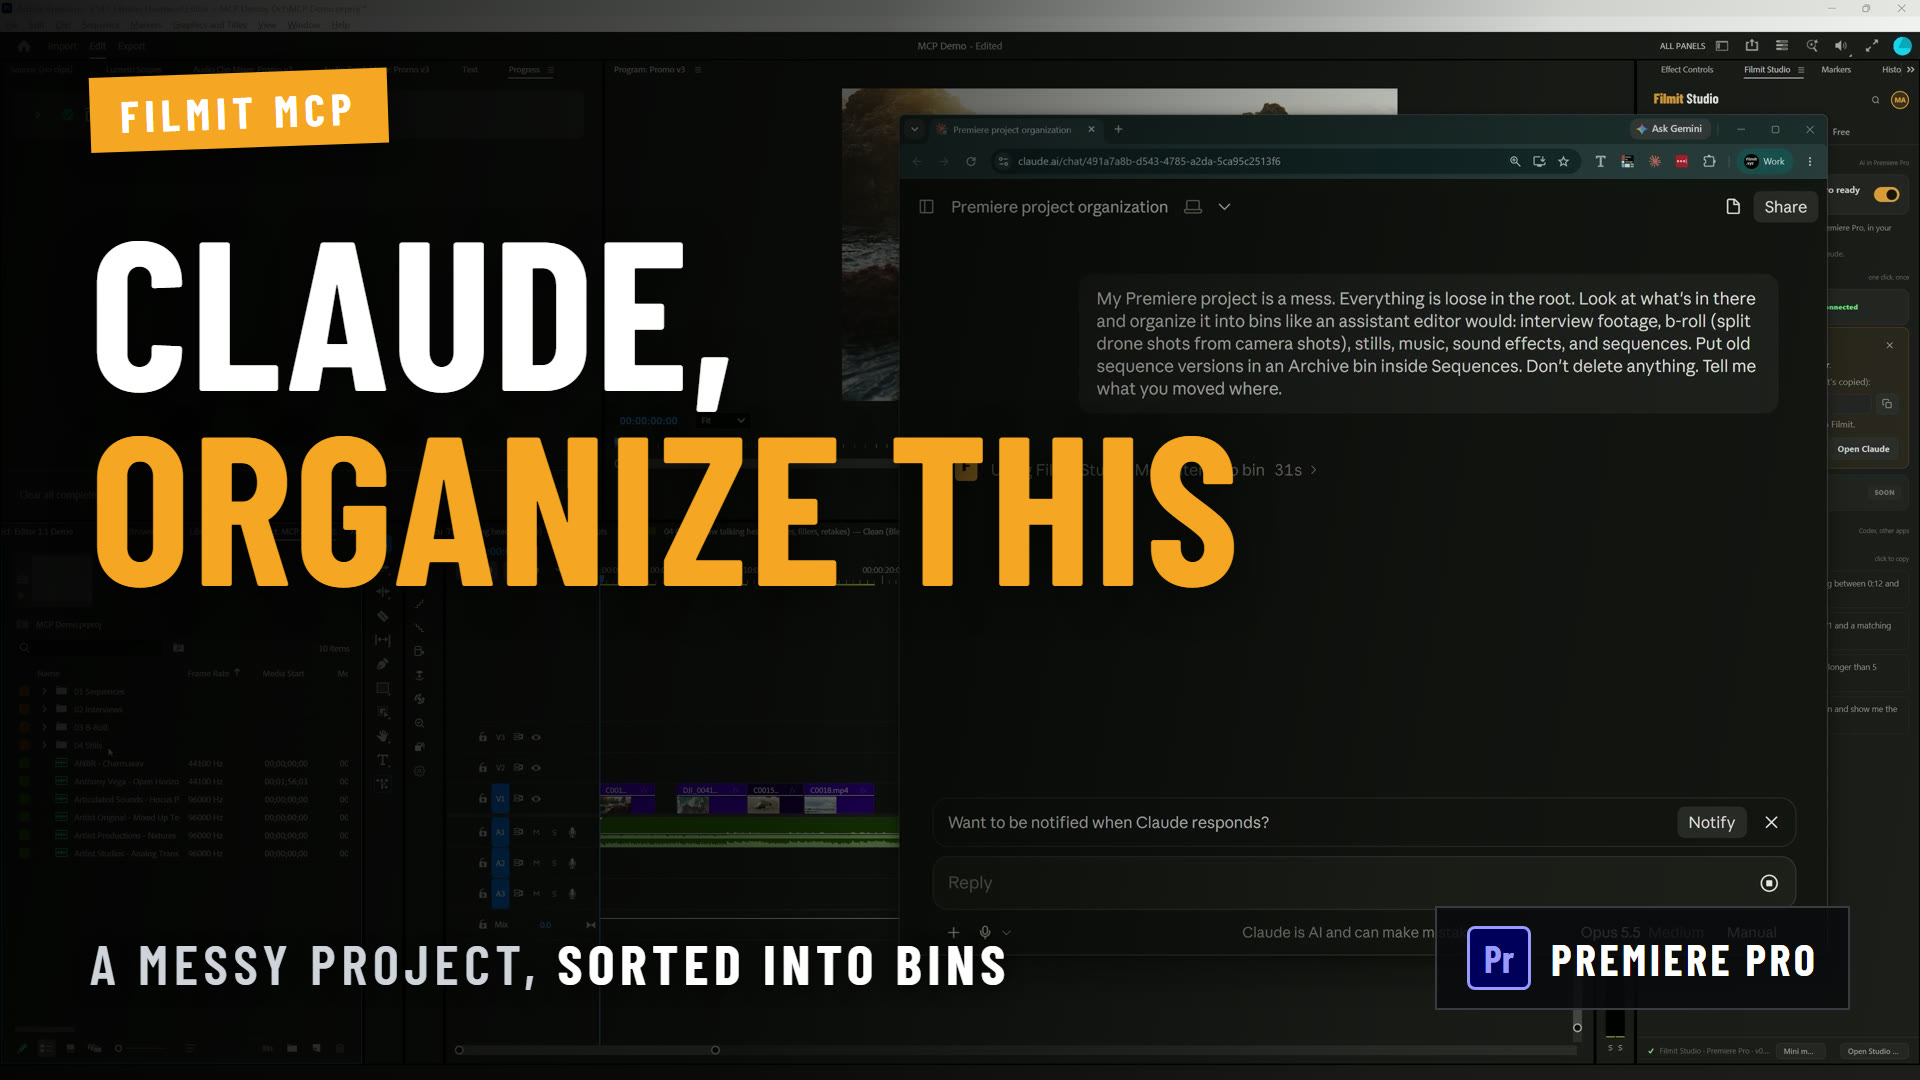
Before you cut anything, you want to see what you shot. A selects reel, which many editors call a stringout, is the usable part of every b-roll clip laid end to end in one sequence, so you, a director or a client can watch all of it in one pass. It is useful, and it is dull to build: open a clip, mark it, drop it in, repeat.
This guide covers the manual way to build one in Premiere Pro, then the way Max does it in the video above: one prompt to Claude through Filmit MCP, our free connector that lets Claude operate Premiere Pro.
How do you make a b-roll selects reel in Premiere Pro by hand?
You mark the part of each clip you want, send the clips to a new sequence, then add music and transitions.
- Make the sequence. Right-click a b-roll clip and choose New Sequence From Clip so the settings match your footage, then rename the sequence. That clip is already on the timeline, so delete it if you want to start empty.
- Mark each clip. Double-click a clip to open it in the Source Monitor. Press I where the good part starts and O where it ends.
- Send it to the timeline. Press the comma key to insert the marked range at the playhead. Open the next clip and repeat.
- Or do it in bulk. Mark In and Out on every clip first. Select the clips in the bin in the order you want them, then click Automate to Sequence at the bottom of the Project panel. It lays them out in order and can add the default transitions as it goes.
- Add the music. Drop the track on an empty audio track. Select it and press G to open Audio Gain, then set the level.
- Add fades and dissolves. Select the clips and press Shift+D to apply the default transitions. The default lengths are set in Preferences, Timeline.
The method is sound, and for a dozen clips it is the right one. The cost is step two. Every clip has to be opened and marked before anything else can happen, and that part grows with the shoot.
What do you need before you start?
- Premiere Pro, with the project open.
- Filmit Studio. The desktop app installs it into Premiere Pro, on Mac or Windows.
- A Filmit account. Connecting Filmit MCP is free with one.
- Claude. Your Claude plan is separate from Filmit.
To connect, open Window, Extensions, Filmit Studio in Premiere Pro, go to the MCP tab and click Connect. In Claude, add a custom connector and paste the address the panel gives you. The setup guide has every step, and how to use Claude in Premiere Pro walks through a first edit.
How does Claude build the selects reel for you?
You describe the reel in one message, and Claude builds the sequence in the project you have open, using the Premiere Pro actions Filmit MCP gives it.
Once Claude is connected, set its Filmit tools to always allow, so a long job does not stop to ask at each step.
This is the prompt Max sends in the video, word for word:
Build me a b-roll selects reel. Make a new sequence called "B-Roll Selects" using every drone and camera b-roll clip in the project (not the interviews), about 4 seconds from the middle of each, drone shots first. Put "ANBR - Charm" under it as music at around -15 dB with a 1 second fade in and fade out, and add half second cross dissolves between the shots. Show me a frame when you're done.
- Send it. Claude replies with its plan in a sentence: drone clips first, then camera b-roll, then the music bed, the fades and the dissolves, then a frame.
- Let it work. It takes a while. Max's advice in the video is to let it run and come back. Because the tools are set to always allow, nothing stops to wait for a click.
- Watch the sequence fill in. The new sequence appears in Premiere Pro and the clips land on the timeline while you watch.
- Check the frame. The prompt ends with a request for a frame. Claude pulls a still from the finished sequence and shows it in the chat, so you can see the result before you switch windows.
- Play it back. In the video the result is what was asked for: the b-roll strung out in one sequence with the music underneath.
Pro Tip: Name things in the prompt the way they are named in the project. Max gives the music track by its clip name and adds "not the interviews", so Claude does not have to guess which clips count as b-roll.
Where does it stop?
It stops at taste. Claude follows the rule you gave it and does not judge the footage.
- It does not cut to the music. Max says so in the video: it did not cut on pace, it just made the cuts. For a selects reel that is fine. For anything a viewer will see, the timing is yours.
- The middle of a clip is a rule, and the best moment is a choice. Claude works from project details like clip names and durations, plus a still frame when it asks for one. It has not picked the best 4 seconds of your drone shot. Slip the clips that need it.
- Review what it built. A general assistant can do the same job a little differently each run. Read what Claude says it did, play the sequence, and fix what you do not like. In Max's words, it will not replace you as an editor. It gets something on the timeline quickly.
Getting started
Connecting Filmit MCP is free with a Filmit account, and your Claude plan is separate. If the job is placing b-roll against an interview instead of stringing it out for review, that is what we built BRoll for.