A talking head cut down to its best lines is a row of jump cuts. The camera never moved, so at every edit the head snaps a little to one side and the audience sees the join. On a long piece to camera that happens again and again.
The classic fix is the punch-in: make every other clip slightly tighter, so each cut looks like a change of shot size. This guide covers how to do that by hand in Premiere Pro, then how Crop cuts in Editor sets it on a whole selection in one pass.
This video may reference an older version of Editor. Features and UI may have changed since recording.
How do you hide a jump cut with a punch-in by hand in Premiere Pro?
You raise Scale on every other clip in Effect Controls, then reframe so the eyes stay at the same height. It is the same few clicks repeated down the timeline.
- Finish the cut first. Punch-ins go on last. If you add or remove a clip afterwards, the wide and tight pattern shifts and two matching shots end up side by side.
- Select the second clip. Open Effect Controls from the Window menu and twirl open Motion.
- Raise Scale. A value around 110 is enough to read as a tighter shot.
- Reframe. Scale grows from the center of the frame, so a face in the upper part of the picture drifts upward. Use Position to bring the eyes back to where they sit in the wide shot.
- Copy it to the other clips. Copy the clip you just set, select every other clip down the timeline, and choose Paste Attributes from the Edit menu with Motion ticked.
- Play it down. Wherever two tight clips or two wide clips meet, fix that pair by hand.
The other native route is an adjustment layer with the Transform effect, placed above each clip you want tighter. That keeps the zoom off the clip itself. Our guide to zooming in Premiere Pro walks through it, along with keyframed zooms that move during the shot.
For a short piece, the manual way is fine. The time goes on a long dialogue edit: picking out every other clip across the whole timeline, then doing it again when a recut moves the pattern. Every punch-in is also the same size, which starts to look mechanical on a long video.
What do you need before you start?
- Premiere Pro. Editor runs as a panel inside it.
- Filmit Studio. The desktop app installs it into Premiere Pro, on Mac or Windows, and Editor comes with it.
- A Filmit account. Editor is part of Filmit Studio, and there is a free trial.
Once it is installed, open it in Premiere Pro from Window, Extensions, Filmit Studio, then open Editor from the panel.
How does Crop cuts in Editor do it?
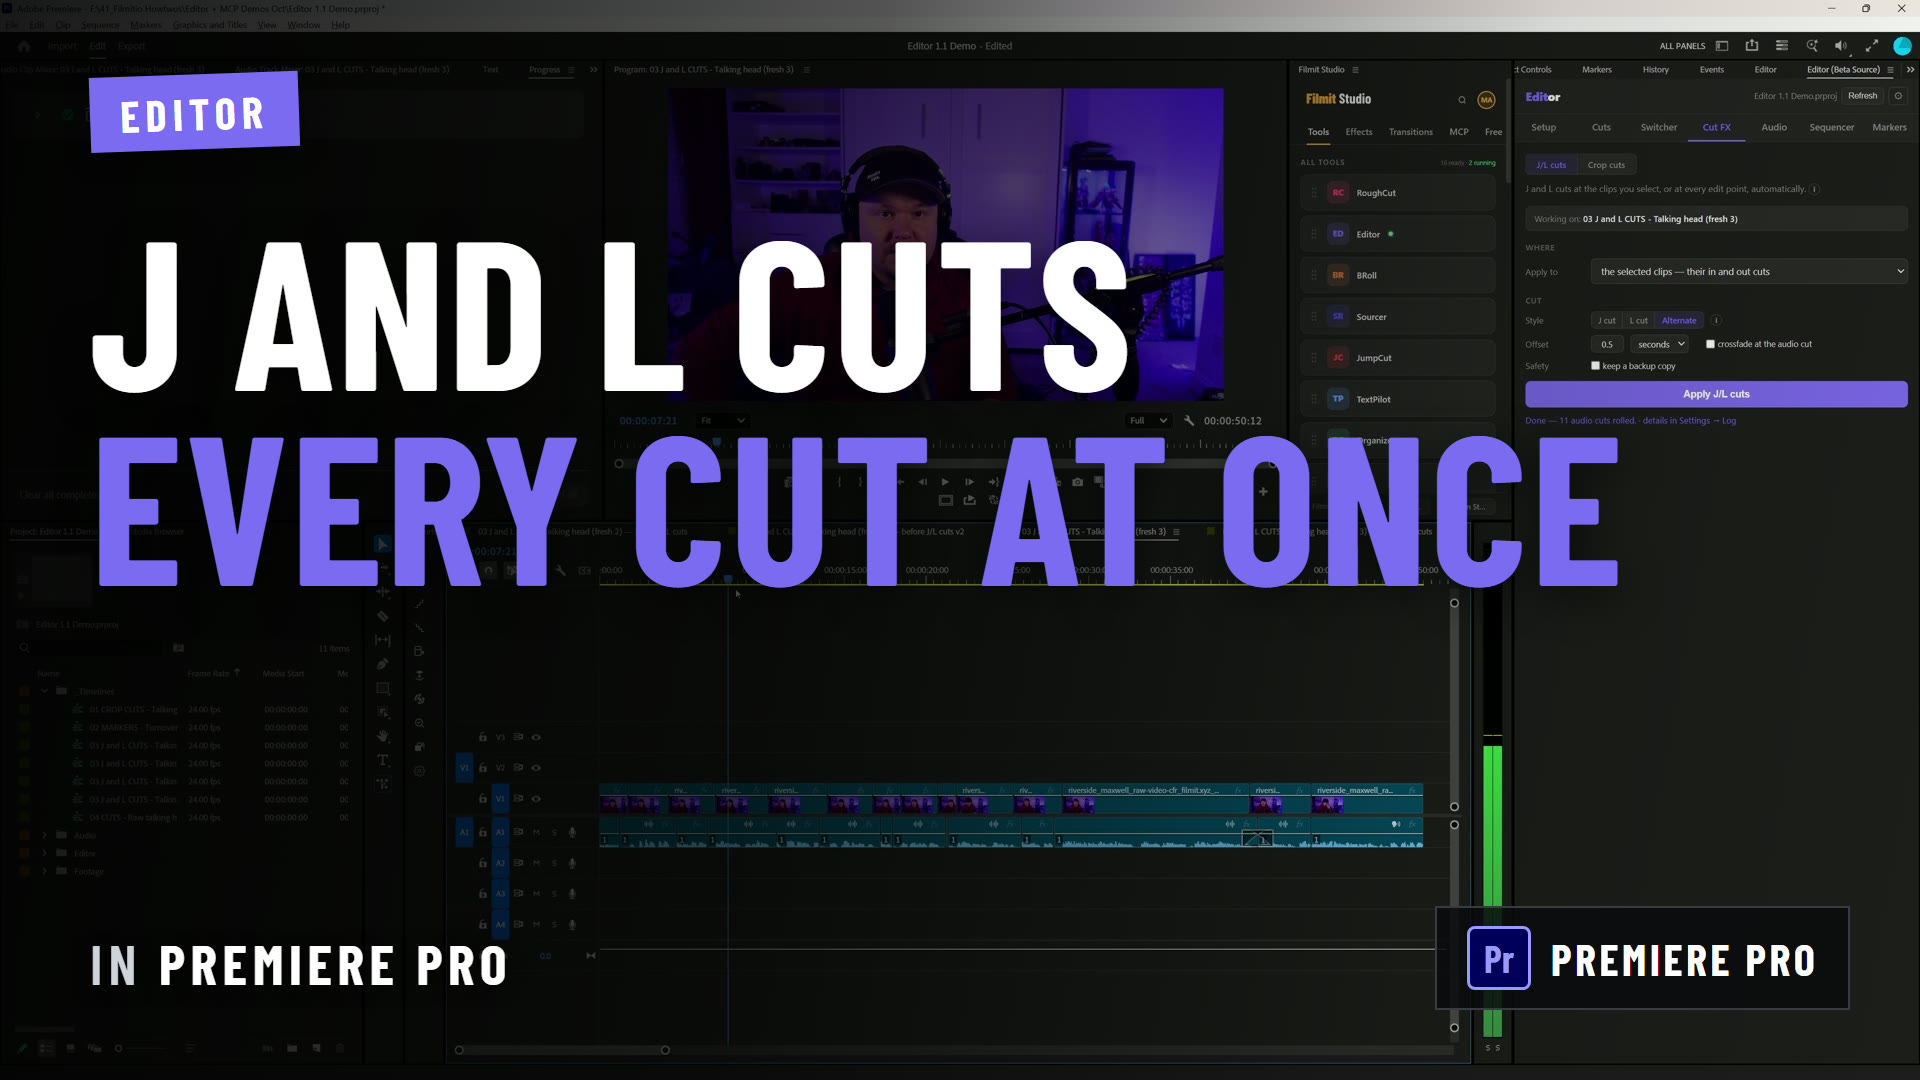
You select the clips, choose a pattern and a size, and Editor sets the punch-in on each clip for you. In the video above it is one selection and one button.
- Open Editor. In Premiere Pro, go to Window, Extensions, Filmit Studio, and click Editor in the panel.
- Go to Cut FX, then Crop cuts. Cut FX is one of the tabs along the top of Editor.
- Select the clips. Highlight the whole run of jump cuts on the timeline, or only a few clips. Apply to is set to the selected clips.
- Pick a pattern. Alternate goes wide, tight, wide, tight. Stepped adds a medium shot between the two. Random gives each clip its own size.
- Set the punch-in. The demo uses 110 percent.
- Choose the details. Turn on vary each punch-in if you do not want every tight shot to match, and choose where the zoom aims. The demo zooms toward the center.
- Click Apply crop cuts. If the footage has no spare resolution, Editor warns you first. In the demo Max clicks Punch in anyway and the clips are set.
Play it back and every cut now lands on a change of framing. Max runs it on a talking head recorded for YouTube, which is the kind of footage it was built for: one person, one angle, a lot of cuts.
Pro Tip: If you know a piece to camera will be cut hard, shoot it in 4K and edit in a 1080 timeline. The punch-in then uses resolution you already have, and the tight shots stay as sharp as the wide ones.
Where does it stop?
Crop cuts sets a fixed size on each clip. Three things stay with you.
- It is a cut, not a push. Each clip holds one size for its whole length. A slow zoom that moves during a shot is still a keyframe job.
- Resolution is finite. Footage the same size as the sequence gets softer when it is scaled up. Editor warns you, and whether to punch in anyway is your decision.
- It works on what you select. Leave B-roll and cutaways out of the selection, and check the framing on any clip where the subject sits well off center.
Getting started
Crop cuts is part of Editor, which comes with Filmit Studio, and there is a free trial. If your recording still has the dead air in it, start with how to cut silence in Premiere Pro, then come back and punch in on the cuts that leaves you with.