To loop an animation in After Effects, keyframe one full cycle of the move, then Alt-click (Option-click on Mac) the property’s stopwatch and type loopOut("cycle"). After Effects repeats those keyframes to the end of the layer. To loop a whole precomp or a piece of footage instead, use time remapping or Interpret Footage.
Below are all three native ways, the stutter that catches everyone at the seam, and a free toolbar that loops a layer to the end of the comp in one click, as in the video.
Loop keyframes with loopOut
Keyframe one cycle
Animate the move once: a spin from 0 to 360 degrees of Rotation, a bob up and back down on Position, a pulse on Scale.
Add the expression
Alt-click (Option-click) the stopwatch next to the property, or choose Animation, Add Expression. Type loopOut("cycle").
Pick the loop type
"cycle" repeats from the first keyframe, "pingpong" plays forwards then backwards, "offset" adds each cycle on top of the last (handy for a spin or a walk), and "continue" carries on at the last keyframe’s speed.
Loop the start too
loopIn() does the same before the first keyframe, so a layer can already be moving when the comp starts.
For a seamless cycle, make the last keyframe’s value match the first. And watch the easing: Easy Ease on both ends makes the move pause at every seam. For a constant spin, use linear keyframes.
Pro Tip: The loop length is the time between the first and last keyframe. If a cycle should take exactly two seconds, put the last keyframe exactly two seconds after the first, and the rhythm holds for the whole comp.
Loop a precomp with time remapping
Enable time remapping
Select the precomp layer and choose Layer, Time, Enable Time Remapping (Ctrl+Alt+T, or Cmd+Option+T on Mac).
Extend the layer
Drag the layer’s out point to the end of the comp.
Add loopOut
Alt-click the Time Remap stopwatch and type loopOut().
Fix the seam
The last Time Remap keyframe sits one frame after the precomp’s final frame, which shows up as a blank or doubled frame at every loop. Move that keyframe back one frame.
Loop footage with Interpret Footage
For a video clip or an image sequence, select it in the Project panel and choose File, Interpret Footage, Main. Under Other Options, set Loop to the number of times you need, and the footage item becomes that much longer everywhere it is used.
The one-click way with Shortcut
Shortcut is a small docked bar where every button does one everyday job. Its Loop button takes selected footage or precomp layers out to the end of the comp with no stutter at the seam, and Shift-click makes it a ping-pong loop. The video runs through the whole bar:
Adjustment layer
Need an adjustment layer over these layers? One click, and it spans the selection.
Freeze frame
Want to hold this frame? Freeze frame adds a three second hold right above the layer, original untouched.
Loop layer
Want that logo spinning all comp long? Loop runs it to the end, stutter-free.
Wiggle
Need a little shake? Wiggle drops the expression straight onto Position.
Reverse keyframes
Animation running backwards? Reverse keyframes flips them in time, eases and all.
Un-precompose
Stuck inside a precomp? Un-precompose brings its layers back into the comp, timing and order kept.
QC scan
Before you render, QC scan marks every missing file and disabled layer.
Quick reference
loopOut("cycle") or loopOut("pingpong") on the property. Shortcut’s Loop button is for footage and precomp layers.
Time remapping plus loopOut(), with the last keyframe moved back one frame. Or Shortcut’s Loop button.
Interpret Footage, Main, Loop.
Each Shortcut button is a single undo group in After Effects, so one Ctrl+Z (Cmd+Z) puts things back.
Or ask Claude or ChatGPT
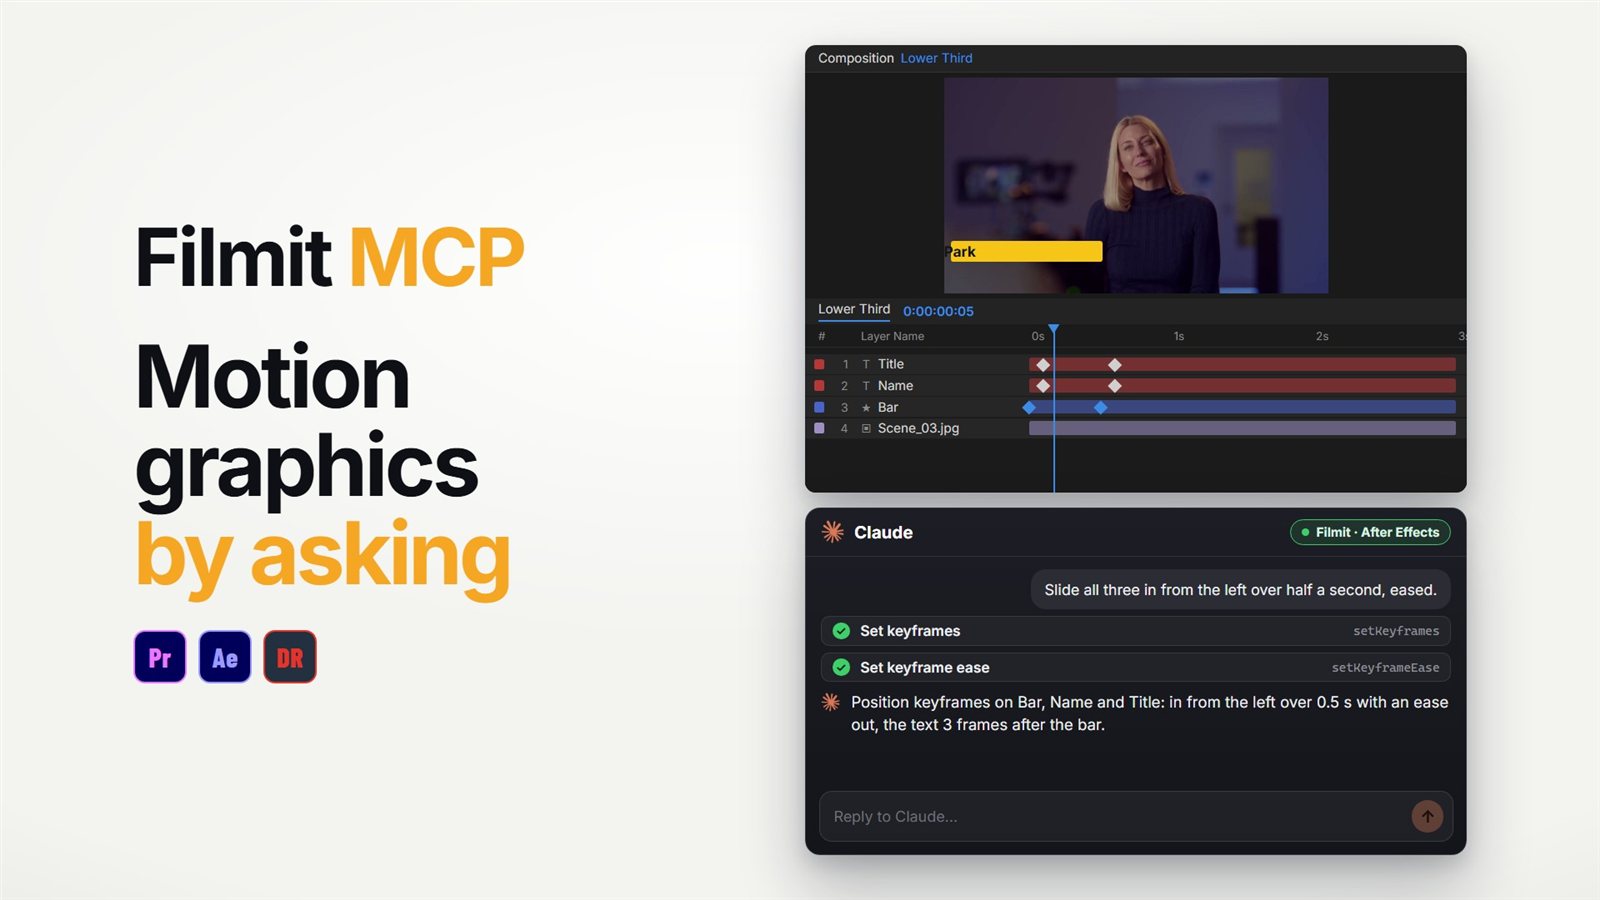
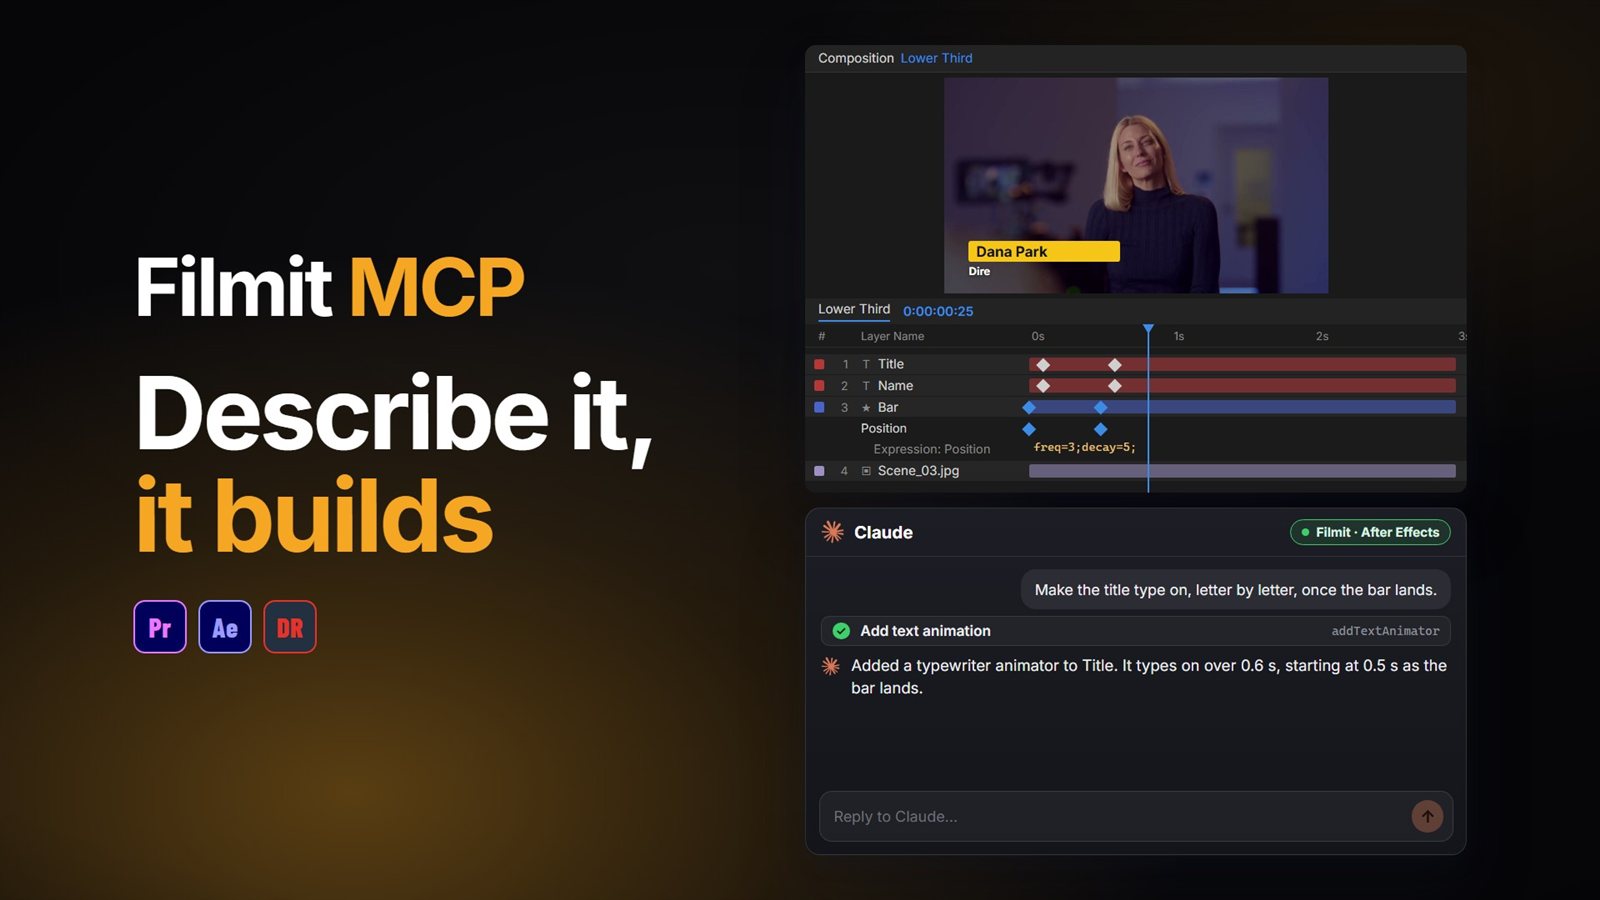
For loops across many layers, the Filmit MCP can set expressions by asking, including ready-made loops, wiggles and bounces. "Add a pingpong loop to the Position of every layer named cloud" is one request, and it reads the comp first so it finds the right layers. Our guide to using Claude in After Effects shows the setup, and the After Effects MCP guide lists what else it can build.
For a longer tour of the bar, see Shortcut in After Effects. The same bar works in Premiere Pro, where our guide to adding an adjustment layer in Premiere Pro uses it. Handing the project off once it loops? Gather the loose media into one folder first. Shortcut is free in Filmit Studio, our free desktop app.