Offline editing and online editing are the two halves of post-production. Offline is the creative stage, where you assemble, trim, and shape the story — usually on lightweight proxy files. Online is the finishing stage, where you conform back to full-resolution footage and make the picture delivery-ready with color, effects, titles, and a clean export. The terms are holdovers from the tape era, but the roles are alive and well in 2026. Knowing which stage you are in keeps the cut fast and the final master clean — and it stops you from wasting hours polishing a shot that is about to be deleted. This guide breaks down what each stage actually does, how proxies make it possible, why the split still matters (and when you can skip it), and how to hand off from one to the other without your timeline going offline.
What offline editing is — and what it is for
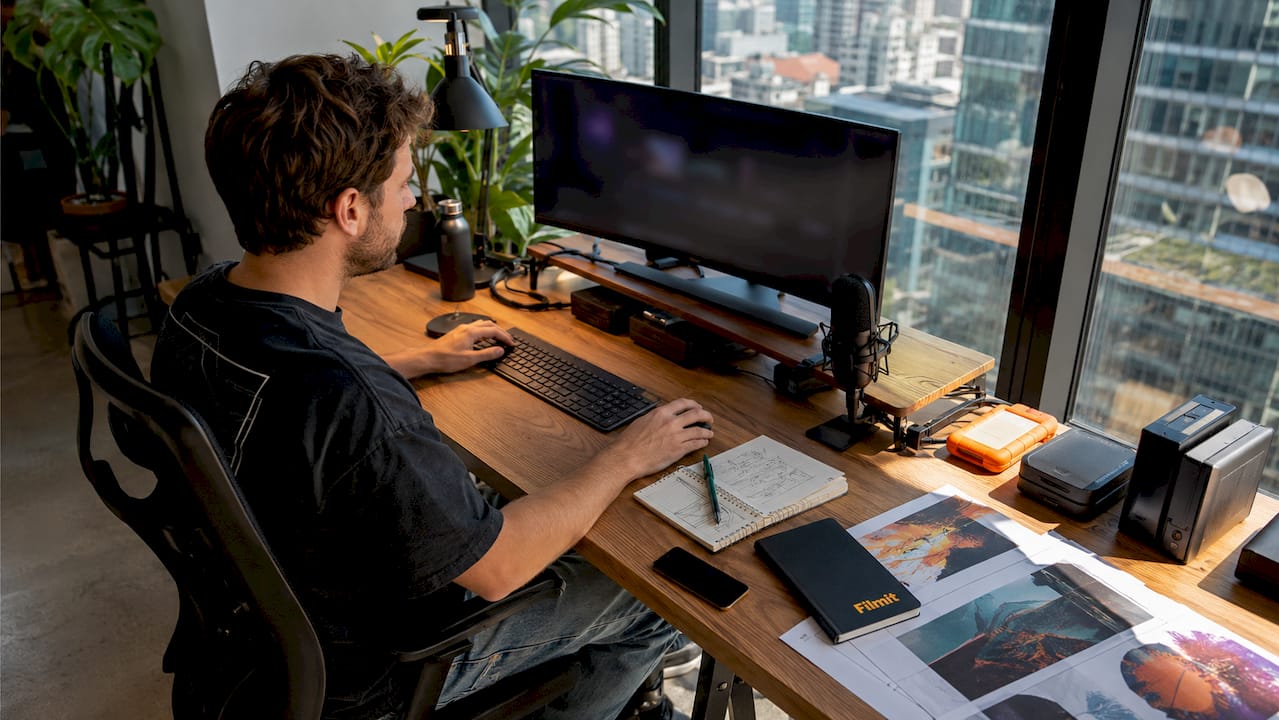
Offline editing is the creative stage. The goal is a locked story, not a finished picture. Work moves through a few predictable phases: you ingest and organize the footage, build a rough assembly in script or story order, tighten that into a rough cut, refine pacing and performance into a fine cut, and finally reach picture lock — the point where the structure is frozen so finishing can safely begin.
Through most of that, you are usually cutting on proxies: lightweight, low-resolution copies of your footage (often 1080p or lower) that scrub and play back smoothly even when the camera originals are heavy 4K, 6K, or RAW files. Because the proxies are small, your machine stays responsive, so you can rearrange clips, audition takes, and feel out pacing without staring at render bars.
Nothing here has to be pretty. Color is uncorrected, effects are placeholders, graphics are temp, and the audio is a scratch mix. What matters is structure and rhythm — does the story work? This is also the most flexible stage of the entire process: scenes are cut, moved, and deleted freely, typically in Premiere Pro or Avid Media Composer, until the edit clicks. The discipline that pays off later is organization — clean bins, clear naming, and a folder structure you can trust when it is time to conform.
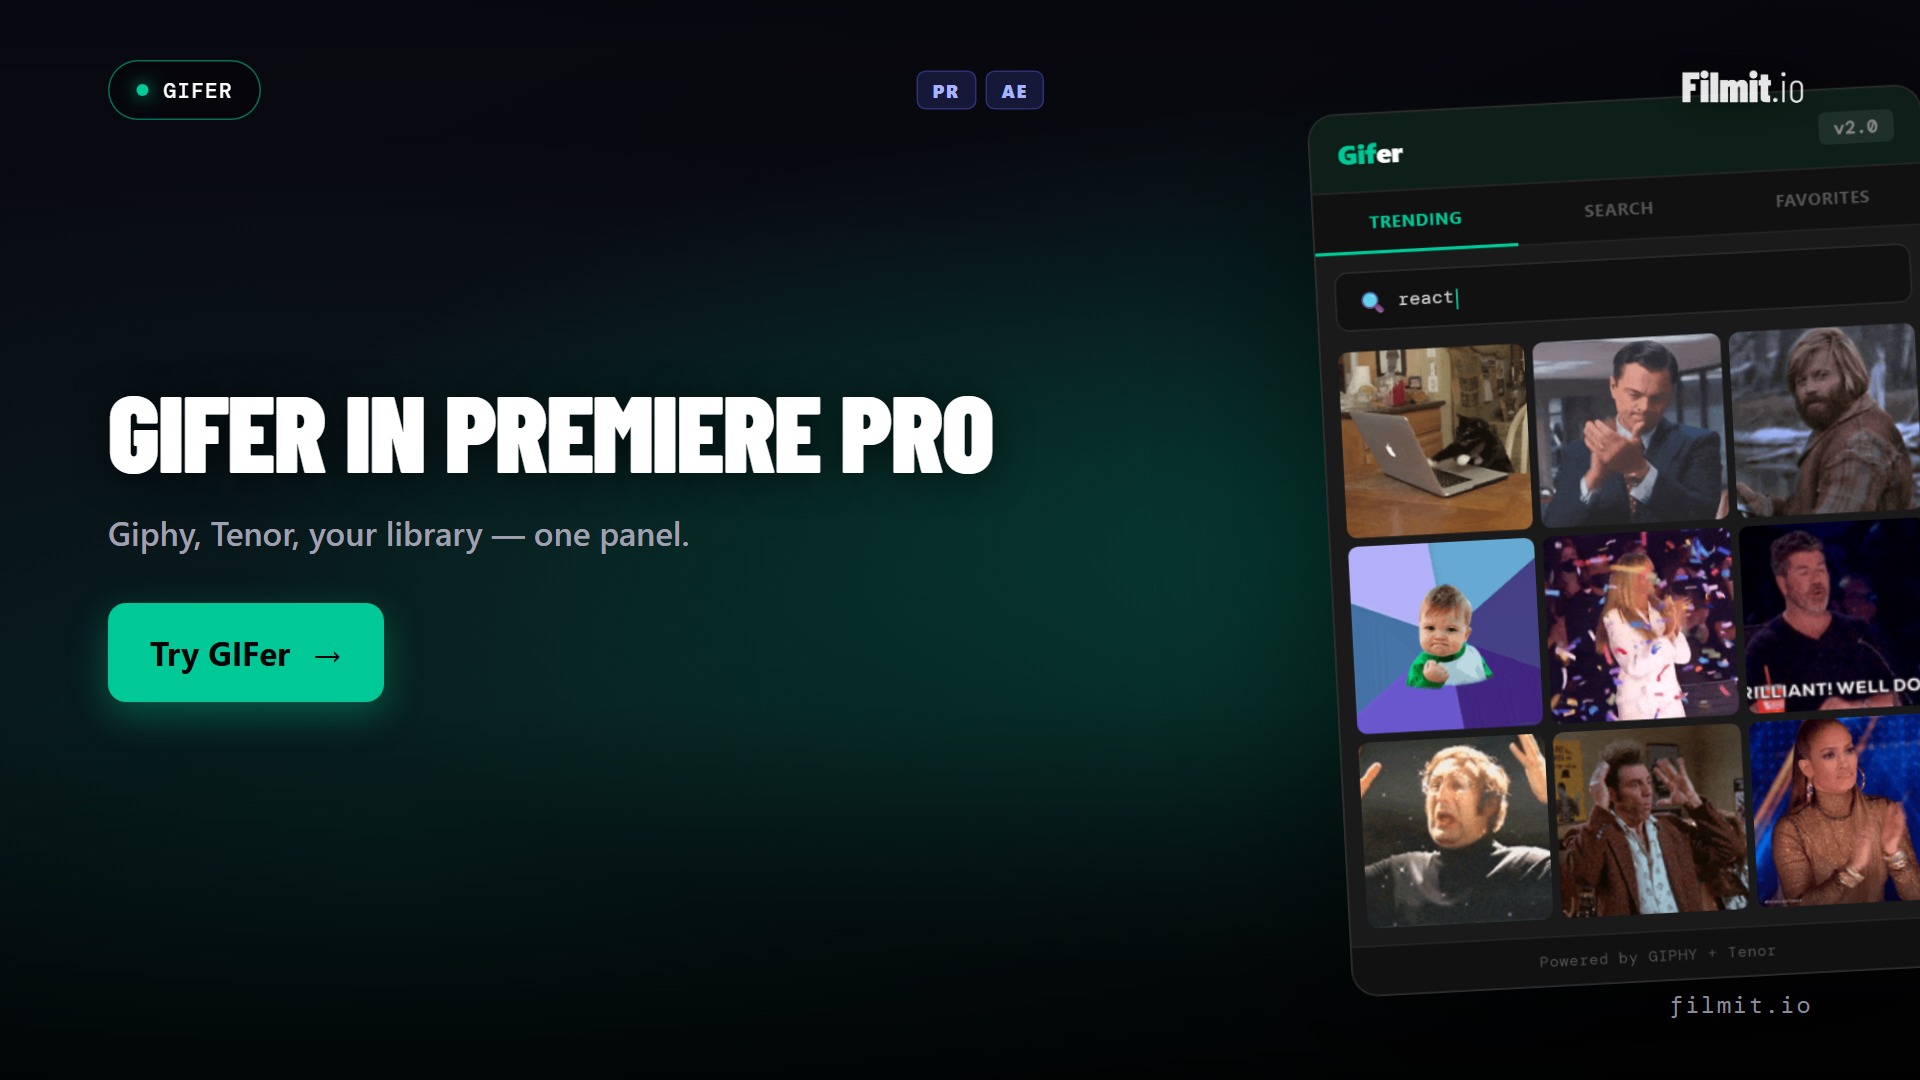
Filmit fit (offline): JumpCut rips silence and dead air out of long takes so a rough cut comes together in minutes, Sourcer drops placeholder stock straight onto the timeline, and Comper builds a sequence from your selected clips with the right settings detected automatically.
What online editing is — and what it is for
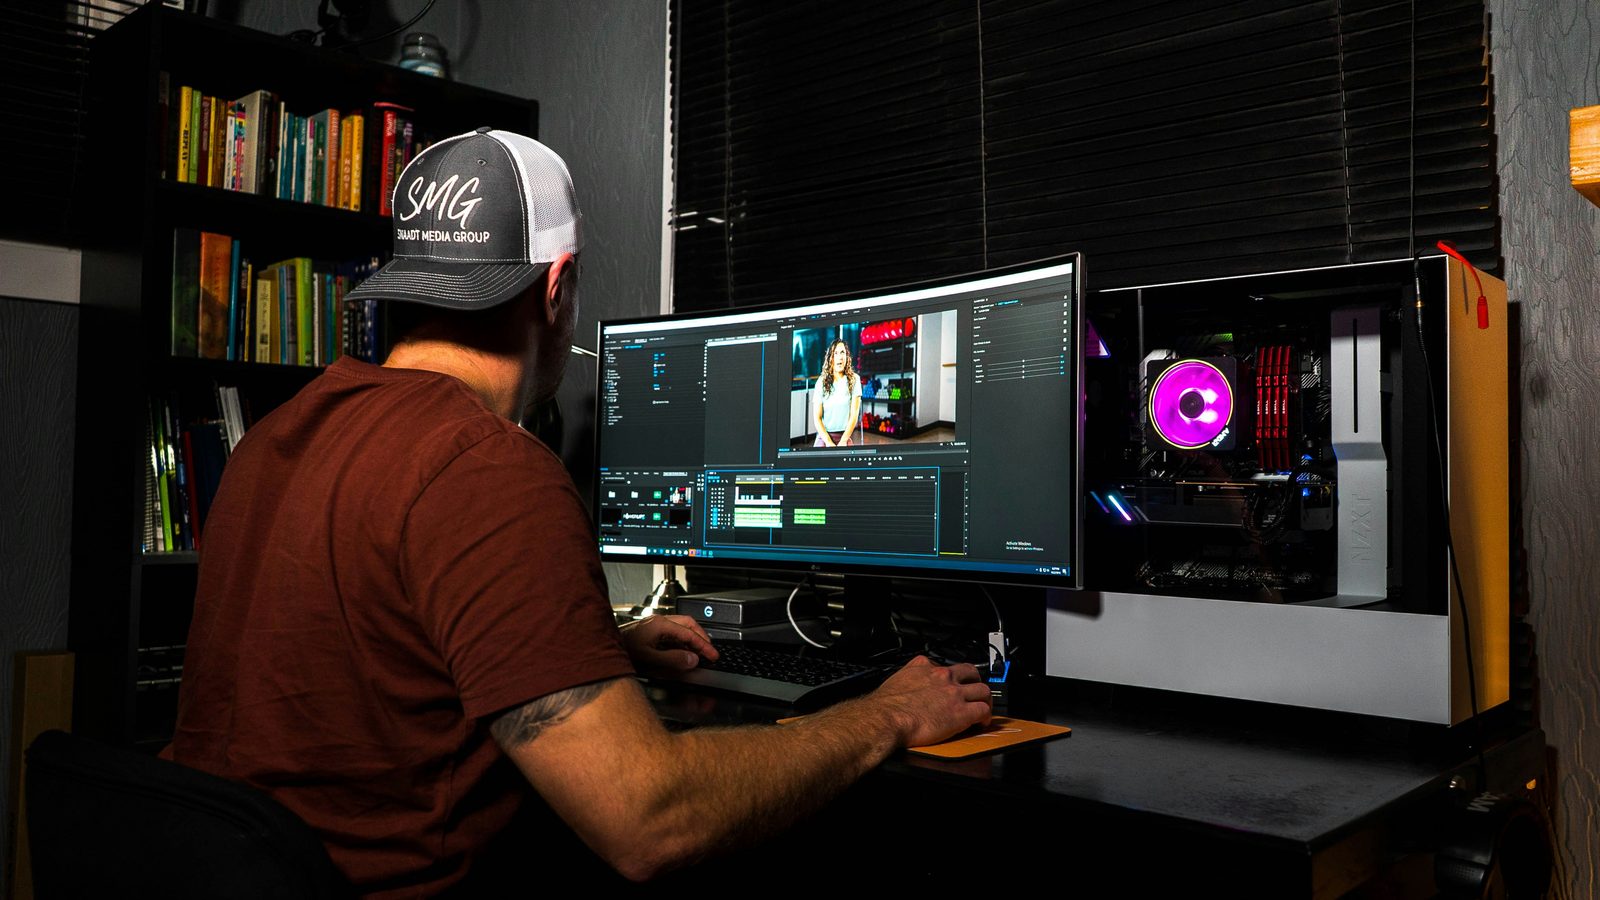
Online editing is the finishing stage. Once the cut is picture-locked, you conform back to the full-resolution masters and turn the locked edit into a deliverable. It is less about decisions and more about craft and consistency, and it usually covers five jobs:
- Conform. Relink the locked timeline to the original camera files so every shot is back at full quality.
- Color. Primary and secondary grading, shot-to-shot matching, and the overall look — broadcast-safe and consistent across the whole piece.
- VFX and cleanup. Compositing, screen replacements, rig and logo removal, beauty work, and any motion graphics that sit over the footage.
- Titles and graphics. Final lower thirds, name supers, captions, and animated typography — built clean at full resolution.
- Audio and mastering. The final mix, sound design, loudness compliance, and export to the exact codec, resolution, and spec the client or platform requires.
By this point the edit is "picture locked," and structural changes are deliberately costly — color, VFX, and audio are all built on a fixed cut, so re-ordering scenes means redoing finishing work. Heavy grading often moves to DaVinci Resolve or a dedicated finishing suite, though plenty of finishing now happens right in Premiere Pro and After Effects, where the Filmit online tools live.
Filmit fit (online): Overlays adds finishing texture like film grain and light leaks, CallOuts builds animated callouts and annotations, and TextPilot finalizes and translates your on-screen text.
Why the offline/online split still matters in 2026
Machines are faster than ever, so it is fair to ask why anyone still separates the two stages. A few reasons keep the split worth it:
- Performance. Even powerful workstations stutter on stacks of 6K or RAW with effects applied. Cutting on proxies keeps playback real-time, which protects the one thing the creative stage depends on: flow.
- Collaboration. Multiple editors and assistants can work from the same lightweight proxies on modest hardware or over a network, then conform once at the end. Proxies are what make a team workflow practical.
- Separation of concerns. Cutting for story and finishing for polish are different headspaces. Keeping them apart means you are not nudging a color wheel when you should be deciding whether a scene earns its place.
- Delivery discipline. Conforming forces a clean, spec-checked final pass instead of a chaotic export straight from a working timeline full of disabled layers and temp effects.
How proxy workflows actually work in Premiere Pro
Proxies are the engine that makes offline editing smooth, and Premiere Pro builds the whole workflow in. You can generate proxies on import by turning on Ingest settings in the Project panel and choosing "Create Proxies," or generate them later by right-clicking clips and selecting Proxy > Create Proxies. Premiere hands the encoding to Media Encoder in the background and links each proxy to its full-resolution original automatically.
Common proxy formats are ProRes Proxy or a low-bitrate H.264 at 1080p or lower — small enough to fly, good enough to judge the cut. Once proxies exist, a Toggle Proxies button (which you add to the Program Monitor) flips the entire project between proxy and full-res with one click, so you can spot-check detail at full quality whenever you need to.
The key thing to understand is that proxies are a display convenience, not a separate edit. Every cut you make while viewing a proxy applies to the full-resolution master underneath. When you toggle proxies off or export, Premiere uses the originals. That is exactly what makes the offline-to-online handoff possible — your creative decisions ride on the real footage the entire time, so "going online" is mostly a matter of switching back to full quality and finishing.
Offline vs online at a glance
Storytelling, pacing, and structuring the narrative
Polishing, color correction, and final visual effects
Low-res proxies (1080p or lower) for fast, smooth playback
Original full-res masters (4K, 8K, or RAW)
Premiere Pro or Avid Media Composer
DaVinci Resolve or a high-end finishing suite
High — scenes are freely cut, moved, or deleted
Low — major structural changes get difficult and costly
Premiere, Avid, or Resolve — the software behind each stage
The offline/online split is partly a software story. Offline editing — the story-first, cut-heavy work — has long lived in Adobe Premiere Pro and Avid Media Composer, the NLEs built for fast, flexible cutting and large-team collaboration. Online finishing, especially heavy color, has gravitated to DaVinci Resolve and dedicated finishing suites, where the grading toolset and node-based pipeline are strongest.
In practice, the line is blurrier than it used to be. Resolve has a capable edit page, Premiere and After Effects have grown serious color and finishing tools, and plenty of teams now cut and finish in the Adobe ecosystem without ever round-tripping to Resolve. The right answer is whatever keeps your pipeline simple: if your finishing needs are met inside Premiere Pro and After Effects, staying there skips the conform step entirely — which is exactly where Filmit's color, titling, and polish tools are designed to fit.
What a real offline-to-online handoff looks like
Picture a six-camera corporate event — a keynote plus a couple of panels, a few hours of footage per camera. The offline stage starts with ingest: the assistant editor syncs the cameras, generates 1080p proxies, and organizes everything into bins by camera and segment. The editor builds a multicam sequence, cuts the keynote down to a tight fifteen minutes on proxies, drops in temp music and placeholder lower thirds, and gets the client to picture lock.
Then the project moves online. The editor toggles proxies off so the timeline conforms to the full-res masters, grades the footage for consistent skin tones and on-brand color, swaps the temp lower thirds for final animated titles, builds clean data graphics from the keynote slides, mixes the audio for crisp speech and balanced music, and exports masters to spec — a high-bitrate deliverable plus vertical and square social cutdowns.
The single most common failure in that handoff is offline media: a renamed folder or a moved drive between lock and conform, and the timeline turns gray. The fix is discipline set up back in the offline stage — mirror your bins to your folders, consolidate duplicates before you hand off, and never rename source folders mid-project. Our guide to managing media assets in Premiere Pro covers the relinking workflow in depth.
Preparing your offline edit for a clean online
A few minutes of housekeeping at picture lock saves hours in finishing. Before you hand off, clean the timeline so the online stage inherits a tidy, unambiguous edit:
- Remove the clutter. Delete disabled clips, mute tracks you are not using, and clear temp effects that were only there to sell the rough cut.
- Flatten and label. Collapse nested sequences where you can, and clearly label retimes, speed ramps, and any shot that needs special attention in color or VFX.
- Consolidate the media. Run Consolidate Duplicates and confirm every clip points to a master on a shared, correctly named drive — this is what stops the timeline going offline at conform.
- Export the handoff. Send an EDL, XML, or AAF along with a reference export of the locked cut, so whoever grades or mixes can rebuild your exact edit and check their work against the picture you locked.
- Write the notes. A short list — "shot 14 is temp, hero replacement coming," "client wants a warmer grade overall" — turns a guessing game into a brief.
None of this is glamorous, and all of it is the difference between an online stage that flows and one that stalls on questions you could have answered in advance.
When you can collapse the two stages
Not every project needs a formal split. A ninety-second single-camera talking-head, a quick social edit, or a short YouTube video on a capable machine can be edited and finished in one timeline — cut, color, title, and export without ever generating proxies. The rule of thumb: the heavier the footage, the larger the team, and the higher the delivery stakes, the more the offline/online split earns its keep. For small, solo, lightweight projects, one timeline is simply faster — and that is a perfectly professional choice. The mistake is not skipping the split; it is skipping it on a project big enough to punish you for it.
Where Filmit fits — across both stages
Key takeaways
Lock the story first (often on proxies), then conform and deliver.
Cut 4K, 6K, and RAW without choking playback, then toggle full-res back in.
Performance, collaboration, separation of concerns, and clean delivery.
Mirror bins to folders and consolidate before you conform.
One timeline is fine when footage is light and the team is just you.