Animating a row of clips so they march around a circle in After Effects sounds simple, then you actually try it. You are placing every tile by hand, working out the position around the curve, rotating each one to face the right way, and timing them so they animate in instead of all popping on at once. By the time the spacing reads as a clean circle, the fun has drained out. None of that is the creative part.
GridMaker takes that work off your plate. Its path mode builds a tiled animation that follows a path, like a circle on screen, from either a built in shape preset or a path you draw yourself in After Effects. You set the shape, the tile aspect, and the motion, then run your GIFs or footage around it and let GridMaker handle the positions, the rotation, and the timing. This guide follows the demo above, from install to a ring of footage rotating around a path.
This video may reference an older version of GridMaker. Features and UI may have changed since recording.
What is GridMaker?
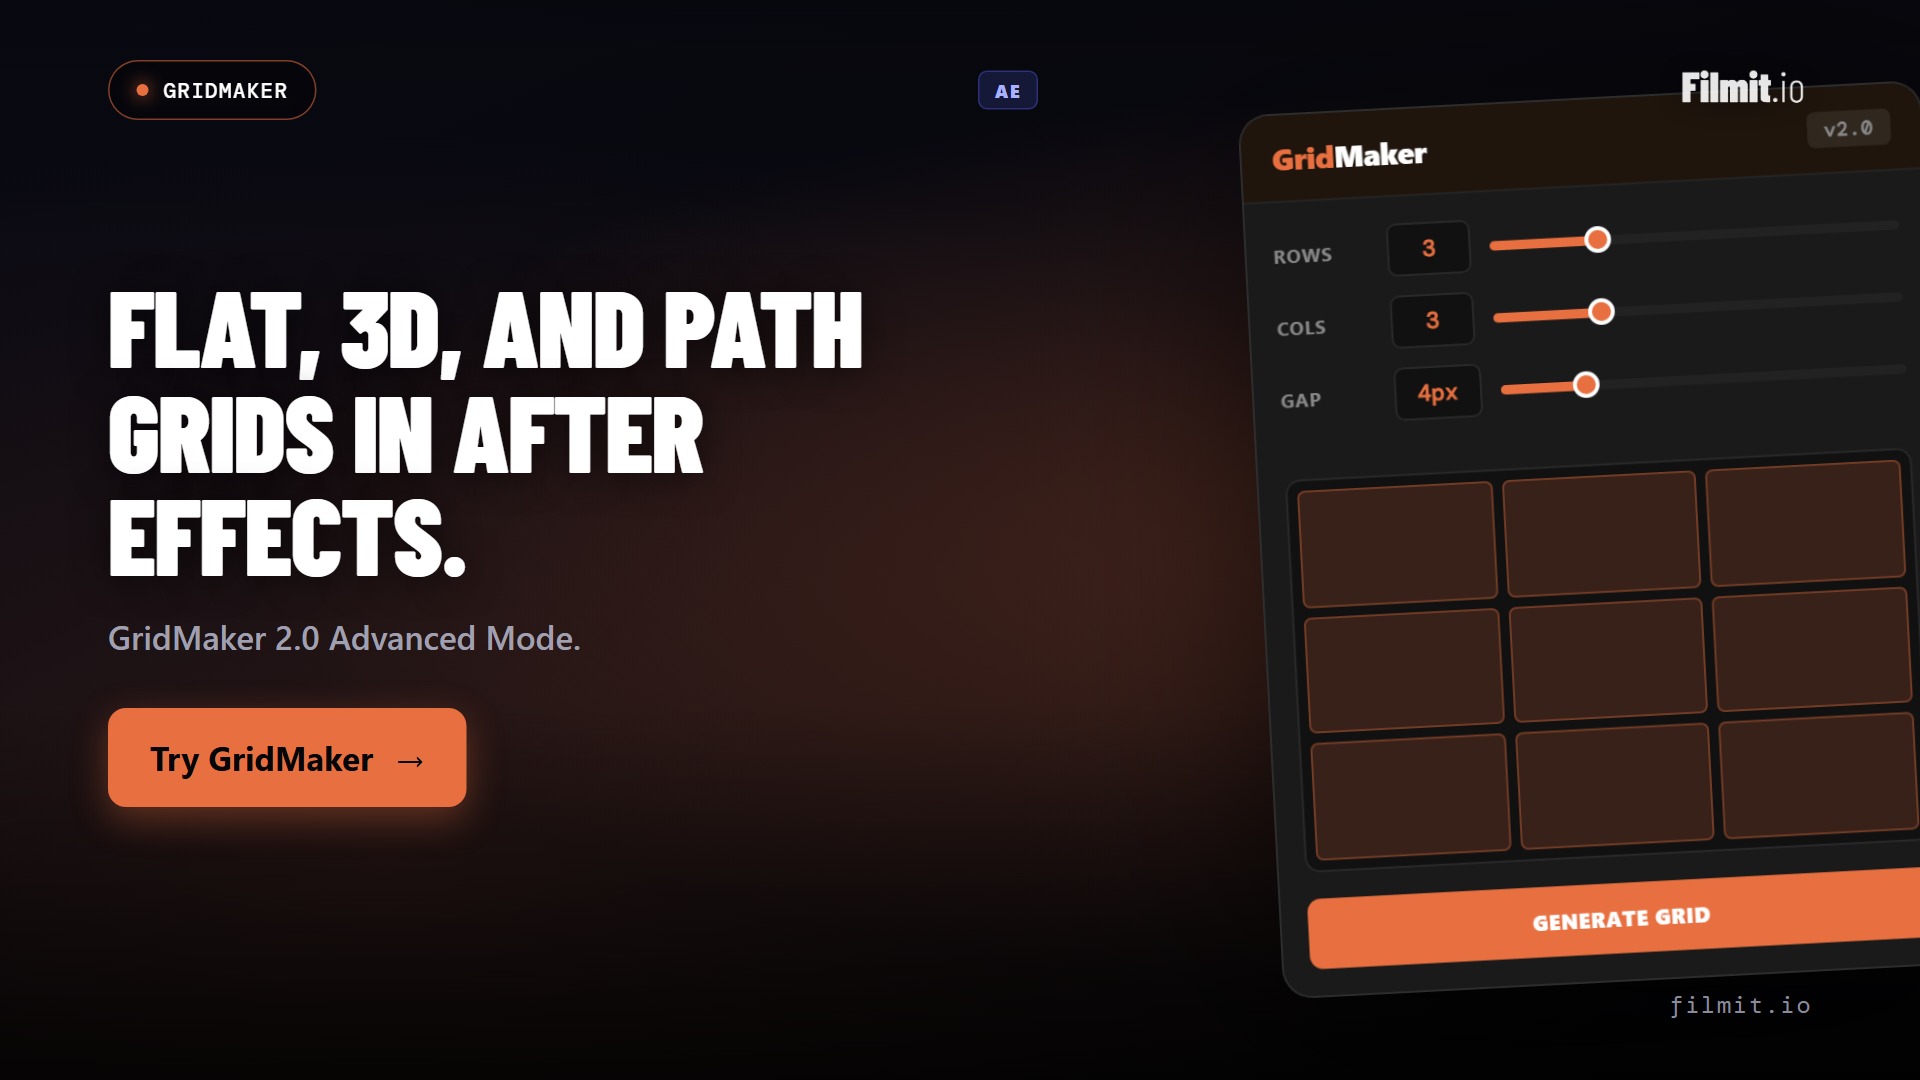
GridMaker is our grid building tool for After Effects. The first window you see is the original GridMaker, which grids footage quickly, still there for fast column and row work. Alongside it is Advanced Mode, a visual grid designer with three modes: flat, which auto-animates grids, 3D spatial, which makes spheres, and path, which runs tiles along a path. This guide is about that last one.
How to install and open GridMaker
GridMaker installs through Filmit Studio, the free desktop app with a 7-day free trial. You do not install GridMaker on its own: it comes with the whole plugin suite, so TextPilot and the rest of the tools land at the same time. Download Filmit Studio and GridMaker installs with the suite.
Once it is installed, open After Effects and go to Window, then Extensions, then GridMaker. The first window is the original GridMaker for quick gridding. To build a path animation, click Advanced Mode.
Path mode in Advanced Mode
In Advanced Mode you get three modes. Flat auto-animates grids, 3D spatial makes spheres, and path runs your tiles along a path. Switch to path mode.
Start with the setup that applies to any path build. Set your composition, the frame rate, and the duration. Turn on pre-comp boxes so each tile comes in pre composed, and turn on a grid controller, which creates a null so you can control the grid later. Then set how many boxes you want, nine in the demo, and choose where the path comes from.
Pro Tip: Turn on the grid controller before you build. The null it creates lets you adjust the size and corners of the whole grid after the comp exists, instead of rebuilding from scratch.
Shape presets and your own paths
Your source is either a shape preset or a path you draw in After Effects. The presets are circle, square, and star. Pick circle, then choose the tile aspect: square, 16x9, or vertical. Vertical looks especially cool around a circle. Round the corners to taste and set the size of the tiles.
That gets you a circle of tiles ready to animate. If a preset is close to what you want, this is the fastest path. If you need an exact shape that is not in the list, you draw it yourself.
Pro Tip: Try the vertical tile aspect on a circle before anything else. Tall tiles wrapping a ring read very differently from square ones, and it is the look the demo calls out as the standout.
Importing a path you draw in After Effects
To run your tiles around a custom shape, draw it yourself. Make a new comp and draw a shape with the polygon or pen tool, whatever outline you want the tiles to follow, and keep that shape layer selected.
Back in GridMaker, choose Shape Preset from After Effects, then Import Path from After Effects with the shape selected. GridMaker pulls in your exact shape, and the tiles follow it precisely. Click Create New Comp and GridMaker builds a comp that follows your path. This is the way to get any outline you can draw, not just a circle, square, or star.
Animation: travel along, speed, and spread
With a shape in place, you set the motion. There are two behaviors: travel along, where the tiles move around the path, or layout, which places them without moving them. Pick travel along for the rotating look, then set the speed and the spread. Spread pushes the tiles out around the path so they sit evenly instead of bunching up.
Two more controls finish the animation. The assemble, or in, animation plays the tiles in at the start. There is also an out animation you can add, where the tiles scale away at the end, or turn it off and let them stay. Set those, and the result is a ring of tiles rotating around your path.
Pro Tip: Use spread to even out the gaps before you touch the speed. Getting the tiles distributed cleanly around the path first makes the travel along motion read as one smooth rotation rather than a clump that drifts.
Applying footage to the path
Shapes are the start, but the point is your own footage. Make a new comp and insert nine clips: in the demo those are nine GIFs dropped in with GIFer, our GIF panel, though stock video from Sourcer works the same way. Back in GridMaker, select your layers and click Apply to Selection. GridMaker builds the path out of your footage, and it rotates around the path just like the shape preset did.
One thing to watch: short GIFs may need their timelines extended so they keep playing through the full animation. If a clip runs out before the rotation finishes, stretch its layer out in the comp. That is the whole loop, and you have a ring of footage circling your path.
Key takeaways
GridMaker turns a tiled animation that follows a path into a few choices and a click.
Click Advanced Mode in GridMaker, then switch to path to run tiles along a path.
Use a circle, square, or star, or import a path you draw with the polygon or pen tool.
Tiles travel along the path or sit in a static layout, spread evenly around the shape.
Insert clips with GIFer or Sourcer, select the layers, and click Apply to Selection.
The grid controller adds a null so you can adjust the size and corners after the build.
Why I built GridMaker
I have placed tiles around a circle by hand on real projects, and it is exactly as tedious as it sounds. The positions, the rotation, the spacing, the staggered timing, all of it is math you redo every time you change the shape. The creative decision is which clips and how they move. The rest is busywork a tool should absorb.
So path mode generates all of it for you. The positions around the path, the rotation, the spread, the in and out animation, and the null rig are built from the shape and the numbers you set, so you spend your time on the look and the motion. Draw a path or pick a preset, drop in your footage, and the ring assembles itself. This is just the start, and we build new features from customer feedback, so tell us what you want next. Our Discord is linked right in GridMaker's Settings.
Get started with Filmit
GridMaker installs through Filmit Studio, the free app that manages every Filmit plugin for After Effects and Premiere Pro. It comes with a 7-day free trial, and one install puts GridMaker in your editor and keeps it updated.
To fill your path with footage fast, pair GridMaker with GIFer, the GIF panel used in this demo to drop nine GIFs into the path. It searches and inserts GIFs straight onto your timeline, and the whole suite runs under one subscription.