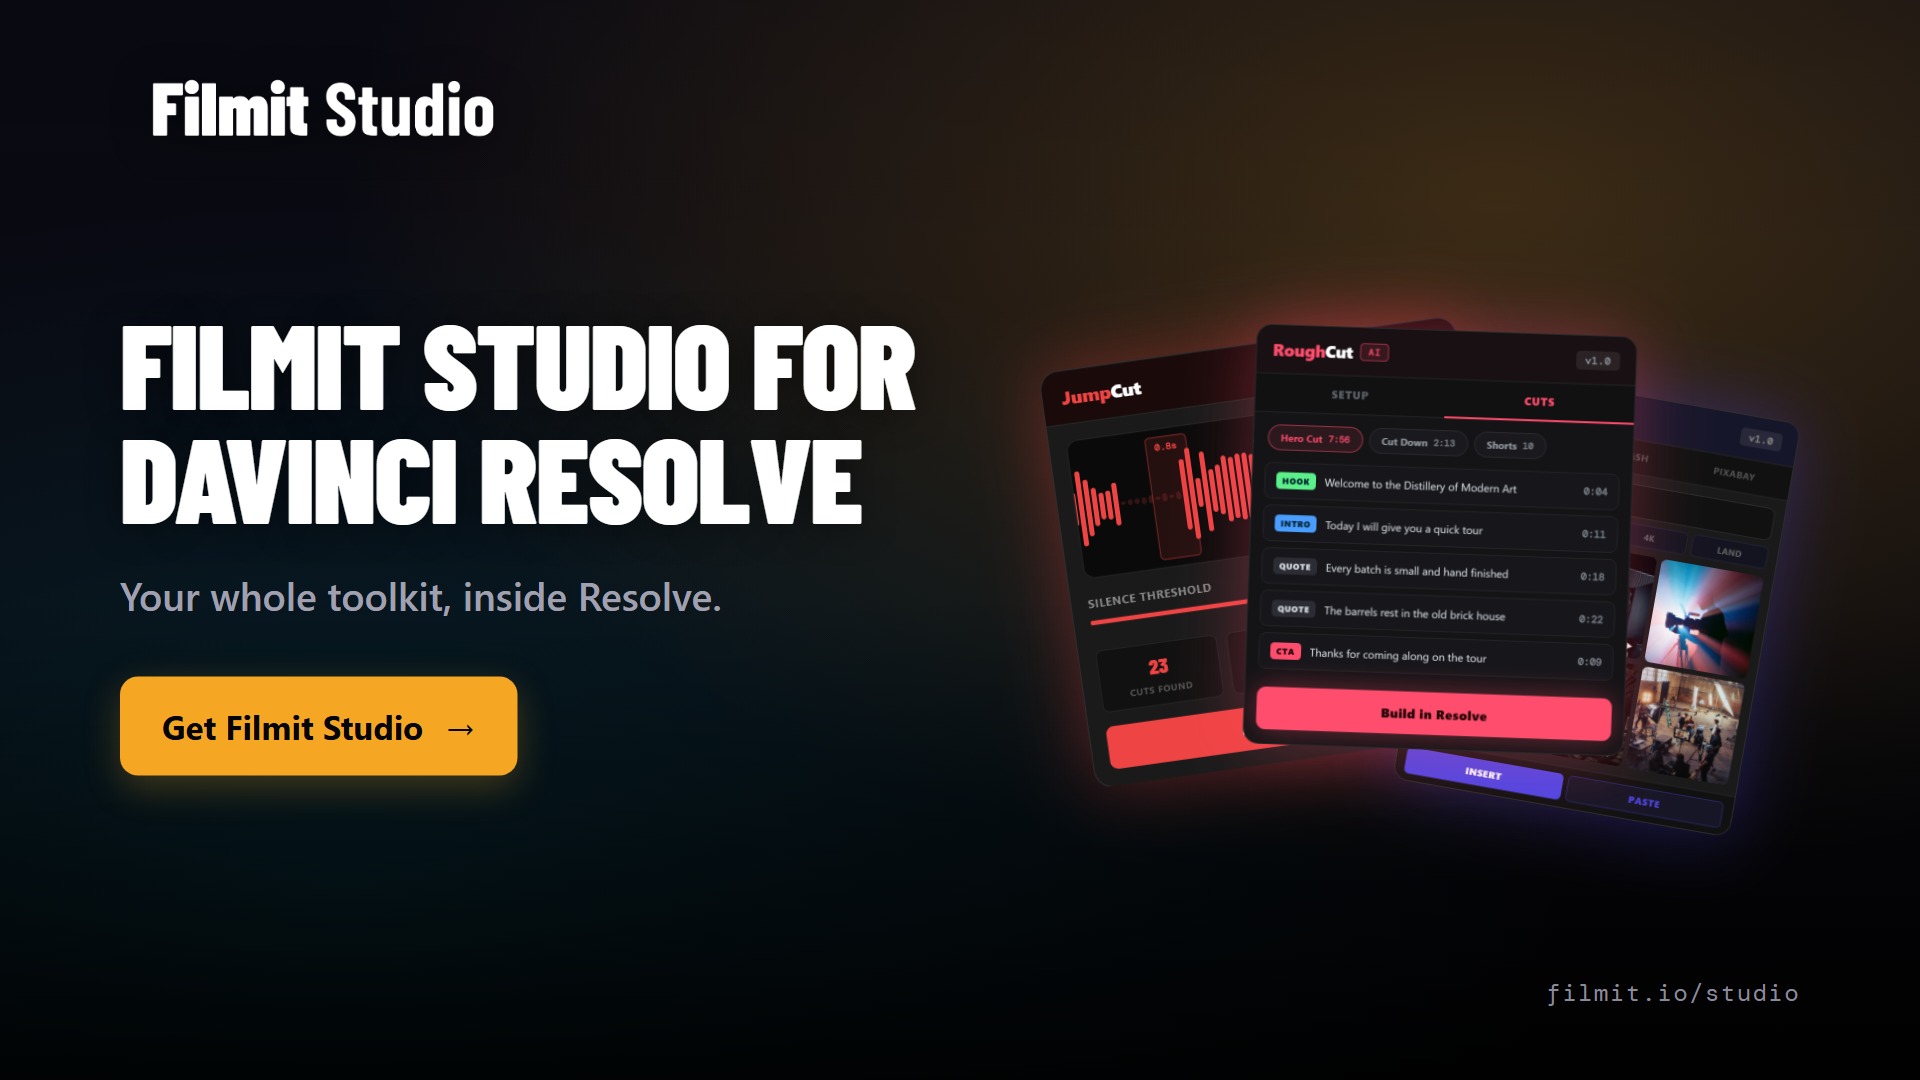
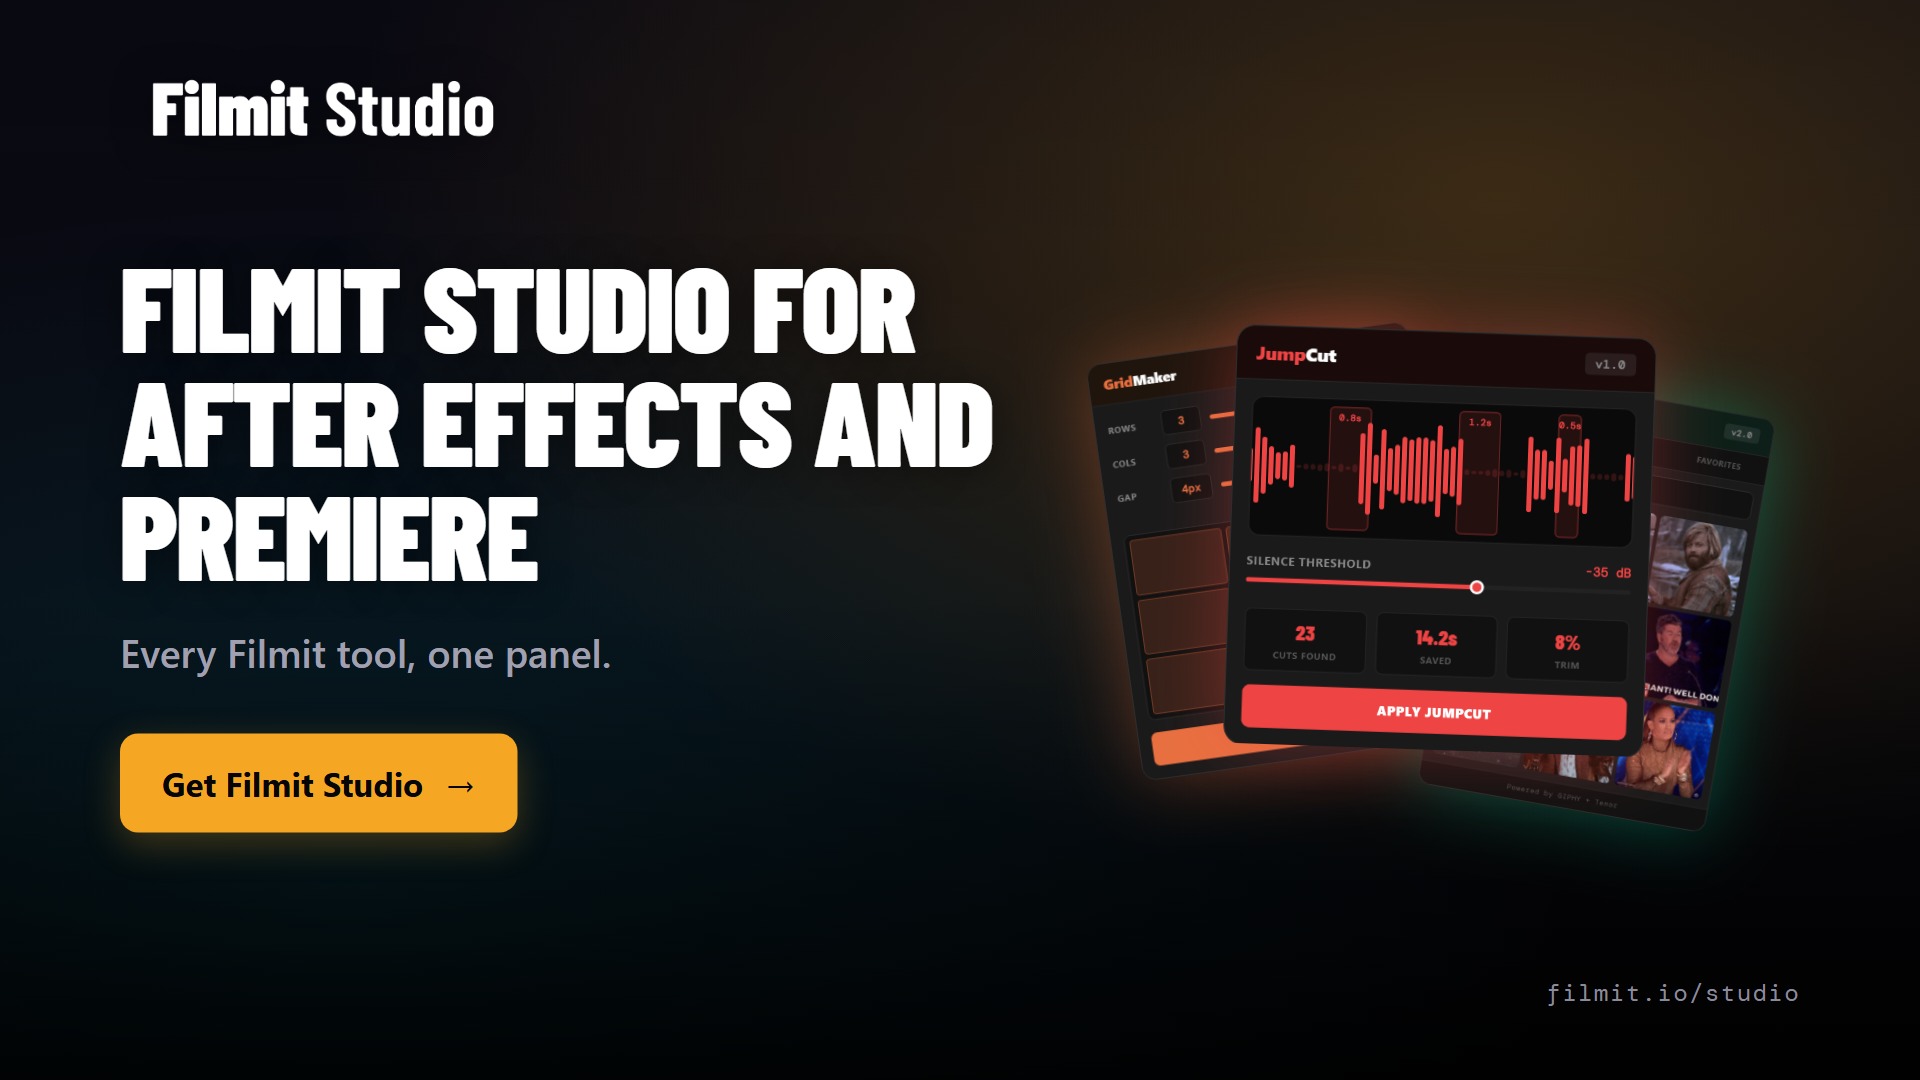
Filmit Studio is the desktop app that installs, updates, and manages every Filmit tool for Adobe Premiere Pro, After Effects, and DaVinci Resolve. Instead of hunting down installers and license keys for each plugin, you sign in once, and the whole toolkit is installed, activated, and kept current from one place. This walkthrough covers the entire flow: download and onboarding, a full tour of the desktop app, and how the panel actually behaves inside Premiere Pro, from opening RoughCut to applying an effect with a single click.
This video may reference an older version of Filmit Studio. Features and UI may have changed since recording.
Installing Filmit Studio
Setup is deliberately short. Create an account at filmit.io, hit Try Filmit Studio, download the desktop application for Windows or macOS, and install it. The first time you open the app and log in, a short onboarding walks you through the only question that matters: where do you edit? Pick Premiere Pro and After Effects, DaVinci Resolve, or both, and Studio installs every tool for the editors you chose. It is one batch install for the whole suite, and it moves quickly even though there is a lot to install.
That "everything at once" behavior is the point of Studio. You are not choosing which tools to buy or which installers to run; the subscription covers the whole toolkit, so Studio just installs all of it. When new tools release, they are bundled into the same app, your install updates itself, and the new tool shows up without you doing anything.
Create an account and download
Sign up at filmit.io, grab the desktop app for Windows or macOS, and install it like any other application.
Pick your editors
Onboarding asks where you edit. Choose Premiere Pro and After Effects, DaVinci Resolve, or both. If you use several, pick both and every editor gets its tools.
Let it install the toolkit
Every tool installs in one pass. As new tools release, they are bundled in, so your install never goes stale.
Restart your editor once
In Premiere Pro and After Effects the panel lives under Window > Extensions > Filmit Studio. In DaVinci Resolve it is under Workspace > Workspace Integrations, with Filmit effects and transitions alongside.
Onboarding ends with a quick tour of the app so you know your way around, and from there you can start the 7 day free trial, join the Discord, or head straight into Studio.
A tour of the desktop app
The first thing you see is the dashboard, and it is home base. Announcements land here, and when a new tool ships you can install it from the same screen. The links along the bottom cover the Discord, documentation, and a help page for when something goes sideways. It is worth a glance whenever you open the app, since this is where "what changed" lives.
My Tools is the section you will use most. It lists every tool installed for your editors, which is all of them, since Studio pre-installs the suite. Each entry shows what it is and which editor it belongs to, and as the lineup grows, this list grows with it. There is nothing to manage here day to day; it is the inventory of what you own, always current.
The Assets section is easy to miss and worth knowing about. It holds a LUT library you can browse with before and after previews on a sample image, and any LUT you like saves straight to your downloads. Template and preset libraries live here too. If you have ever kept a folder of half-organized LUTs from five different sources, this replaces it with something searchable.
Then there is the practical row: a My Courses section that is coming soon, a Learn section with demos and how-tos for every tool, and Settings. Settings is where the grown-up stuff lives: API keys for the AI-powered tools (your Anthropic or OpenAI key, plus keys for the GIF and stock services some tools use), your billing page for managing the subscription, your license page, and the same help page from the dashboard. If you ever want to replay the onboarding tour, that is in here too.
The panel inside Premiere Pro
The desktop app manages everything, but the actual editing happens inside your NLE, so let us go there. In Premiere Pro, head to Window > Extensions and open Filmit Studio. It opens like any native panel and docks wherever you want it. At its heart is the tools list: every Filmit tool for Premiere Pro, one click each. Click RoughCut and it opens as its own panel, ready to analyze footage and build rough cuts. Click Sync and you get batch audio syncing: a hundred video clips and a hundred wave files, matched and synced in one pass instead of one at a time.
The panel is editor-aware. Inside Premiere Pro your After Effects toolkit is listed but grayed out, and inside After Effects it is the reverse, so you always see what is available where you are standing. Below the live tools there is a Coming Soon section for the applications currently in development and testing. If you are a beta tester, those are unlocked early, which is exactly how the beta program works: real editors on unreleased tools before they ship.
Effects and transitions, applied in one click
Effects and transitions get their own tab with live video previews, and this is where the panel earns its keep. With a clip selected, click an effect and it applies straight to your footage; pick a VHS look and it is on the clip before you could have typed the name into a search box. Transitions work the same way at the cut: select a clip and left click a transition like Camera Roll to pin it to the left side, or right click for placement options. And if nothing is selected, clicking an effect just opens a bigger preview, so browsing never accidentally changes your timeline.
These are all real Premiere Pro effects underneath. Open Premiere's own Effects panel, type Filmit, and the whole set is there to drag on the old-fashioned way; the panel is simply a faster, visual way to browse them. The library currently sits at more than 40 effects and transitions, and a new batch is in development now, driven by customer requests, so that number keeps moving.
The panel lists the full toolkit; each tool opens as its own docked panel.
Select a clip, click an effect or transition, done. No clip selected opens a bigger preview instead.
The free tools: GIFer and Sourcer
Two tools in the panel are completely free, no subscription required. GIFer inserts GIFs directly into your timeline, which sounds like a novelty until you edit anything for social and realize how often a reaction GIF is the joke. A major GIFer update is in the works. Sourcer is a royalty-free stock browser: search for videos and other media and pull them into your timeline without leaving the editor or worrying about licensing. The plan is to keep growing the free tier over time, alongside the pro tools.
Mini mode: the sidecar layout
Here is the workflow trick from the end of the video. Squish the panel down narrow and it collapses into mini mode, a compact sidecar strip that lists your tools as a vertical stack. Now switching tools is instant: GIFer, Sourcer, RoughCut, Sync, one tap each. Pin your favorites, say JumpCut and TextPilot, and they float to the top of the stack so your two most-used tools are always first. If you want the panel to stay compact regardless of size, hit the Mini Mode button at the bottom and it locks until you expand it again. It is a small thing that makes the panel feel like part of the editor rather than another window to manage.
One tip before you go
The panels inside your editor are tied to the Filmit Studio desktop app; that connection is what keeps everything licensed and current. So if a license ever looks stuck or a panel says you are locked out, restart the Studio app and it re-syncs. That fixes it in almost every case. If you get stuck anyway, open the profile menu inside Studio and hit Contact Support; it opens a small form that reaches the team directly, and your API key and license status are shown right above it so you can sanity-check the basics first.
That is Filmit Studio in a nutshell: one app that keeps the whole toolkit installed, current, and a click away, in the desktop app and inside Premiere Pro, After Effects, and DaVinci Resolve. Get Filmit Studio and start the 7 day free trial, and if there is a tool you want built next, tell us in the Discord. That is genuinely where the roadmap comes from.