A rotating 3D sphere of footage is one of those shots that looks expensive. Every tile sits in space, faces the camera as it turns, and the whole thing spins on a loop. Build it by hand in After Effects and you are rigging nulls, parenting layers, and doing a lot of math just to get a pile of clips to read as a sphere instead of a mess. Then you have to animate it, and keep it looping for the length of the comp.
It is way easier than it looks. GridMaker does the geometry, the rig, and the loop for you, so making a sphere comes down to picking a shape and clicking a button. This tutorial follows the demo above, from installing GridMaker to a finished, spinning sphere of footage you can drop your own clips into.
This video may reference an older version of GridMaker. Features and UI may have changed since recording.
What is GridMaker?
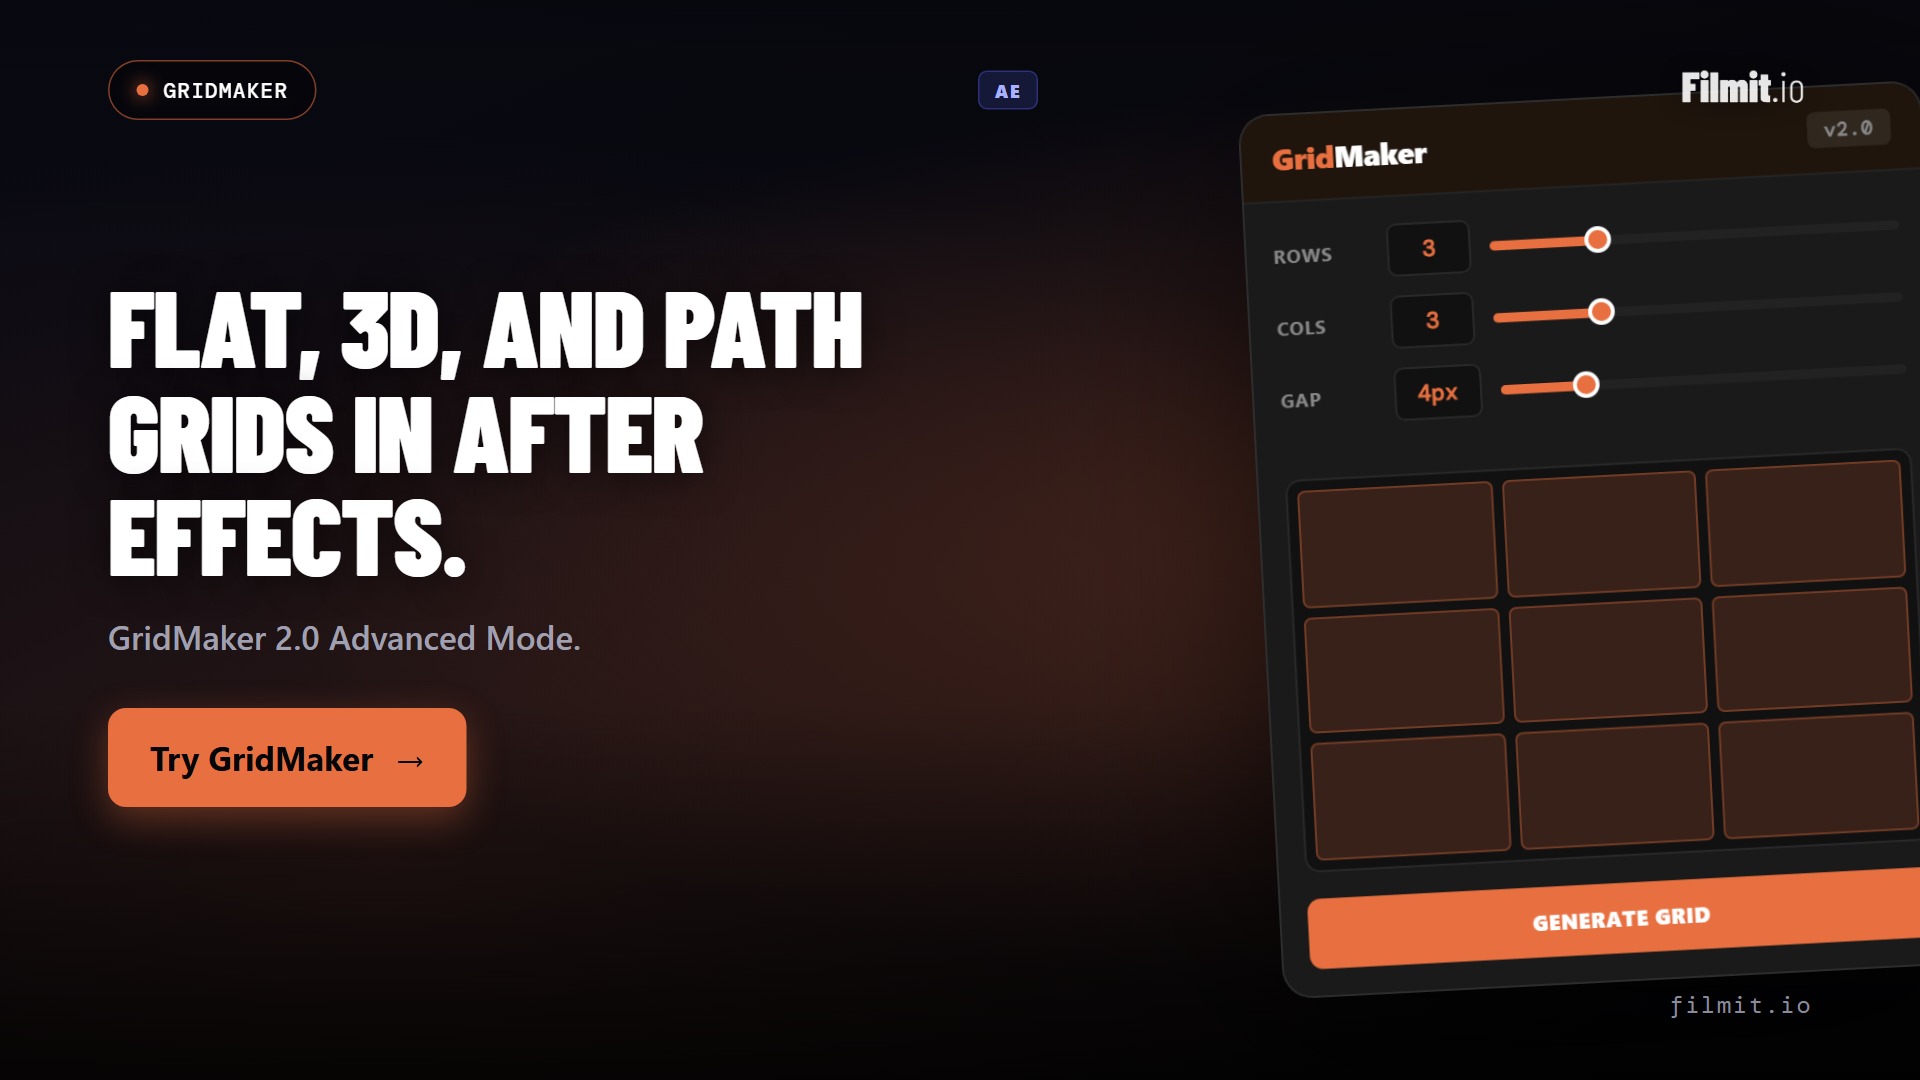
GridMaker is our grid builder for After Effects. The normal interface is for quick gridding, the fast columns and rows you reach for most days. Sitting behind it is Advanced Mode, where the more involved work lives: flat grids that auto animate, path based grids, and the 3D spatial grids we are using today. For a rotating sphere of footage, 3D spatial is the mode you want.
How to install and open GridMaker
GridMaker comes through Filmit Studio, our free desktop app. There is a 7-day free trial, and GridMaker installs with the whole suite, so once Filmit Studio is set up the plugin is already in your editor. From there, open After Effects and go to Window, then Extensions, then GridMaker.
The panel opens on the normal interface. That quick gridding view is great for everyday work, but for a sphere you click Advanced Mode to switch into the visual designer.
3D spatial mode in Advanced Mode
Advanced Mode opens showing the flat version, the flat grids that auto animate. There is also a path mode, but today we use 3D spatial. On the left is a Composer, where you pick the shape you want to build. The whole point of this mode is that it arranges your tiles around a 3D point for you, so you describe the shape and GridMaker positions everything in space.
The first settings are the composition basics. We are working at an HD composition, 60 frames a second, and a 10 second duration. Boxes start at 24, and for this build we move that down to 15. Those numbers carry straight through to the comp GridMaker generates, so it is worth setting them before you start shaping the sphere.
Shapes: sphere, ring, helix, carousel
In the Composer you can pick from sphere, helix, tumble, ring, and carousel. Each one is a different way of wrapping your tiles around that 3D point, and they all share the same controls underneath, so once you can build one you can build any of them. For this tutorial we want a sphere, so that is the shape we choose.
Pro Tip: Set your boxes, composition size, and duration before you choose a shape. GridMaker carries those values straight into the comp it builds, so getting them right up front saves you from rebuilding the sphere later.
Dialing in radius, size, corners, and face camera
With the sphere selected, you shape it from a handful of controls. Radius makes the sphere larger or smaller. The tile aspect sets the shape of each tile, and you can choose 16x9, vertical, or square depending on the footage going in. Round the corners to turn the tiles into dots, or leave them square for hard edges, and set the size of the tiles themselves. From there you zoom in or position the sphere on screen so it sits where you want it.
One more choice matters for the look: whether the tiles face the camera or not. Facing the camera keeps every clip readable as the sphere turns, which is usually what you want for footage. The motion is set to spin by default, and there are other moves to choose from. You can also set no in animation, have the tiles scale up as they arrive, and set the order to random so they do not all appear at once.
Pro Tip: Round the corners all the way and your square tiles become dots. It is a quick way to change the entire feel of the sphere without touching your footage, so try it both ways before you commit.
Generating the comp and applying footage
Once the sphere looks right, click Create New Comp. GridMaker builds the comp in After Effects fast, creating the pre comps and organizing them into a folder, and from there you just drop footage into the boxes. That is the simplest path: build the structure first, fill it after.
The demo also shows the other route. Make a new comp, insert a bunch of GIFs with GIFer, then match how many boxes you used, which here is 15. Select your layers, match the comp size, and click Apply to Selection. GridMaker runs and builds the sphere out of the clips you selected. GIFer works in Premiere Pro too, and Sourcer does the same for stock footage and stills, all free, so you have a fast way to fill those 15 slots.
Pro Tip: Short GIFs need their timelines extended so they play for the whole spin. If a tile goes blank partway through the loop, stretch that layer out to the length of the comp and it will keep playing.
The GridMaker controller and auto loop
This is the part that saves the afternoon. Normally you would make a null and rig all of this by hand, parenting layers and wiring up the spin yourself. GridMaker creates a GridMaker controller for you instead, with radius, tile size, and corners all in one place, so you keep adjusting the sphere after the build. It also knows to loop the animation across the length of your composition, so the spin runs for the full 10 seconds on its own, no keyframes required.
Key takeaways
GridMaker turns a rotating 3D sphere of footage into a shape you pick and a button you click.
Open GridMaker, click Advanced Mode, and switch to 3D spatial to build a sphere.
Choose sphere, helix, tumble, ring, or carousel, then set radius, tile size, and corners.
Create New Comp and drop footage in, or select layers and Apply to Selection.
GridMaker builds a controller for radius, tile size, and corners so you never wire it up by hand.
GridMaker loops the spin across the length of your composition, no keyframes required.
Get started with Filmit
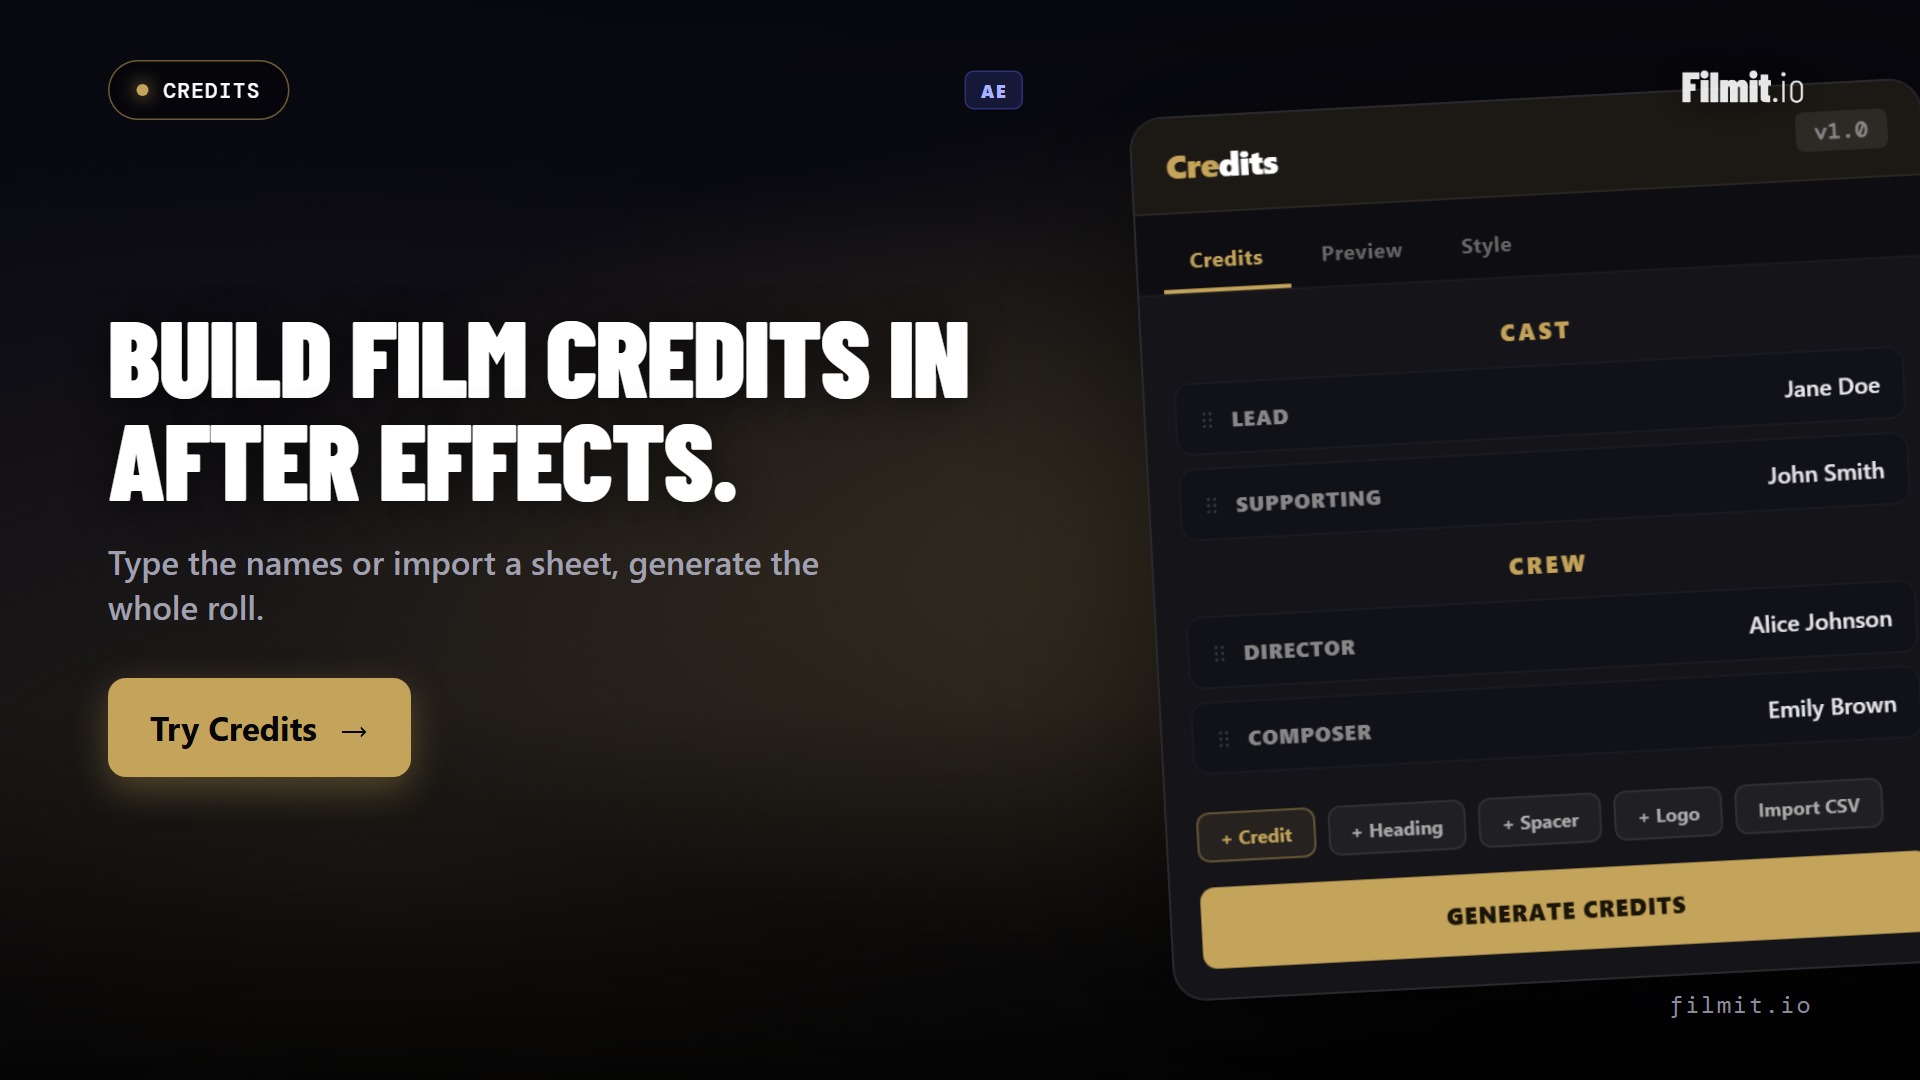
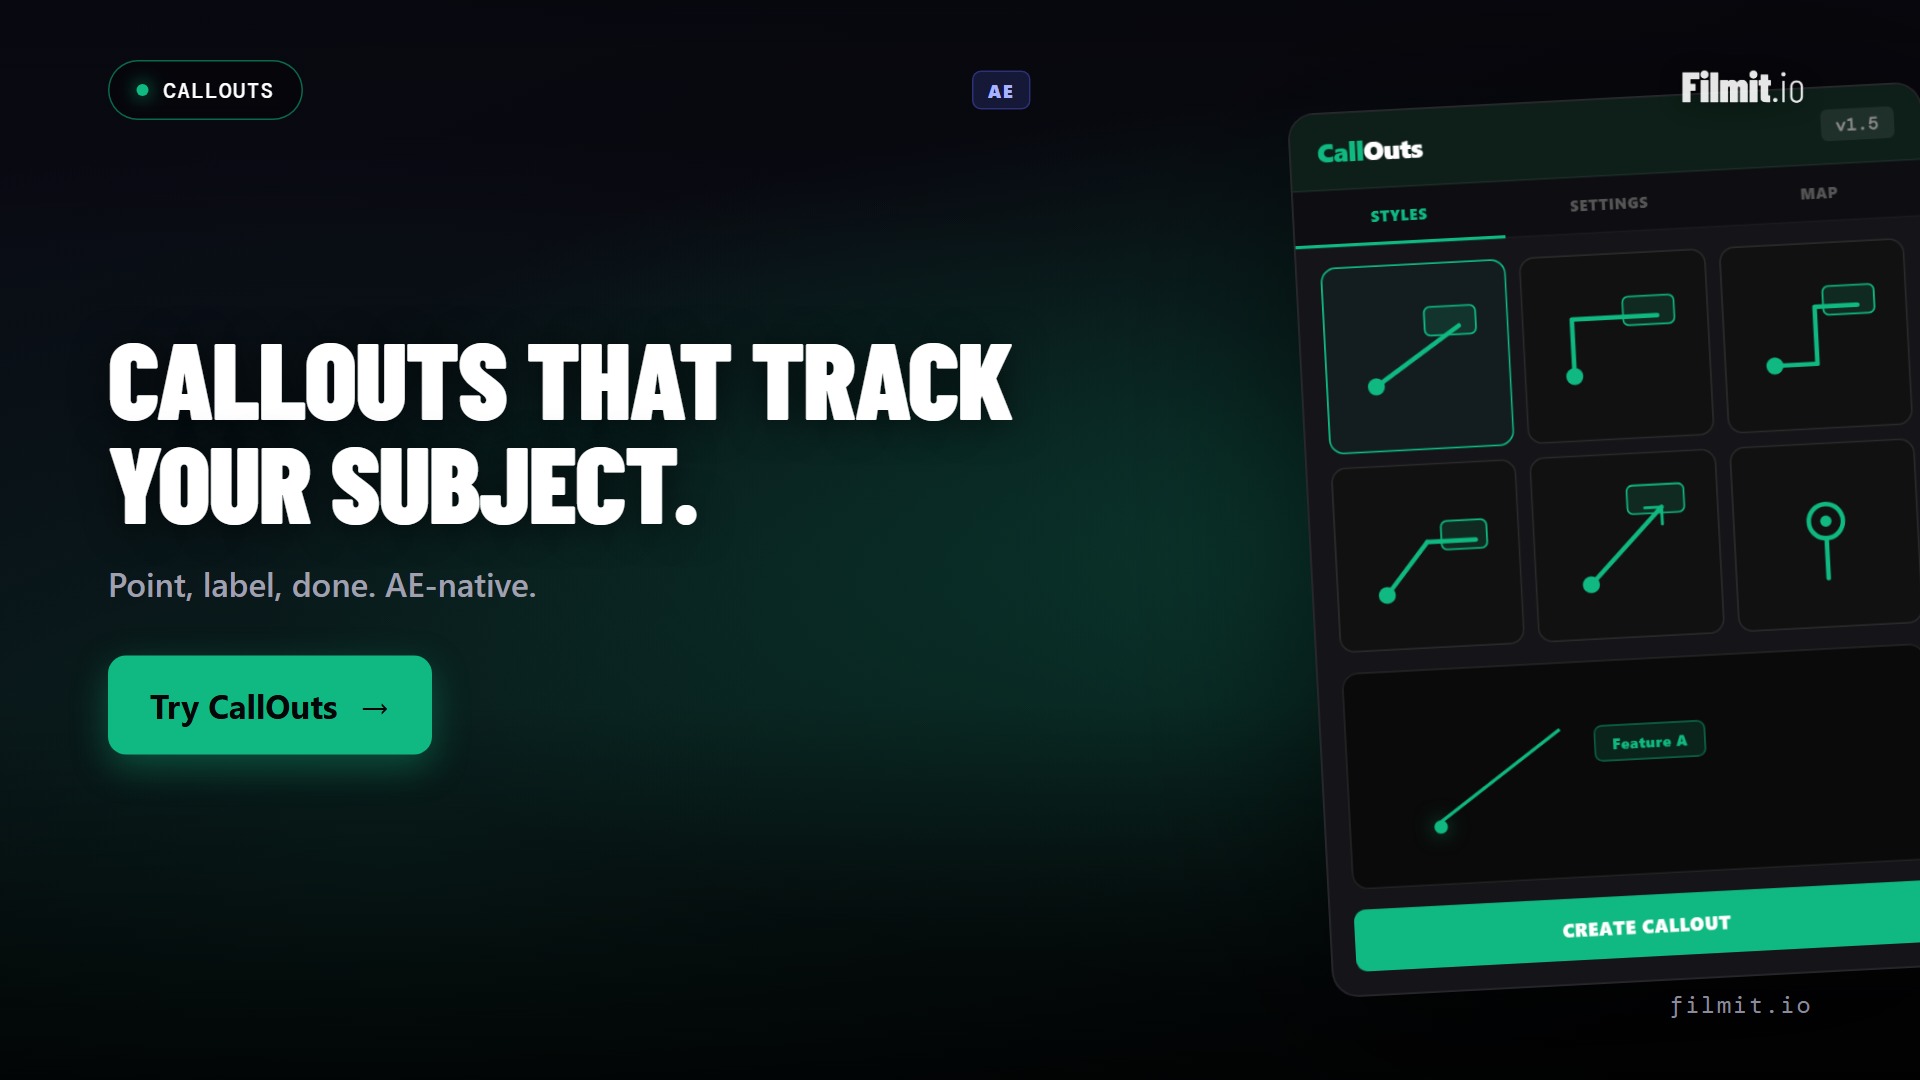
GridMaker installs through Filmit Studio, the free app that manages every Filmit plugin for After Effects and Premiere Pro. There is a 7-day free trial, and along with GridMaker you get the rest of the suite: Credits, TextPilot, GIFer, Reducer, Organizer, CallOuts, and JumpCut.
To fill your sphere fast, pair GridMaker with GIFer, the tool used in this demo to drop GIFs into the boxes. It works in After Effects and Premiere Pro, and the whole suite runs under one subscription.