GIFs have become a core part of online video, from a reaction shot in a vlog to a punch in inside a tutorial. Getting them into Adobe Premiere Pro or After Effects, though, is still weirdly slow. You leave your editor, search a GIF site, download the file, import it, then wrestle with sizing and frame rate before it ever touches your timeline. GIFer collapses that entire detour into a single panel.
GIFer is a Filmit plugin for After Effects and Premiere Pro that lets you search Giphy and insert GIFs straight onto your timeline, with favorites that sync across both apps. This guide walks through installing it, setting up your free Giphy API key, and the day to day flow of searching, inserting, and favoriting GIFs. Support for DaVinci Resolve and Final Cut Pro is on the way.
This video may reference an older version of GIFer. Features and UI may have changed since recording.
How to install GIFer in After Effects and Premiere Pro
GIFer installs through Filmit Studio, the free companion app for Windows and macOS that manages every Filmit plugin from one place. The setup is the same whether you edit in After Effects, Premiere Pro, or both.
- Create a free account on filmit.io and open your dashboard.
- Download Filmit Studio for Windows or macOS and install it.
- Open Filmit Studio, go to My Tools, and click install on the GIFer card.
- Open After Effects or Premiere Pro and find GIFer under the Window menu, in Extensions.
One install covers both apps, so you do not repeat the process per editor. If anything goes sideways during setup, GIFer has a report a bug and request a feature option built into the panel, plus a Discord link where you can ask directly.
Pro Tip: If GIFer opens but stays blank, close the extension and reopen it from the Window menu. The panel reloads your library and API connection on launch, which clears most first run hiccups.
How to set up your Giphy API key for GIFer
GIFer pulls GIFs from Giphy, which uses a free API key tied to your own account. You create the key once and GIFer uses it for every search. There is a step by step Giphy API key guide on filmit.io, and the same link sits in the footer of the site under API setup.
- Open the Giphy developers portal and create a free account.
- Create an app and copy the API key it generates.
- Paste the key into your Filmit dashboard under API Keys, or into the API Keys section inside Filmit Studio.
The key syncs between the website and the app, so wherever you paste it, the other side picks it up automatically. A quick note on sources: Tenor is being discontinued as a public API, so GIFer uses Giphy for now to keep search results reliable, with room to add more libraries later.
Pro Tip: Treat your Giphy API key like a password. Paste it once into Filmit and you never need to expose it again, since it is stored against your account rather than typed into each project.
How to search, insert, and favorite GIFs
With your key in place, GIFer loads a grid of trending GIFs the moment it opens. Type any search into the panel and results appear in a visual grid with trending and category filters for reactions, memes, animals, and more. This is where GIFer earns its place in the workflow: everything happens inside the editor.
Click any GIF to insert it. GIFer imports it at the correct size and frame rate and drops it onto your timeline, ready to position, so you skip the usual scaling and speed fixes. Click the heart on a GIF to save it to your favorites, which are stored to your profile and appear in both After Effects and Premiere Pro. The reactions you reach for most stay one click away no matter which editor you open.
Pro Tip: Build a small set of go to favorites before a project starts. Because favorites sync across both apps, a reaction you save while cutting in Premiere is waiting for you the next time you open After Effects.
Should you insert GIFs as GIF or MP4?
GIFer can drop clips onto your timeline as either a GIF or an MP4, and you choose the default in settings. The right pick depends on your project. MP4 keeps file sizes small and plays back smoothly on the timeline, which matters on longer edits with lots of overlays. GIF preserves the original looping format, which some motion designers prefer for short, punchy inserts.
Here is how the two ways of getting a GIF into your edit compare:
For most edits, leaving GIFer on MP4 is the safe default. Switch to GIF when you specifically want the looping behavior of the original file.
Best practices for GIFs in your edits
GIFer makes inserting GIFs fast, but a few habits keep them feeling intentional rather than cluttered:
- Keep overlays short. Two to three seconds is usually enough for a reaction to land without overstaying its welcome.
- Scale down, not up. GIFs are low resolution by nature, so shrinking keeps them crisp while enlarging exposes blocky pixels.
- Match the energy. A frantic reaction GIF under a calm voiceover reads as noise. Match the GIF to the tone of the moment.
- Bank your favorites. Save reactions you use often so future projects start with your personal shortlist already loaded.
- Grid a batch with GridMaker. Lined up several GIFs for a social post? GridMaker, another Filmit plugin, arranges them into a clean grid or video wall in one click.
Pro Tip: Use reaction GIFs as picture in picture overlays for commentary style videos. Drop the GIF on a track above your footage, scale it into a corner, and it reads as a reaction without covering the action.
Key takeaways
GIFer turns adding GIFs from a multi step detour into a single panel inside your editor, in both After Effects and Premiere Pro.
One Filmit Studio install adds GIFer to both After Effects and Premiere Pro.
Paste a free Giphy key into Filmit once and it syncs across the website and the app.
GIFer imports at the right size and frame rate and drops the GIF onto your timeline.
Saved GIFs sync between both editors, so your shortlist is always one click away.
Choose smooth small MP4s or true looping GIFs per project in settings.
Why a dedicated GIF panel is worth it
I built GIFer because I kept doing the same dance on every edit: alt tab to a browser, search, download, dig the file out of my downloads folder, import, scale, fix the frame rate. None of that is creative work. It is the kind of repetitive friction that quietly eats an afternoon and pulls you out of your edit every single time.
Collapsing that into one panel does more than save a few clicks. It keeps you in flow. When inserting a reaction is instant, you actually use the right one instead of settling for whatever you already had on disk, and your edits get more expressive as a result. Pair GIFer with a habit of saving favorites and the whole reaction workflow becomes something you barely think about. That is the goal: tools that disappear so the editing does not.
Take your editing workflow further with Filmit
GIFer is one piece of a larger toolkit built to remove the repetitive parts of editing in After Effects and Premiere Pro. The Filmit for Editors suite covers GIF insertion, stock footage sourcing, LUT management, project organization, and more, all installed through Filmit Studio, the free companion app for Windows and macOS.
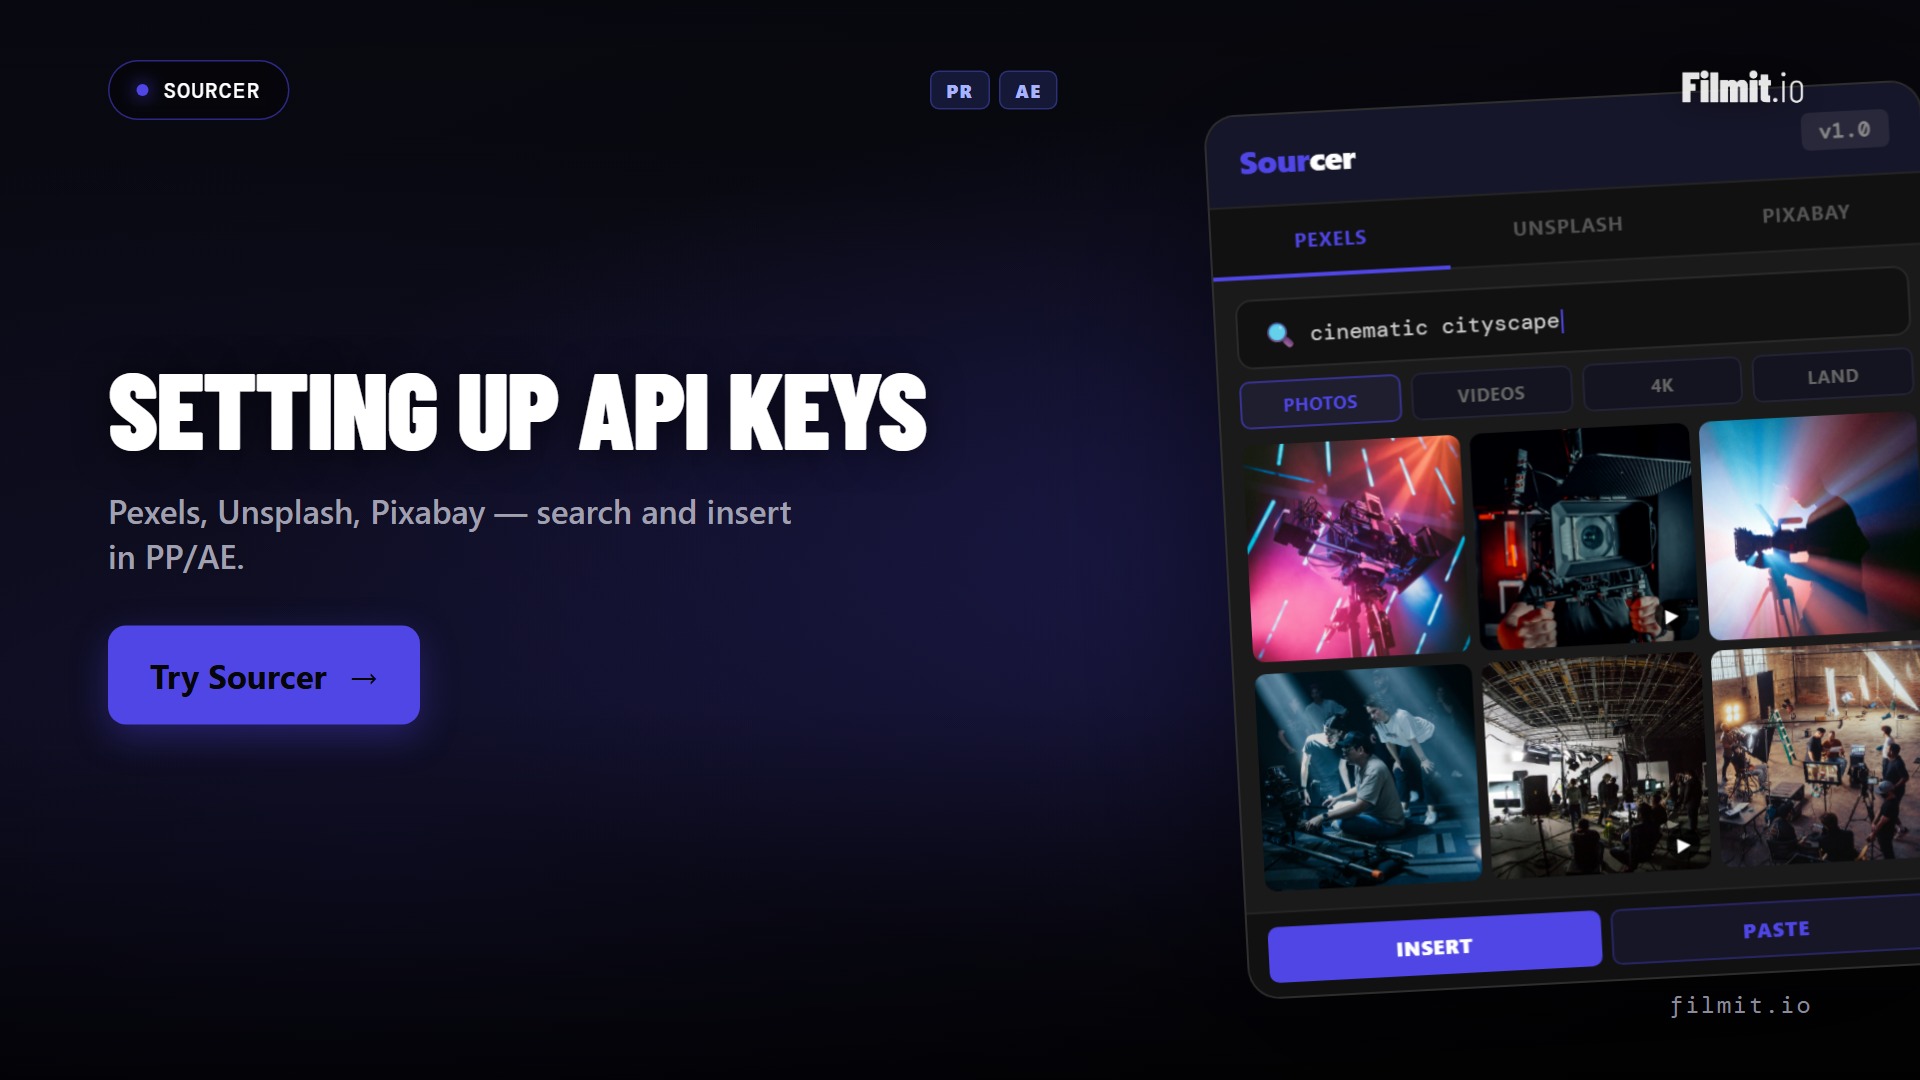
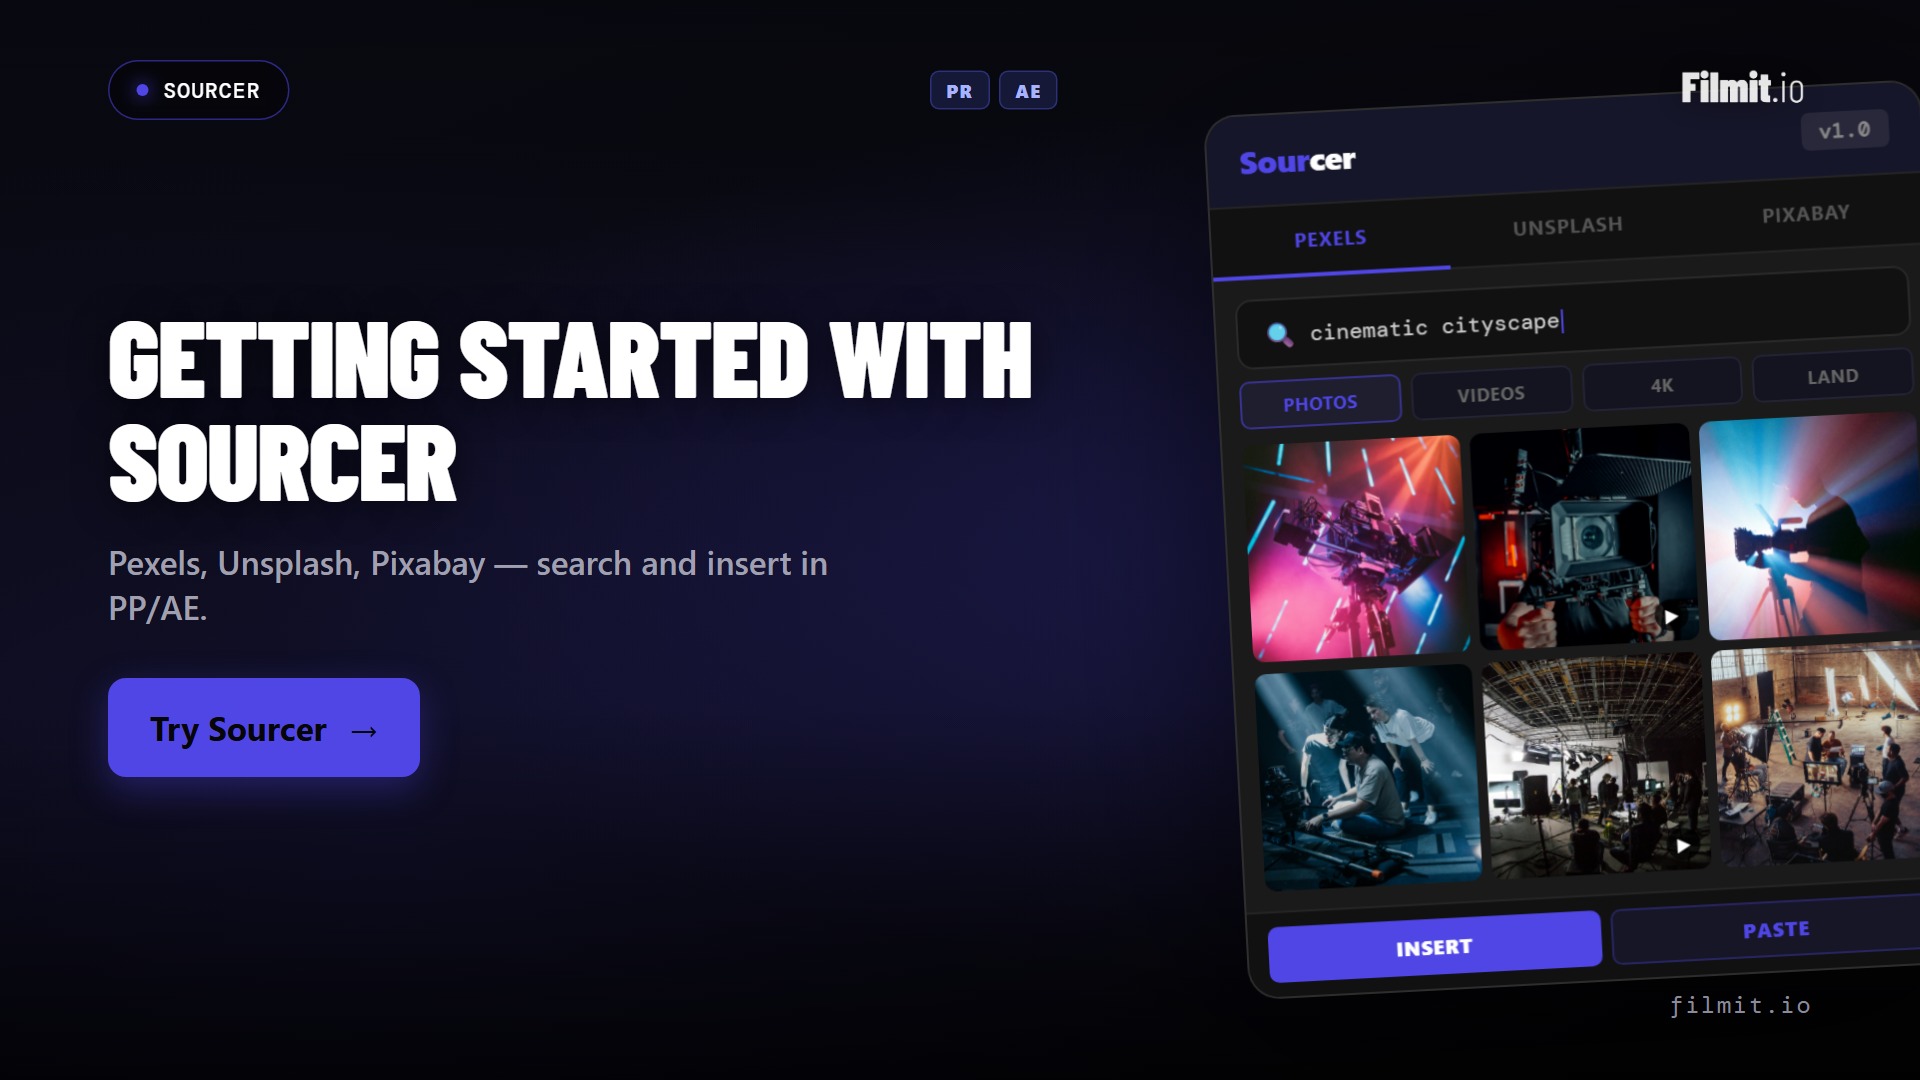
If you spend time hunting for placeholder footage, Sourcer searches Pexels, Unsplash, and Pixabay and inserts royalty free clips straight onto your timeline. And when you want to arrange a stack of GIFs or clips into a grid, GridMaker builds split screens and video walls in one click. Every tool runs under one Filmit subscription, always updated.