
A video transition pack is a downloadable bundle of pre-built, reusable visual effects designed to bridge the gap between two video clips. These packs give editors, YouTubers, and content creators instant access to polished scene changes without building effects from scratch. Modern commercial packs can range from a few dozen to several hundred individual effects categorized into styles like motion, glitch, and light leaks, supporting resolutions up to 8K. That scale means one pack can serve a solo creator cutting YouTube vlogs and a post-production agency finishing a broadcast commercial. Understanding what these packs contain and how to use them is the fastest way to lift the quality of your edits.
What is a video transition pack and what types does it include?
A video transition pack groups effects by visual style so you can find the right look without scrolling through hundreds of unrelated options. Platforms offer libraries with up to 86 distinct transition effects, each categorized by aesthetic. That categorization is the real time-saver. You open a folder labeled “Glitch” or “Light Leaks” and immediately know what you are working with.
The most common categories you will find inside a pack include:
- Motion transitions (whip pans, zooms, push slides): These simulate camera movement and work well for fast-paced content like travel vlogs or action sports edits. A whip pan transition mimics the blur of a fast camera swing, making two unrelated shots feel physically connected.
- Glitch transitions: Digital distortion effects that signal disruption, urgency, or a shift in reality. Common in tech reviews, gaming content, and music videos.
- Light leak transitions: Warm, organic flares that bleed across the frame. These feel analog and cinematic, fitting lifestyle content, wedding films, and documentary work.
- Wipes and slides: Classic directional transitions that move one clip off screen while the next slides in. Simple, readable, and effective for corporate or educational content.
- Fades and dips: The fade to black and dip to white are the oldest transitions in film. They signal the passage of time or a hard emotional pause better than any flashy effect.
- Zoom and spin transitions: High-energy effects that punch into or out of a frame. Popular on social media, especially for short-form vertical content.
Transitions primarily serve storytelling by pacing the video and signaling shifts in time, location, or mood rather than acting as decoration. A glitch effect tells the viewer something is wrong or surreal. A slow fade tells them time has passed. Choosing the right category is a narrative decision, not just a visual one.
Pro Tip: Match your transition category to your content’s emotional temperature. High-energy glitch and zoom transitions raise the viewer’s pulse. Slow fades and light leaks lower it. Use that contrast deliberately.

How to use a video transition pack in your editing workflow
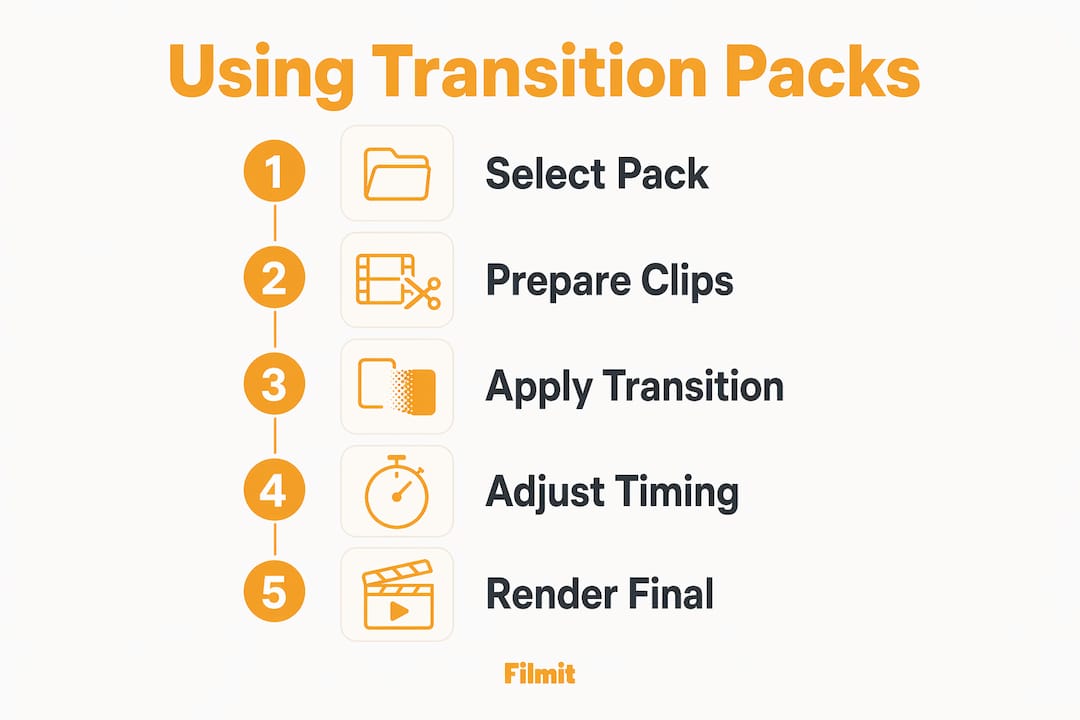
Applying a transition pack correctly takes about four steps. Skipping any one of them causes black frames, rendering errors, or effects that simply do not look right.
Prepare your clips with handles
A clip handle is the extra footage beyond your cut point. Trim at least 15 frames on each clip end to give the transition room to blend. Without handles, the software has no extra frames to work with and the effect breaks.
Import the transition pack assets
Many packs arrive as project files (.prproj for Premiere Pro). Importing the project file opens an organized set of bins where each transition lives as a pre-built sequence. Drag-and-drop packs skip this step and work directly from your media browser.
Place the effect on your timeline
Browse the pack's bins, find the transition that fits your cut, and drag it directly onto the cut point between two clips. Most editing software snaps the effect to the edit point automatically.
Adjust duration, speed, and easing
Transitions default to about one second but can be adjusted in the effect controls panel. A faster transition at 12 to 15 frames feels punchy; a slower one at 30 to 45 frames feels deliberate and cinematic.
Pro Tip: If your transition looks choppy or shows a black frame, the problem is almost always insufficient clip handles. Go back to your source clip, extend the in or out point by 10 to 15 frames, and re-apply the effect.
The types of motion graphics plugins you use alongside transition packs also affect how smoothly this process runs. Plugins that automate asset organization and project setup cut the setup time significantly.
Common mistakes and best practices when using transition packs
The biggest mistake editors make is treating a transition pack like a candy store. You have hundreds of effects available, so you use 40 different ones in a single video. The result feels chaotic and amateur, even if each individual effect looks polished on its own.
Overusing flashy or varied transitions detracts from professionalism. Sticking to one or two transition styles throughout a project yields cleaner, more confident results. Think of your transition style as part of your brand’s visual language. A consistent look builds recognition across your content.
The other common error is ignoring audio. A visual transition without a matching sound cue feels incomplete, like a door slamming in silence.
Incorporating audio transitions, like ambient noise swells, whooshes, or impact sounds, significantly improves the polish of scene changes. Neglecting audio leads to a disjointed feeling that viewers notice even if they cannot name it.
Best practices that separate professional edits from amateur ones:
- Use “invisible” transitions (cross dissolves, match cuts) for narrative storytelling and save creative transitions for moments that need energy or emphasis.
- Pair every motion transition with a complementary sound effect. A whip pan without a whoosh sounds broken.
- Set a style guide for your project before you start cutting. Decide on two or three transition types and stick to them.
- Test transitions at full playback speed before rendering. Effects that look good frame by frame sometimes feel wrong at real speed.
- Avoid mixing wildly different transition families in the same video. Glitch effects and soft light leaks belong to different visual worlds.
Choosing a cohesive transition style that matches your project’s branding consistently produces more professional outcomes than variety for its own sake. That is not a creative limitation. That is editorial discipline.
How to choose the best transition pack for your projects
The right pack depends on three things: your editing software, your content format, and your audience. A pack built for Adobe Premiere Pro will not work natively in a different editing environment without conversion. Confirm compatibility before purchasing.
Content format matters more than most editors realize. Vertical video for Instagram Reels or TikTok needs transitions designed for a 9:16 frame. Standard packs built for 16:9 widescreen often look wrong or get cropped in vertical formats. Look specifically for packs that include vertical transition variants if social media is your primary output.
At least 50 effects across multiple style categories.
Native support for your editing platform, such as Premiere Pro.
4K minimum, and 8K if you shoot on high-end cameras.
Both horizontal (16:9) and vertical (9:16) variants.
Included audio cues or clear guidance on pairing sounds.
Adjustable speed, color, and easing controls.
YouTubers and short-form creators benefit most from packs with fast, high-energy effects and built-in sound design. Documentary and corporate editors need subtler options, primarily dissolves, wipes, and light leaks. Professional post-production work often calls for custom transitions built inside After Effects rather than pre-made packs, though packs still serve as a starting point.
Pro Tip: Before buying a full pack, download a free sampler if one is available. Apply three or four effects to a real project clip. If they feel right at full speed with your footage, the full pack is worth it.
Key Takeaways
A video transition pack is most effective when you treat it as a storytelling tool rather than a visual decoration, using a consistent style that matches your content’s tone and pairing every visual effect with a complementary audio cue.
A transition pack is a pre-built bundle of reusable visual effects for connecting video clips.
Trim at least 15 frames on each clip end before applying any transition effect.
Limit yourself to two or three transition types per project to maintain a professional look.
Every visual transition needs a matching sound cue to feel polished and intentional.
Choose packs with vertical variants if your primary output is social media short-form content.
Why transition packs reward editors who slow down
A common pattern: an editor buys a pack with a thousand effects and immediately starts using a different one on every cut. The edit looks like a demo reel for the pack itself, not a video with a story. The transitions become the subject, which is the opposite of what they are for.
The editors we respect most treat a transition pack the way a cinematographer treats a lens kit. They know every option in the kit, but they reach for the same two or three on most shoots because those tools serve the story. The exotic options come out only when the story specifically calls for them.
The best use of a transition pack usually happens after you have already cut the video on the timeline. Make your edit first with straight cuts, then go back and ask: where does this cut feel abrupt? Where does the energy drop? That is where a transition earns its place. Dropping effects onto every cut from the start trains you to rely on the pack instead of your own editing instincts.
Do you even need a transition pack?
Honest answer: often not. Premiere Pro ships with a deep set of native video transitions, cross dissolve, dip to black, dip to white, film dissolve, push, slide, and wipe, all built into the Effects panel. DaVinci Resolve goes further, with a large native transition library across the Cut and Edit pages plus Fusion for anything custom. For most cuts the built-ins are not a compromise, they are the right tool, and you do not need to download a thing.
A pack earns its place when you want a specific look the built-ins do not cover, or when you want that look to preview and render fast and identically across machines. That is the gap Filmit Transitions fill: real, GPU-accelerated transitions you drop between two clips in Premiere Pro, After Effects, or DaVinci Resolve, with no project file to import.
Take the VHS Cut transition. It wipes between your two clips with a tracking tear, chroma bleed, and tape noise, like a deck changing tapes. Because it runs entirely on the GPU, the preview you scrub matches the final render exactly, with none of the layer stacking the look usually takes.
VHS Cut is one of a growing library of Filmit Transitions. The same GPU engine powers the Filmit FX effects, for looks you apply across a whole clip rather than a single cut, and both are included with Filmit Studio.