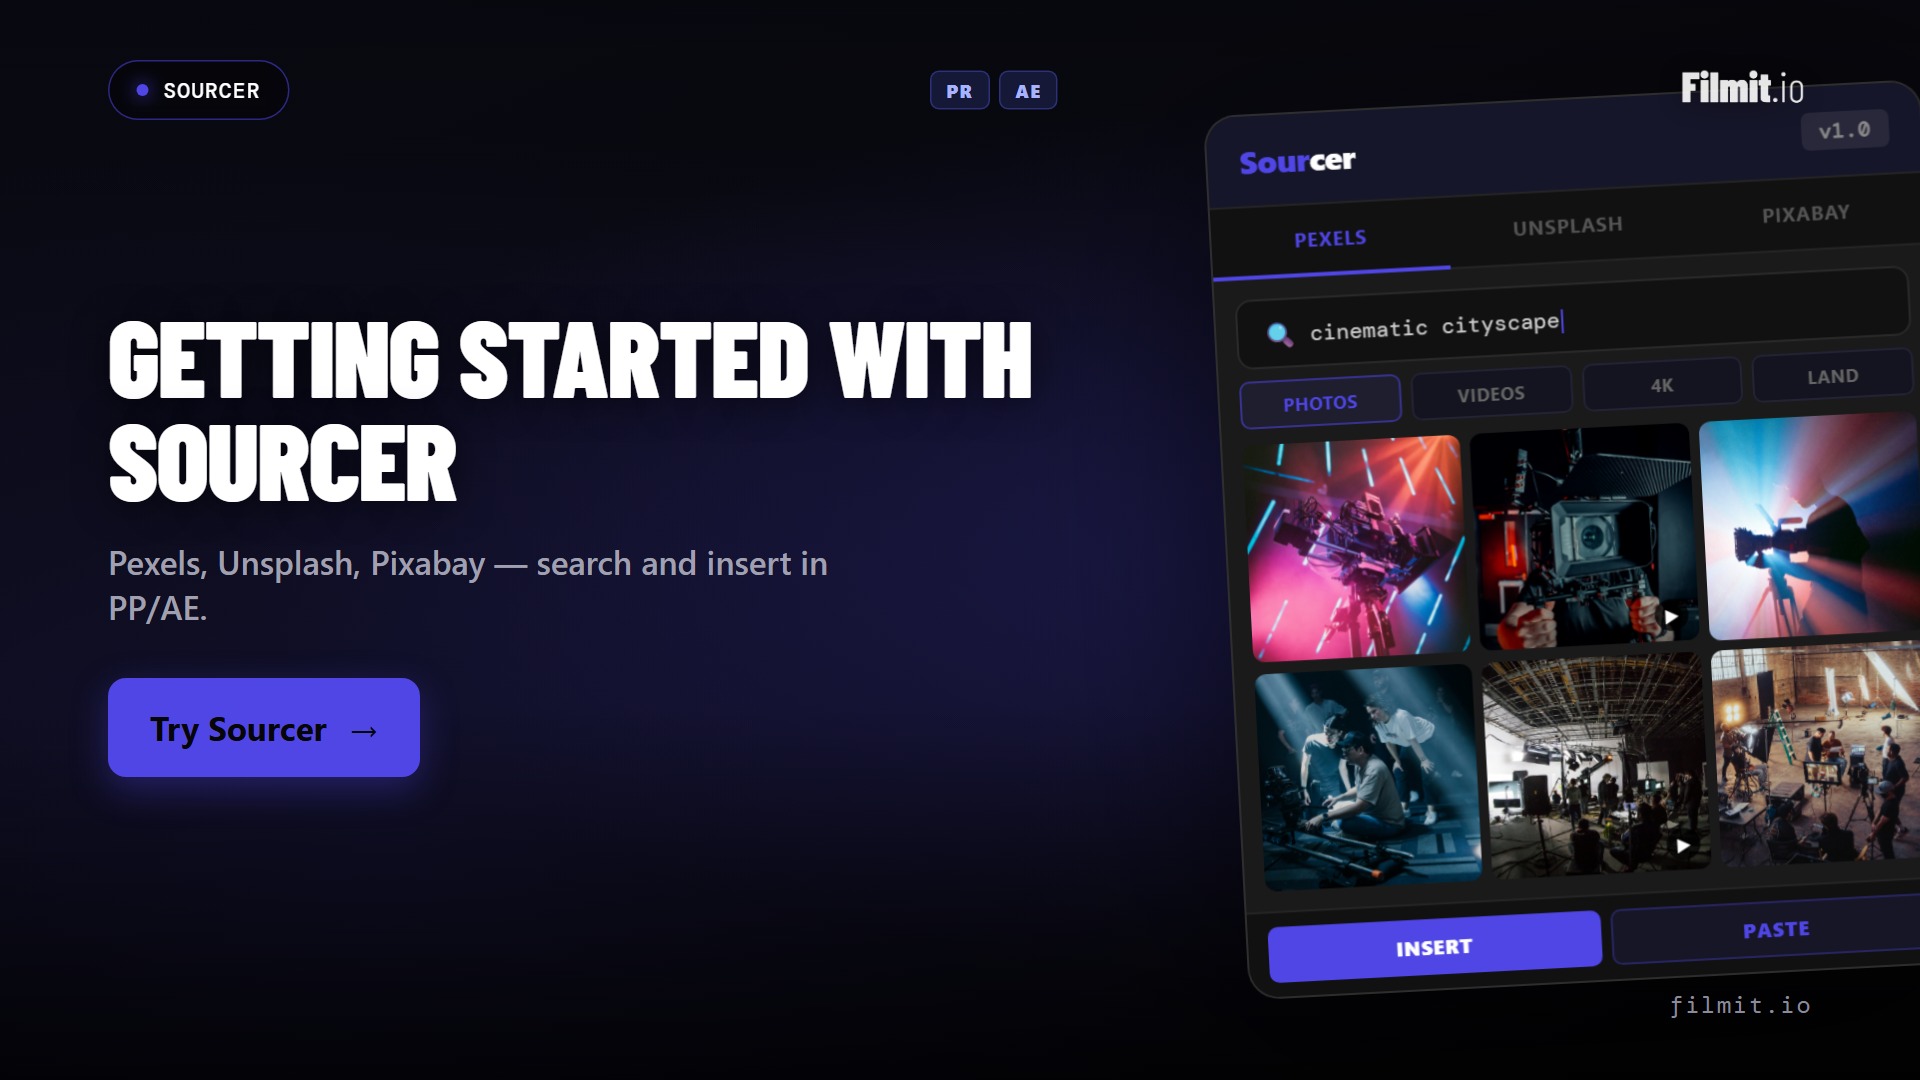
Sourcer is a Filmit plugin that pulls royalty free footage and images straight into After Effects and Premiere Pro. Open the panel, search for a butterfly clip for an animation, click insert, and it lands on your timeline and in your Sourcer media folder. The catch is that before any of that works, Sourcer needs a way to talk to the stock libraries it searches, and that is what your API keys are for.
Sourcer searches three libraries: Pexels, Unsplash, and Pixabay. Each one hands out a free API key tied to your own account, which is simply how you make your own calls to that service. This guide covers finding the setup pages on filmit.io, creating each free key, pasting them into Filmit, and how the same keys area also powers GIFer. It is a one time setup, and the rest of this post makes it painless.
This video may reference an older version of Sourcer. Features and UI may have changed since recording.
Where to find the Sourcer API key guides
Every key you need has a dedicated walkthrough on filmit.io, so you never have to guess. Scroll to the very bottom of the site and look under Resources for an API Keys section with a separate link for each library.
- Go to filmit.io and scroll to the footer at the bottom of any page.
- Under Resources, find the API Keys links: Pexels API Setup, Unsplash API Setup, and Pixabay API Setup.
- Open the page for the library you want and follow the step by step instructions and screenshots.
You will create a free account on each site, because that account is what generates your own key for your own calls to the tool. There is also a single API Keys overview page that links out to all three.
Pro Tip: Open all three setup pages in separate browser tabs before you start. Creating the Pexels, Unsplash, and Pixabay accounts back to back in one sitting means you only deal with the signup flow once and come away with every key Sourcer needs.
How to create a free Pexels API key
Pexels is one of the largest free stock libraries, with both photos and video, which makes it a natural first key for Sourcer. The Pexels API key guide on filmit.io covers this in full, but the flow is short.
- Visit the Pexels API page and click Get Started.
- Create a free account and follow the prompts to request API access.
- Copy the API key it generates for you.
- Paste the key into your Filmit dashboard under API Keys, or into the API Keys section inside Filmit Studio.
That is the whole loop for one library, and the other two follow the same shape. Once the Pexels key is in place, Sourcer can search and insert royalty free photos and videos without you leaving your editor.
How to create an Unsplash API key
Unsplash brings a distinct, more photographic look to your searches, which is why Sourcer pulls from it alongside Pexels. Follow the Unsplash API key guide on filmit.io, and the steps mirror what you just did for Pexels.
- Open Unsplash for Developers and click Register as a developer.
- Create a free account, then create a new application to generate a key.
- Copy the access key, then paste it into the API Keys area in your Filmit dashboard or Filmit Studio.
Because the link on the how to page takes you straight to the right place, there is no hunting around the developer site. Paste the key into Filmit and Unsplash results appear in your Sourcer searches.
Pro Tip: Treat each API key like a password and never share it or paste it into a screenshot. You enter it into Filmit once, where it is stored against your account, so you are not exposing it inside individual projects.
How to create a Pixabay API key
Pixabay rounds out the trio with another large free library of footage and images. The Pixabay API key guide on filmit.io has the screenshots, and the process follows the same quick pattern.
- Go to Pixabay registration and create a free account.
- While signed in, open the API docs to find your personal key.
- Copy the key and paste it into the API Keys area in your Filmit dashboard or Filmit Studio.
With Pixabay added, all three of Sourcer's libraries are connected and your stock search is fully powered. If a key ever stops working, generate a fresh one and paste it back into Filmit.
Where to paste your keys: dashboard or Filmit Studio
You have two places to enter your keys, and a question I get a lot is which one to use. The short answer is that it does not matter. You can paste a key into the API Keys page in your filmit.io dashboard, or into the API Keys section inside Filmit Studio, the desktop app. Both work and both talk to each other, so a key entered in one place shows up in the other automatically.
Here is how the two spots compare so you can pick whichever fits your moment:
The takeaway is simple: enter each key one time in whichever place is open, and let the sync handle the rest.
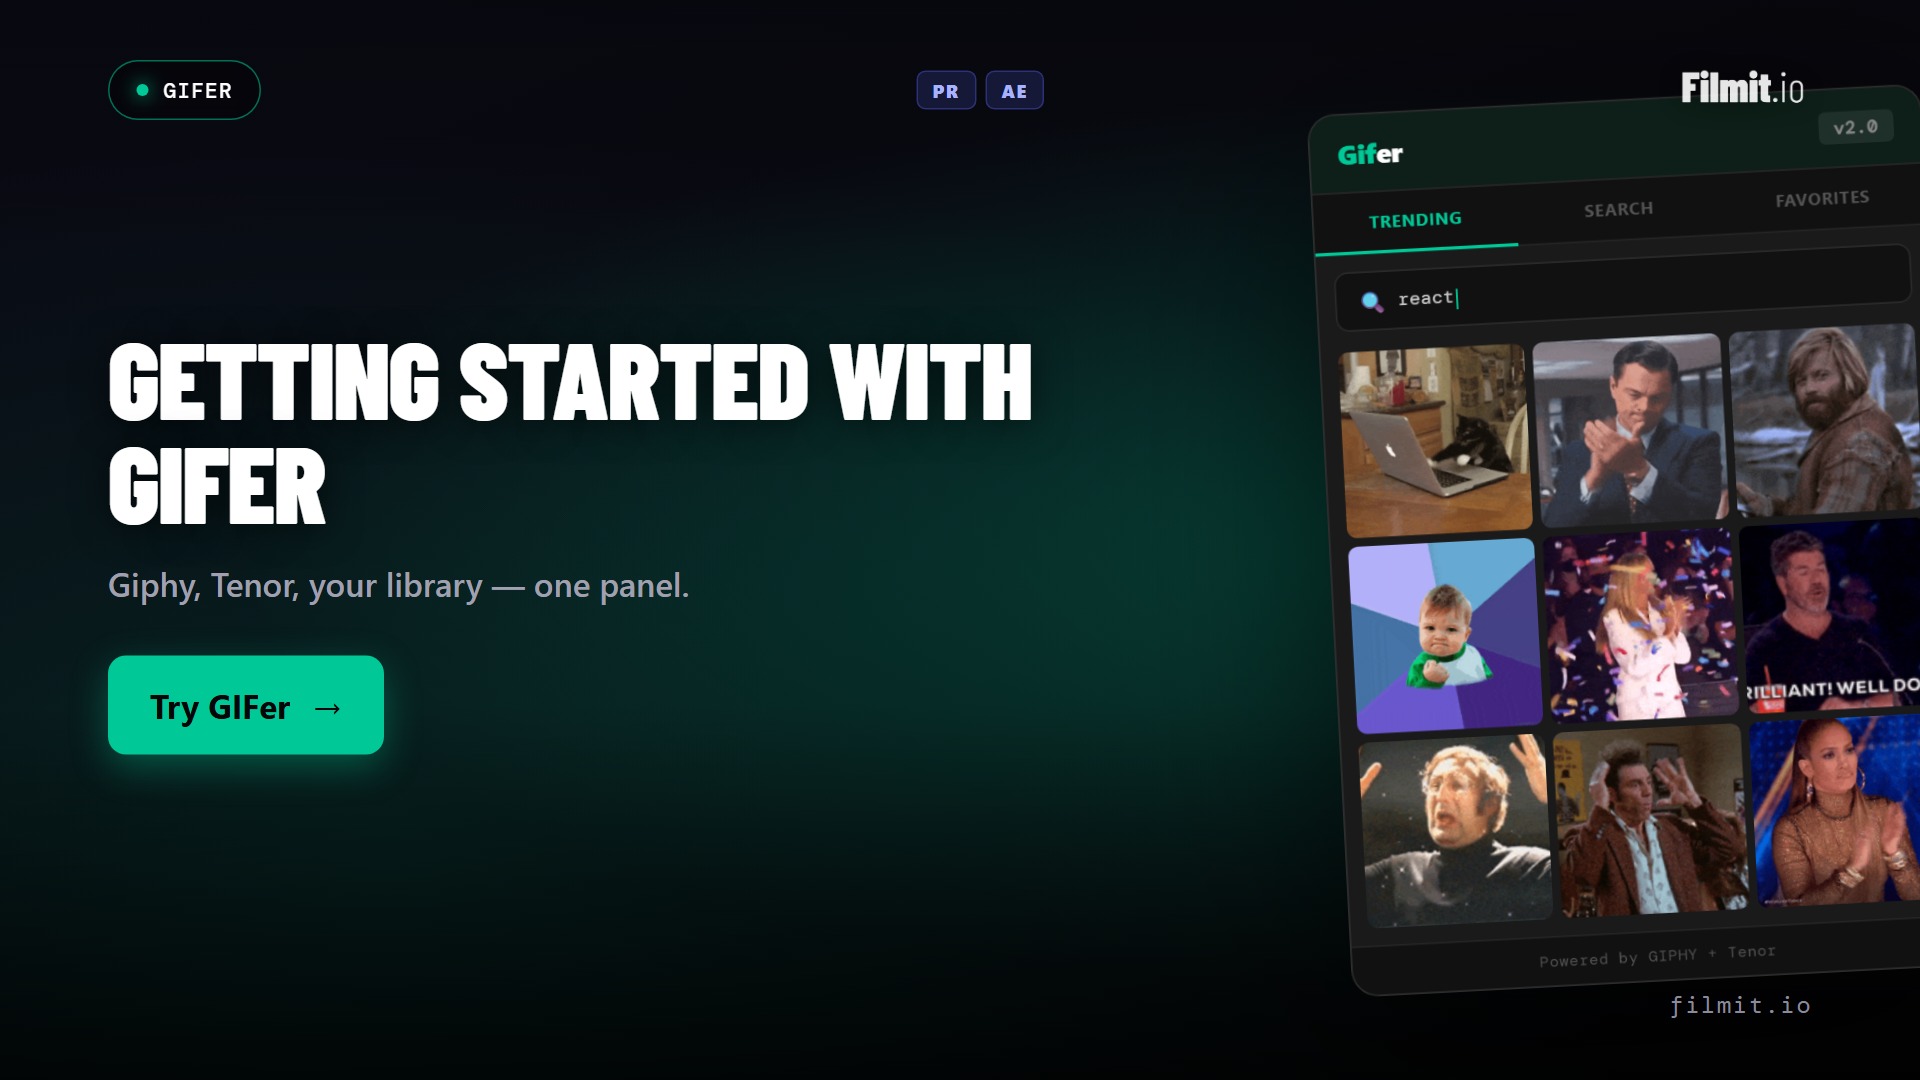
The same keys also power GIFer
The API Keys area inside Filmit is shared across plugins, so the work you do here covers more than Sourcer. Your Pexels, Unsplash, and Pixabay keys drive Sourcer, while a free Giphy key in the same place drives GIFer, the Filmit plugin for inserting GIFs in After Effects and Premiere Pro.
GIFer and Sourcer are deliberately separate tools. Sourcer is built for images and footage, where it really shines, while GIFer is focused purely on GIFs, each tuned to its own use case. Setting up your keys once means both are ready whenever you reach for them.
Pro Tip: If you already set up your Giphy key for GIFer, you are halfway done. Add the Pexels, Unsplash, and Pixabay keys in the same API Keys area and your whole Filmit search workflow, GIFs and stock alike, is live from one screen.
Key takeaways
Setting up Sourcer comes down to creating three free keys and pasting them into Filmit one time, with guides waiting in the footer for every step.
Sourcer needs a Pexels, an Unsplash, and a Pixabay key, each free and tied to your own account.
Find step by step setup pages under Resources at the bottom of filmit.io.
Enter a key in the website dashboard or Filmit Studio and it appears in both.
Store them in Filmit and never share or expose them inside projects.
A Giphy key in the same area powers GIFer, so you configure everything once.
Why a one time key setup is worth it
I know a key setup can feel like a hurdle before the fun part, and I left it in your hands on purpose. When you create your own Pexels, Unsplash, and Pixabay keys, the calls Sourcer makes are yours, on your own free accounts, rather than funneled through a shared pipe that could throttle or break for everyone at once. It is a few minutes today that buys you a search experience that stays fast and reliable.
It is also a genuinely one time thing. You are not pasting keys per project or per machine, because Filmit stores them against your account and syncs them between the website and the app. Spend the few minutes now, and from then on Sourcer just works every time you open After Effects or Premiere Pro. That trade, a little setup for a tool that quietly disappears into your workflow, is one I will take every time.
Take your editing workflow further with Filmit
Sourcer is one piece of a larger toolkit built to remove the repetitive parts of editing in After Effects and Premiere Pro. The Filmit for Editors suite covers stock footage sourcing, GIF insertion, LUT management, project organization, and more, all installed through Filmit Studio, the free companion app for Windows and macOS.
If you spend time hunting for placeholder or final footage, Sourcer searches Pexels, Unsplash, and Pixabay and inserts royalty free clips straight onto your timeline. And when you want quick reactions, GIFer searches Giphy and drops GIFs onto your timeline using a key from the same setup. Every tool runs under one Filmit subscription, always updated.