Locked-off, tripod-steady footage can feel a little lifeless. Adding a subtle handheld wobble brings energy and a documentary, in-the-moment feel — and you can fake it convincingly in Premiere Pro with zero plugins, using a clever trick with the Warp Stabilizer.
Why fake handheld motion?
Motion reads as life. A slight handheld drift makes a static shot feel like a real person is holding the camera, which is exactly the energy you want for vlogs, docs, music videos, and social content. It's also a quick way to match a steady stock clip to surrounding handheld footage so a sequence feels consistent rather than stitched together from different sources.
The trick: Warp Stabilizer in reverse
Here's the counterintuitive part. Warp Stabilizer is built to remove shake — but applied to footage that's already steady, it has nothing to smooth, so it ends up introducing subtle, organic motion instead. Nesting the clip first keeps the effect clean and easy to control.
Nest the clip
Right-click your steady clip on the timeline and choose Nest. Name it and click OK.
Apply Warp Stabilizer
Open Window > Effects, search Warp Stabilizer, and drag it onto the nested clip. Let it analyze.
Let it add the motion
On already-stable footage, the stabilizer's analysis produces a gentle handheld drift rather than removing shake — instant organic movement.
Dial it in
Adjust Smoothness in the effect settings to control how much motion shows — lower for subtle, higher for more.
The manual alternative
Prefer hands-on control? Keyframe the clip's Position and Rotation with small, irregular values over time — a few pixels here, a fraction of a degree there. Keep the movements uneven and gentle; real handheld is never a perfect rhythm. Scale the clip up a touch first (to about 105–110%) so the edges never drift into the frame as it moves.
Common mistakes
- Too much motion. A little goes a long way — heavy wobble reads as a gimmick, not realism.
- Black edges appearing. Scale up slightly, or set Warp Stabilizer's framing to crop so the motion never reveals the frame edge.
- Warp artifacts. If the stabilizer warps the image oddly, switch its method to Position or Position, Scale, Rotation instead of Subspace Warp.
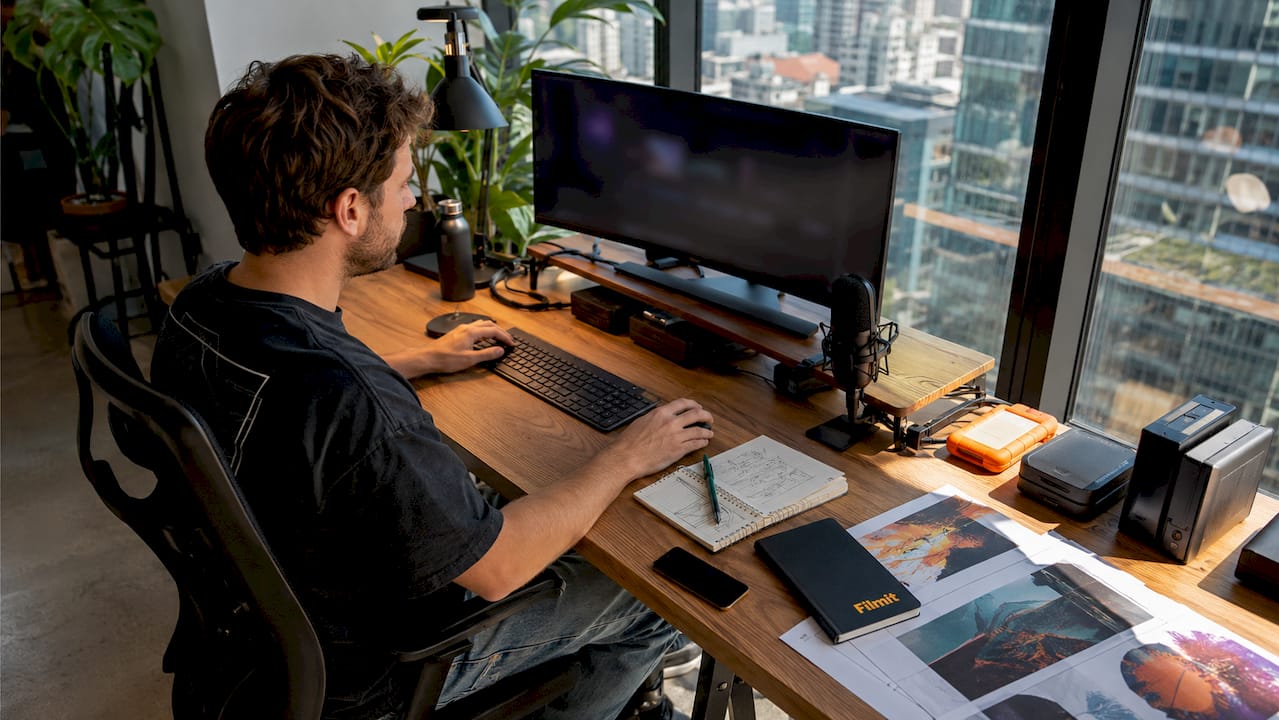
Pro tip: Sell the handheld documentary look further with a layer of film grain or a subtle light leak on top — small textures make faked motion feel shot-in-camera. Filmit Overlays has 500+ grain, light-leak, and dust elements for exactly this.
Add motion blur to sell it
Real handheld footage has a little motion blur on the fast moves; faked motion usually doesn't, which can give it away. Add a touch of Directional Blur or enable motion blur if you're keyframing, keeping it very subtle. That hint of blur on the movement is often what tips a faked handheld shot from "almost" to "believable."
Apply it across a whole sequence
Want the same handheld feel on a run of clips? Put an adjustment layer over them and apply the motion there, or build the effect once and copy it with Paste Attributes. It keeps the movement consistent across a scene instead of hand-animating every shot.
Match it to real handheld in the same edit
If you're cutting faked handheld next to genuinely handheld footage, watch the intensity — your added motion should sit at roughly the same energy as the real shots so the sequence feels like one operator, not two cameras.
More Premiere techniques
Faked handheld pairs well with color grading and texture to complete a look. For the timeline fundamentals, see the Premiere Pro timeline panel explained, and explore Filmit's tools for editors for more ways to speed up your edit.
With no shake to remove, it introduces an organic drift.
Right-click → Nest, then apply the stabilizer to the nest.
Small, irregular moves; scale up ~110% to hide edges.
A little handheld reads as real; too much reads as a gimmick.