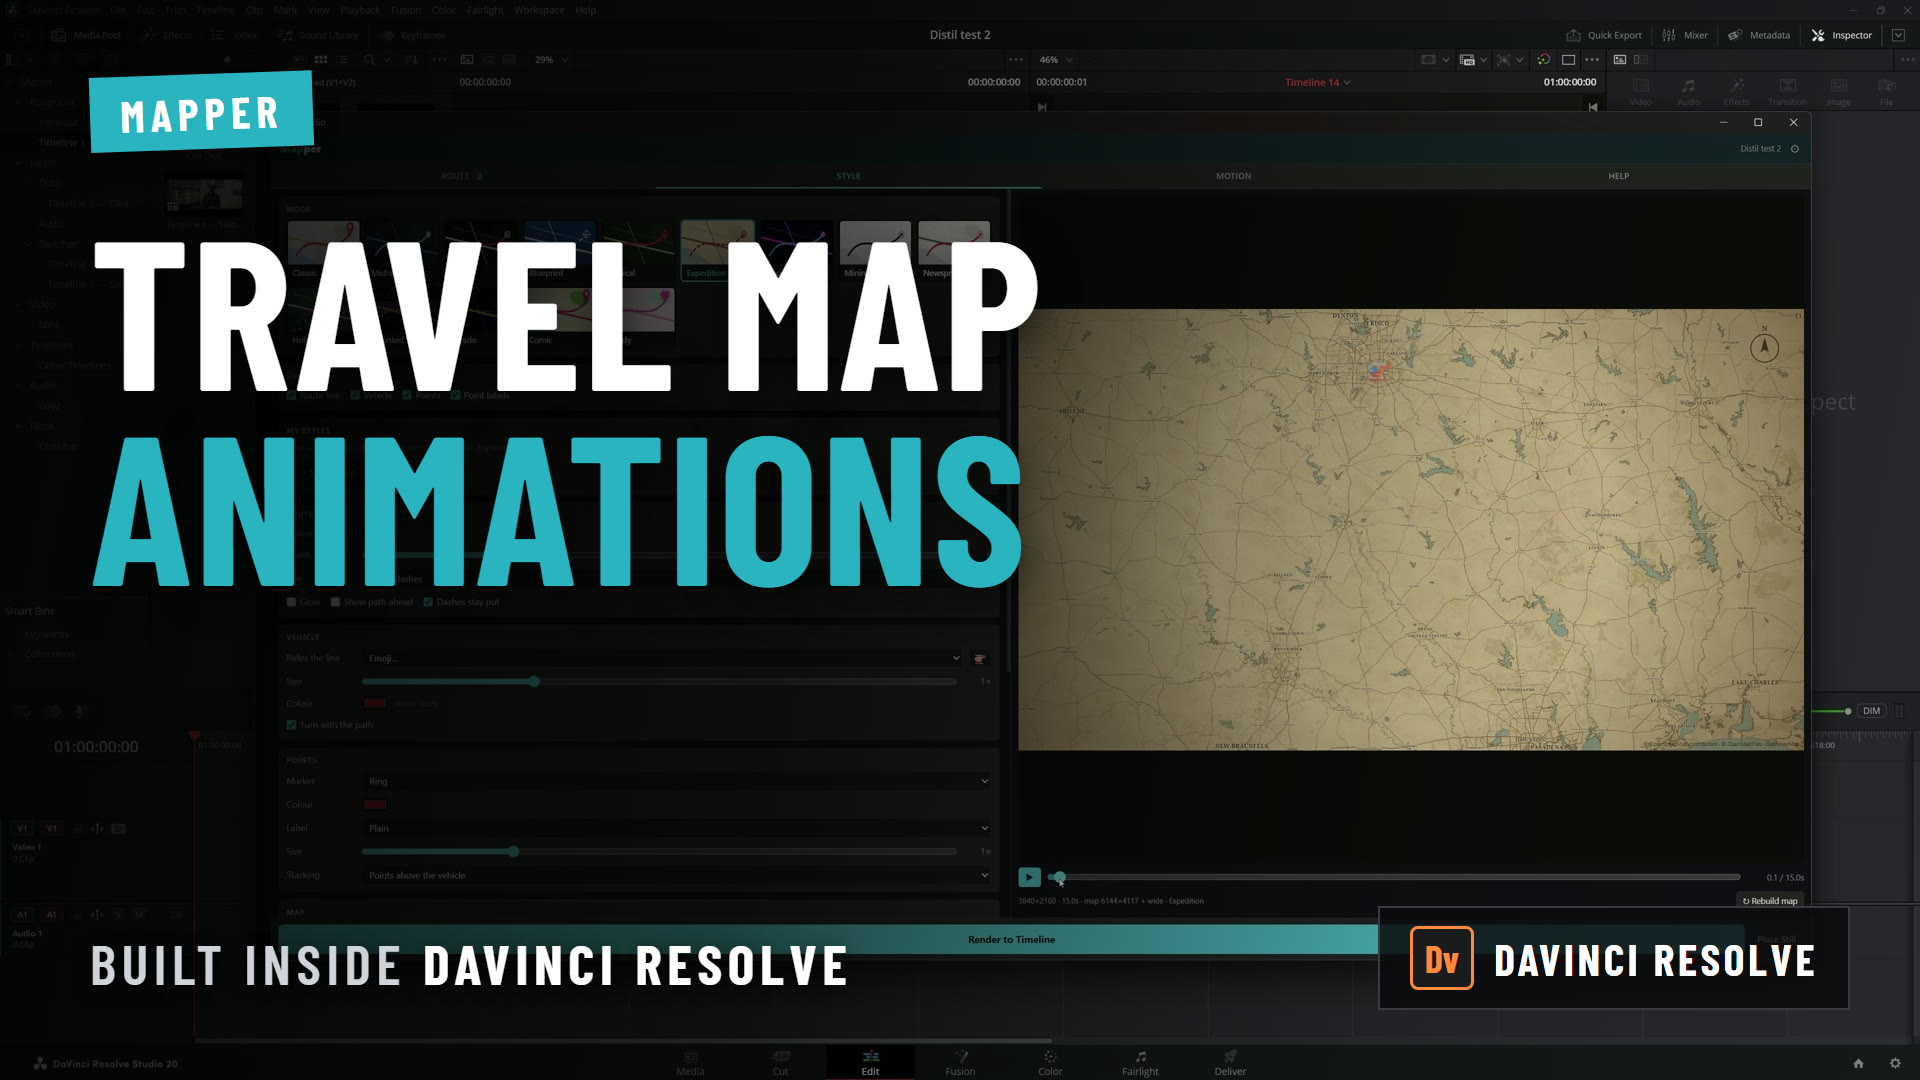
Map line animations — those traveling routes you see in travel vlogs, documentaries, and corporate explainers — used to mean hand-keyframing shape layers and trim paths for every leg and label. With Filmit CallOuts you set a start and end point, pick a style, and the plugin generates the animated line, elbows, and labels for you in seconds. Here's the full workflow, from your first callout to a finished travel route.
What is a callout, and why animate one?
A callout is a line that connects a label or annotation to a specific point in your frame. On a map it's a route between two cities; elsewhere it's a feature highlight in a product demo, a label on an infographic, or an annotation in a tutorial. You can build them by hand in After Effects — creating shape layers, drawing paths, and keyframing trim paths — but every connector and label adds more manual work. CallOuts rigs the entire system automatically, so you spend your time on the look instead of the busywork.
This video may reference an older version of CallOuts. Features and UI may have changed since recording.
Setting up CallOuts in After Effects
Install CallOuts from Filmit Studio, then open it from Window > Extensions. The panel gives you everything you need to build and style a line:
- Targets — set the Start and Stop points that define where the line begins and ends.
- Elbows — how many bends the line has. More elbows means more curve; three is a good starting point for a natural route.
- Line Thickness & Softness — control the stroke weight and edge feathering.
- Pre-animate — generate the draw-on animation automatically instead of keyframing it yourself.
- Color Controls — recolor the line instantly to match your brand.
How do you create your first callout?
Set your targets
Click Start, then Stop, to mark where the line begins and ends. Keep your playhead at the start of the timeline before generating, so the animation builds from frame one.
Choose static or animated
Leave Animate off for a fixed line. Tick it on and pick Linear Keyframes or Easy Ease, then set your elbow count — try 3 for a gentle curve.
Generate the callout
Click Generate Callout. A static line appears instantly; an animated one draws itself on across your chosen duration, fully keyframed.
Turning it into a map animation
One of the best uses for CallOuts is a traveling route line. The workflow is the same as above, with one step up front:
- Import your map graphic and drop it into your composition.
- Use the Start and Stop targets to mark your departure and arrival points on the map.
- Increase the elbow count to bend the line around coastlines, borders, or roads.
- Generate the animated callout — CallOuts handles all the keyframing, producing a smooth traveling line that follows your path.
The result is a polished route animation for travel vlogs, journey sequences, or documentary maps, without touching a single trim-path keyframe by hand.
Customizing and refining the look
Nothing is locked in after you generate, because every element is expression-driven:
- Move points and elbows — select and drag any vertex to reshape the path.
- Adjust thickness and softness — use the sliders in the control panel.
- Change colors — recolor on the fly to match your palette.
- Rename layers — swap "Shape Layer 1" for something like "Route" or "Pin" so targets are easy to find.
Pro tip: rename your layers before refreshing the plugin — it makes selecting the right target far easier on complex maps with multiple legs.
Expert tips for a faster workflow
- Use Easy Ease on your draw-on keyframes for smoother, more natural motion.
- Randomize elbow movement for an organic, hand-drawn feel.
- Chain multiple Start/Stop pairs to build complex, multi-leg routes.
- Adjust speed by scaling the keyframes in the timeline — no need to regenerate.