🎬
Multicam and sync prep
Staircase the selection so every clip has its own track, run Synchronize, then un-staircase and carry on. Two clicks either side of the job.
A small bar of buttons you keep docked, where every button does one tedious job instantly. Adjustment layers, freeze frames, QC passes, staircasing, un-nesting, loops, wiggles, frame grabs. No dialogs, no menu digging.
Shortcut is free and awesome. No subscription, no payment, ever. While you're here, be sure to check out our pro tools, all included with Filmit Studio.
No account and no API keys needed. Installing Shortcut is one click in Filmit Studio.
Watch the Demo
Every button on the bar, what it does, and the Shift variant hiding behind it, in Premiere Pro and After Effects.
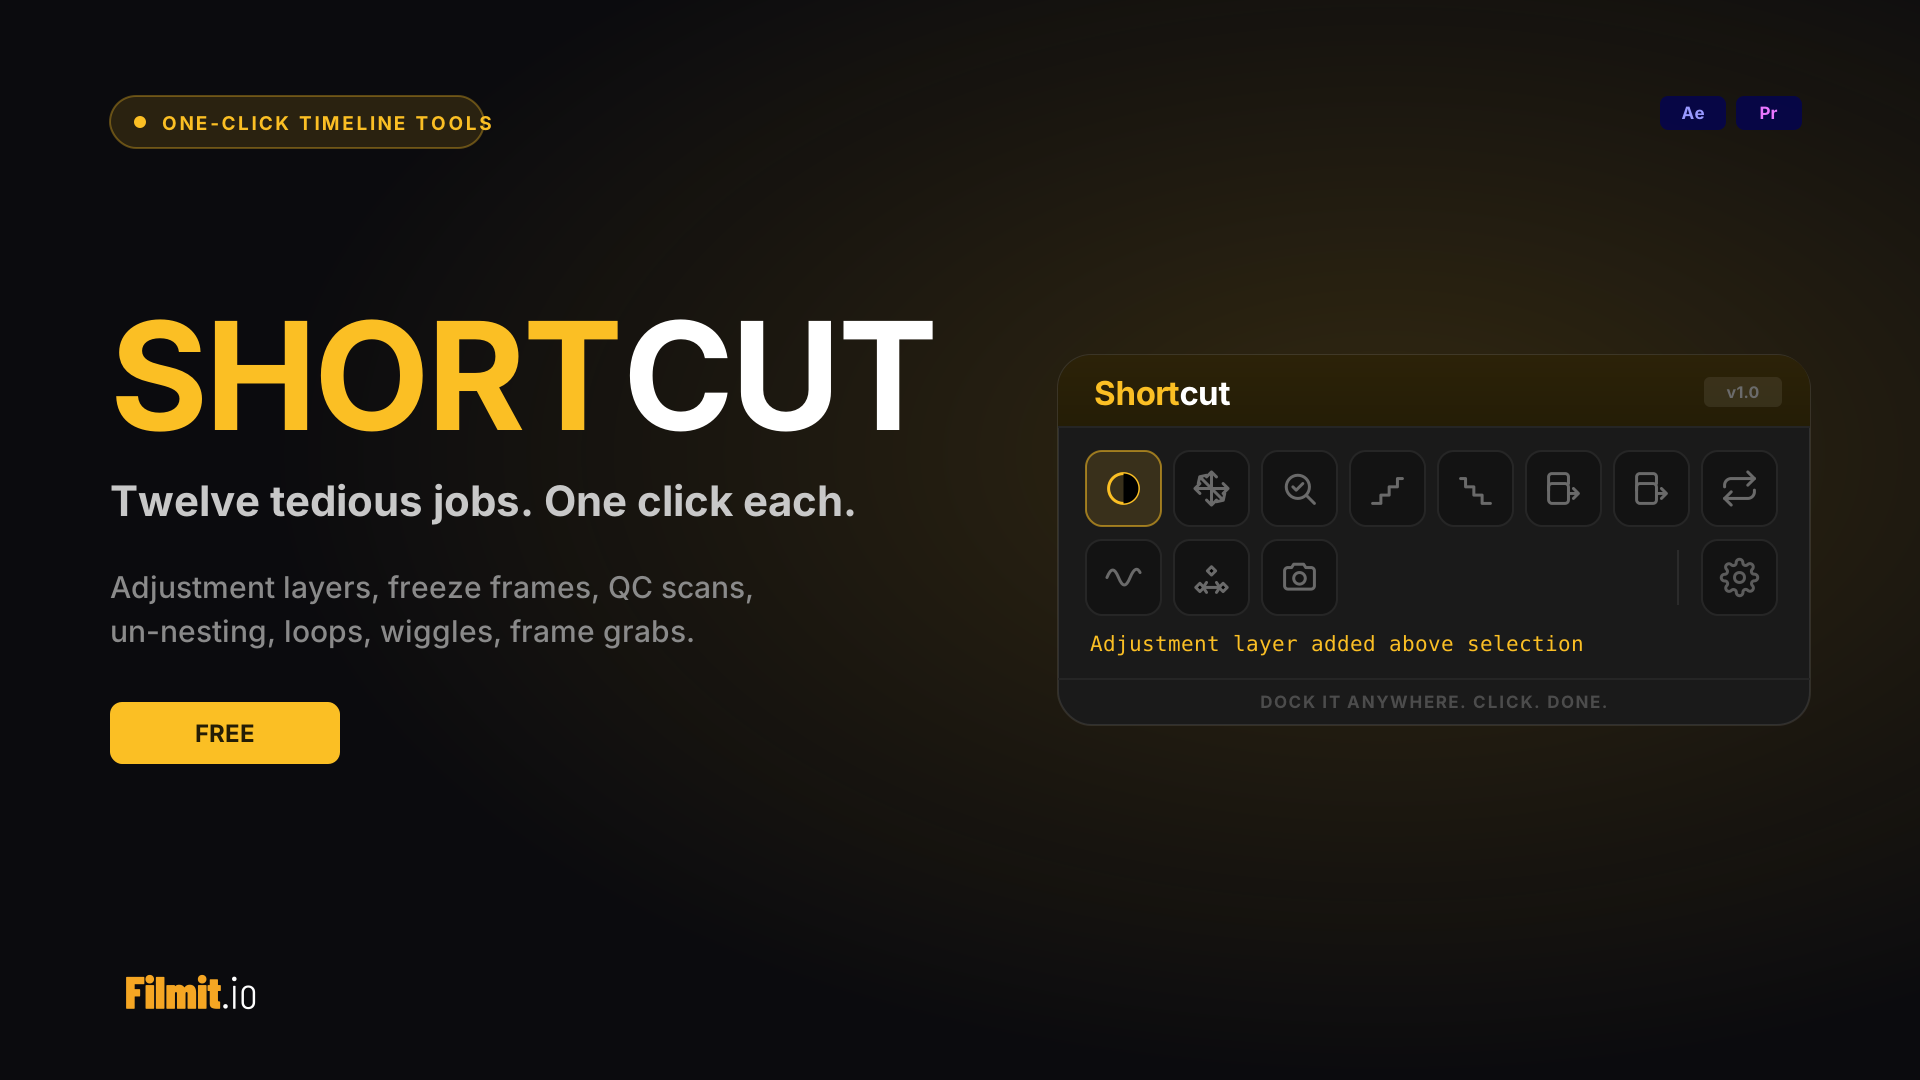
New adjustment layer, size it, drag it above the selection. Add frame hold, move it up a track, trim it. Every one of these is a chain of clicks for a result you already pictured.
Spreading clips onto their own tracks so Synchronize will run. Packing them back down afterwards. Cracking open a nest to fix one thing inside it.
Scrubbing the whole timeline hunting for a gap, a clip that went offline, or a layer someone disabled and forgot about. Usually right before delivery.
One adjustment layer sized to your selection, ready for the grade or the effect.
Holds the frame under the playhead on the track above. The original is left untouched.
Drops a marker at every problem it finds: gaps, offline or missing media, and disabled clips or layers.
Sends each selected clip to its own track so Synchronize can do its job. Times never change.
Packs the selected clips back down onto the lowest free tracks when you are done.
Replaces a nested sequence with the clips that were inside it, in place.
Explodes a precomp back into the comp with timing and layer order preserved.
Loops the selected footage or precomp layers out to the end of the comp, with no stutter at the seam.
Drops a wiggle expression onto the selected properties, or onto Position if you selected none.
Flips the selected keyframes in time, eases included, so the move plays backwards.
Saves the current frame beside your project as a PNG or a JPEG.
Hold Shift as you click and the button does the related version of the same thing. Same muscle memory, twice the coverage, nothing extra to learn.
In Premiere, Ctrl-clicking the adjustment layer button drops one over every cut in the selection.
Every shortcut has an on/off toggle in settings, so the bar only shows the ones you actually use. Turn off eight of them and you have a three-button strip that fits in a corner of your workspace.
The defaults are yours too, so the buttons behave the way you would have set them up by hand anyway.
Shortcut is a panel in Premiere Pro and a panel in After Effects, and it knows which one it is sitting in. Premiere gets the sequence tools, After Effects gets the comp tools, and the three shared buttons work the same in both.
Staircase the selection so every clip has its own track, run Synchronize, then un-staircase and carry on. Two clicks either side of the job.
Run a QC scan before you export. Gaps, offline media, and disabled clips all get a marker, so you fix them instead of discovering them in the render.
One adjustment layer over the selection, or one per cut, without leaving the timeline. No dialog, no dragging it into place.
Loop a texture or a precomp out to the end of the comp, ping-pong it if it needs to breathe, and move on to the next layer.
Un-precompose to get at what is inside, reverse a set of keyframes to play a move backwards, wiggle a property when a shot needs life.
Grab the current frame as a PNG or JPEG saved beside your project, then Shift-click to reveal it and send it on.
The free desktop app for Mac and Windows. It installs and manages your plugins.
One click from the tools list. No subscription, no payment, ever.
Launch Premiere Pro or After Effects and open Shortcut from the Window menu.
Park the strip beside your timeline. Trim it down in settings if you only want a few buttons.
Yes. Shortcut is out now and it is free. Download Filmit Studio, our free desktop app for Mac and Windows, then install Shortcut from the tools list in one click. No subscription and no payment, ever.
Premiere Pro and After Effects, on Mac and Windows, as a dockable panel. The bar adapts to whichever app it is open in: three shortcuts work in both, three are Premiere Pro only, five are After Effects only.
Yes, completely. No subscription and no payment. Download Filmit Studio (also free), and when Shortcut ships you install it in one click. A Studio subscription unlocks our pro tools, but Shortcut itself will cost nothing.
Shift-clicking runs the related version of that button. Shift on the adjustment layer gives you one per clip instead of one over the selection, Shift on freeze frame holds to the end of the clip, Shift on QC scan clears the markers, Shift on loop makes it ping-pong, and Shift on screenshot reveals the saved file. In Premiere, Ctrl-clicking the adjustment layer button places one over every cut.
Yes. Every shortcut has an on/off toggle in settings, so you can pare the bar down to just the two or three you reach for. Settings is also where you set the defaults: freeze hold length, adjustment layer padding, wiggle frequency and amount, and screenshot format and destination.
In Premiere it markers up gaps in your video tracks, offline or missing media, disabled clips, and stub clips. In After Effects it markers up missing footage, disabled layers, and layers sitting entirely outside the comp. Nothing is moved, trimmed, or deleted, and Shift-clicking the same button clears the markers again.
No. The hold is placed on the track above and your original clip is left exactly as it was, so you can slide or delete the freeze without touching the edit underneath it.
No. Shortcut only does things you could have done by hand, so the results are ordinary adjustment layers, frame holds, markers, keyframes, and expressions. The project opens and renders anywhere, with or without Shortcut installed.
In After Effects, yes: each shortcut is wrapped in a single undo group, so one Ctrl+Z or Cmd+Z puts things back. Premiere has no equivalent, so a shortcut that rearranges several tracks there can take a few undo presses to walk back.
Three steps and you are up and running with Shortcut, right inside your editor today. Totally free.
Grab the free desktop app for Mac or Windows. It installs and manages your plugins.
One click from the tools list. No subscription, no payment, ever.
Paste a free API key in the plugin, Studio, or your dashboard, and start creating.