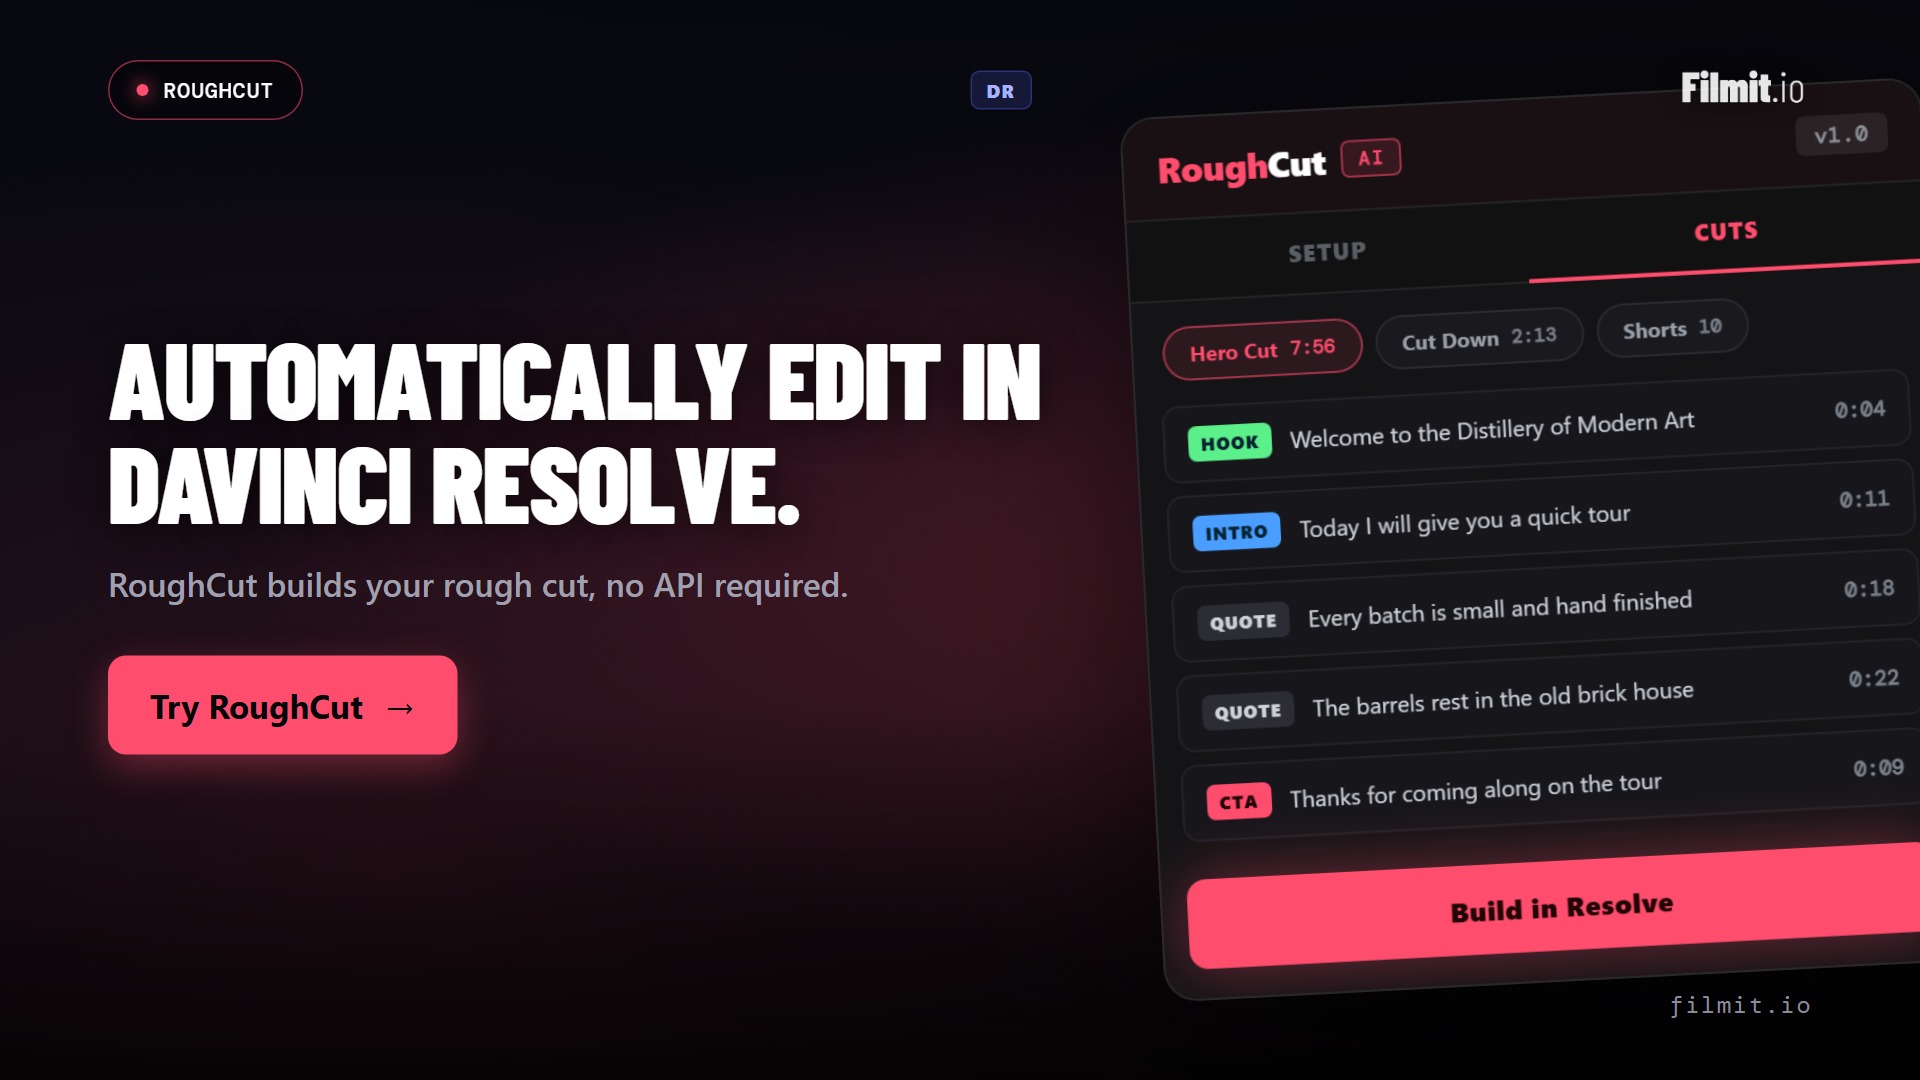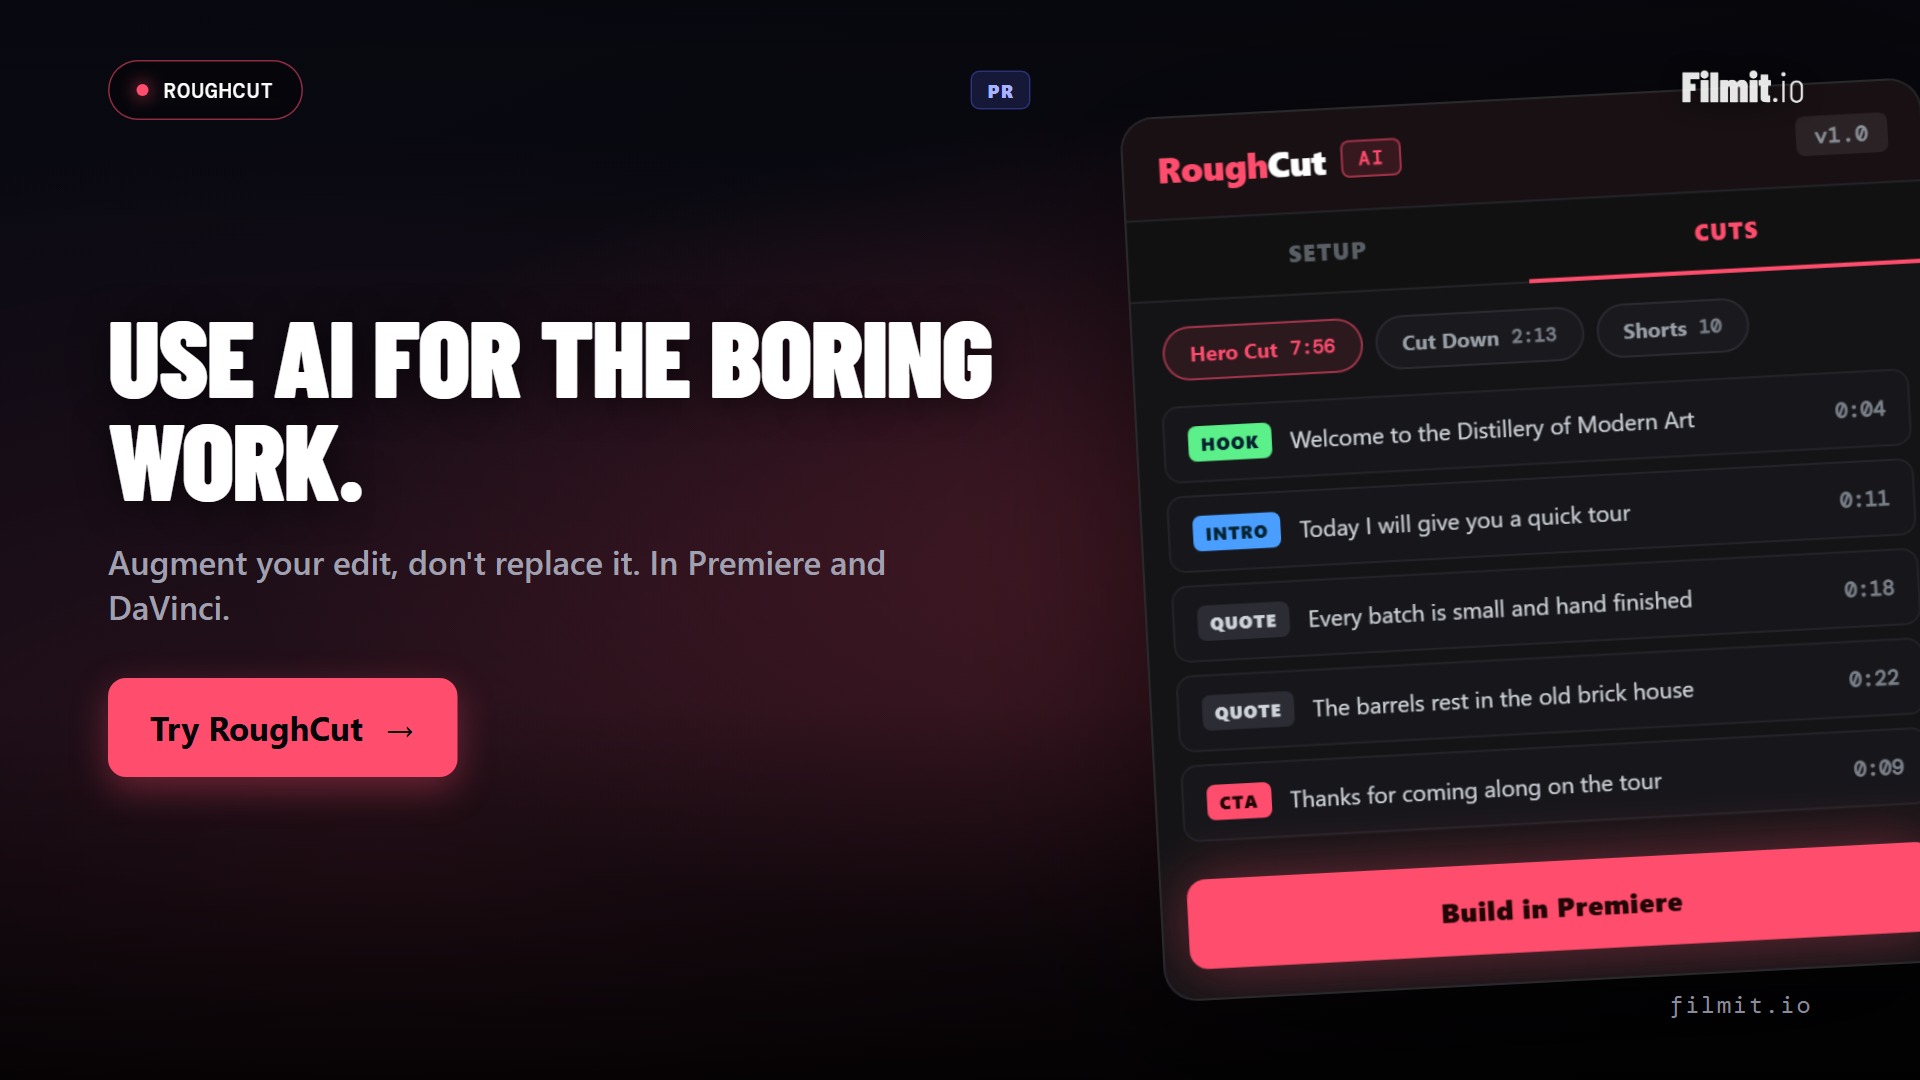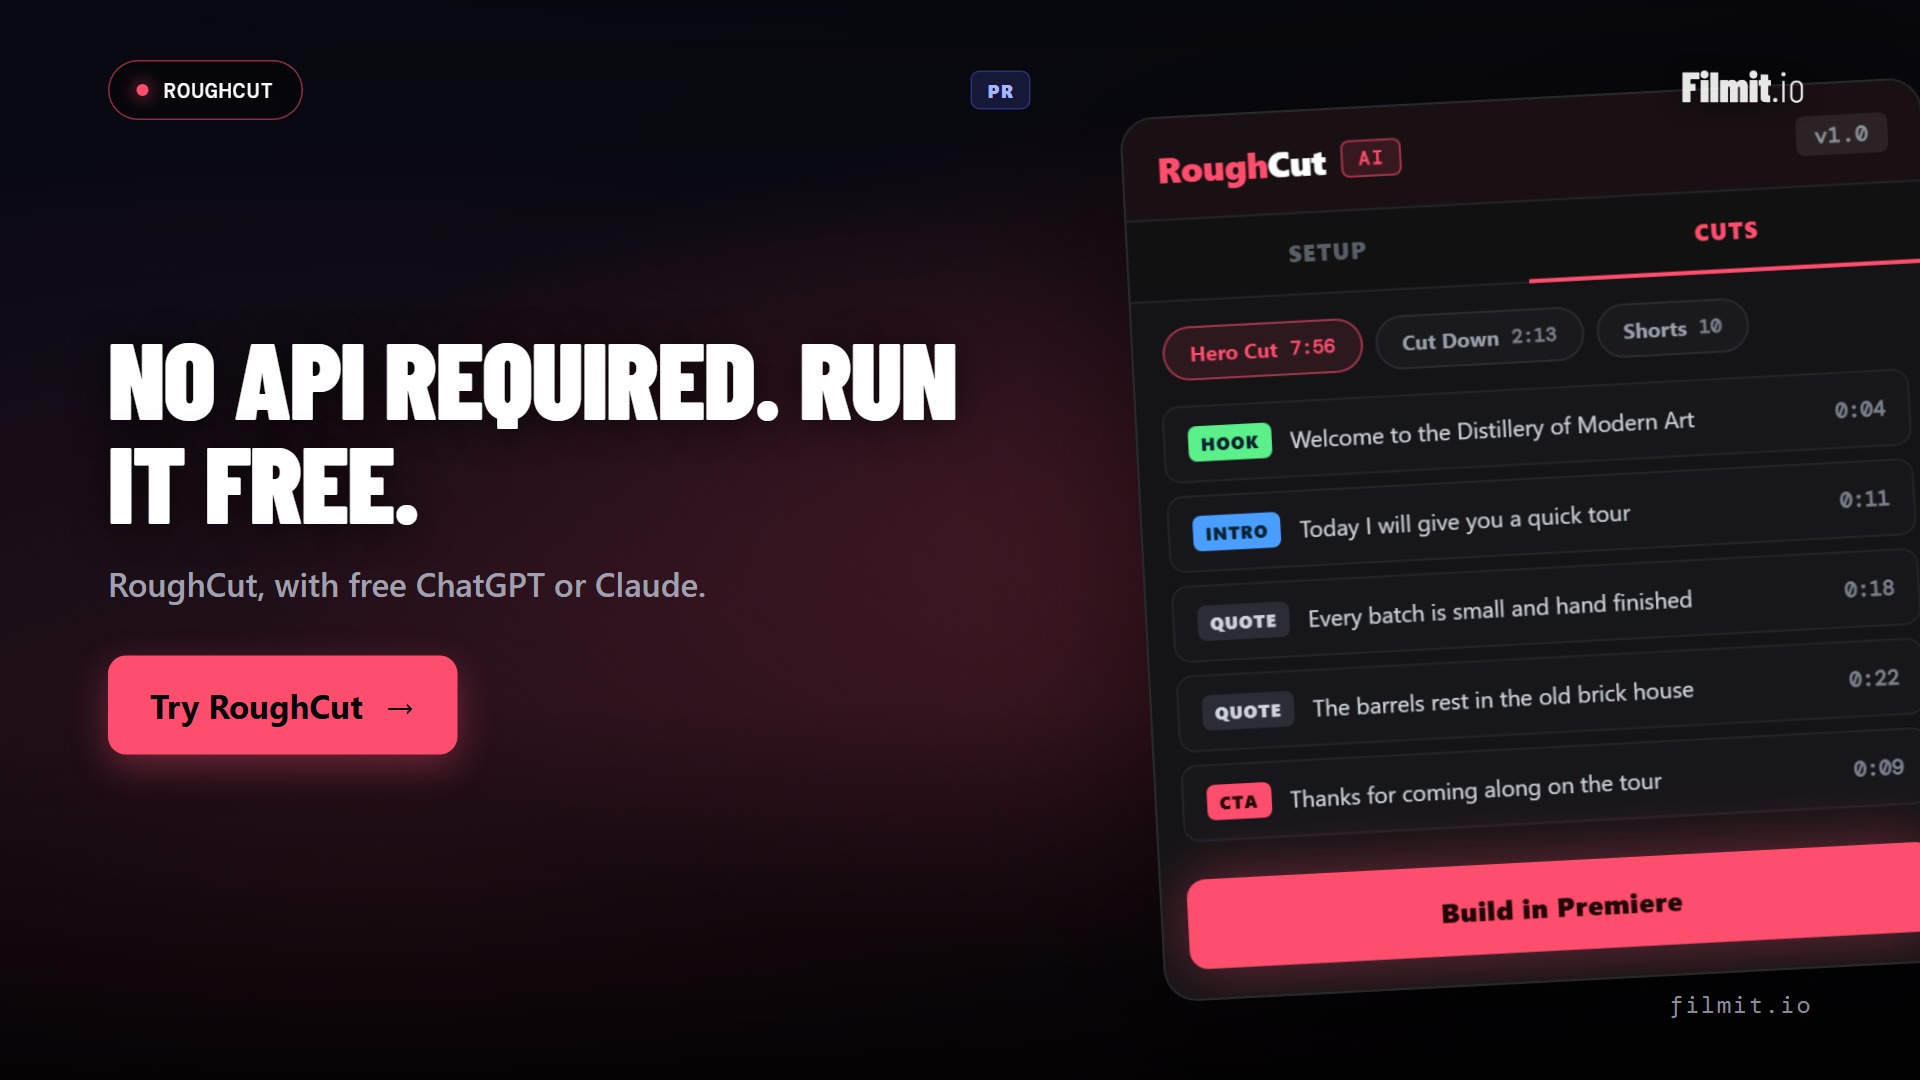
The Matrix is twenty-five years old and editors are still chasing its color palette. Every time a cyberpunk short, a hacker vlog, or a tech-product trailer drops on YouTube, you can spot the influence: green-tinted shadows, crushed blacks, the feeling that the whole frame is one keystroke away from a system error. It is one of the most copied looks in modern cinema for good reason. The grade reads instantly as digital, artificial, watchful. Once your eye locks onto it, you cannot unsee it.
The good news is the look is built on two ingredients that are easy to dial in if you know where to push. Below is the Lumetri recipe in Premiere Pro, plus the faster path if you are working against a deadline.
The Two Ingredients
Bill Pope, the DP on The Matrix (1999), used a film lab process called Bleach Bypass on the negative for scenes inside the simulation. The technique skips a wash in development, leaving silver halides in the emulsion. The result is reduced saturation, lifted shadows, and a notably higher contrast print. Combined with a green color-timing pass, every shot inside the Matrix landed as cold, processed, and unreal. Scenes set in the real world were warmer and softer by comparison.
You are recreating two effects: high-contrast desaturation and a green push in the shadow tones. Everything else is taste.
Step 1: Crank Contrast, Crush Blacks
Open Lumetri Color. In the Basic Correction panel, set Contrast +30 to +50. Pull Blacks down to around -30. The footage should feel a touch harsh. That is correct. The Matrix look is not subtle.
Optional: drop into the RGB Curves tab and lift the bottom-left point of the master curve slightly. This keeps the shadows from going completely black and gives them room for the green tint you are about to push.
Step 2: Push Shadows Green
In Lumetri’s Color Wheels & Match panel, drag the Shadows wheel toward the lower-left quadrant (between yellow and green). Start with a small move and watch what happens to the dark areas of your frame. The shift should feel sour, almost sickly.
If you want the look to bleed into the midtones too, do a softer green push on the Midtones wheel. Leave Highlights mostly untouched. If anything, push highlights slightly toward steel-blue to amplify the artificial feeling.
Step 3: Strip Saturation
Back in Basic Correction, drop Saturation to around 75. The Matrix is not a colorful film. Anything that looks naturally warm (skin, wood, fabric) needs to read as drained. If your footage was shot with warm practicals (tungsten lamps, sunset), you may need to push saturation down further.
If you have HSL Secondary available, target the orange/red range (skin) and pull its saturation down another 10 to 20 percent. This is the trick most tutorials miss. The Matrix grade reads as inhuman partly because faces lose their natural warmth.
Step 4: Optional Bleach Bypass Simulation
For the full Bleach Bypass feel, add a second Lumetri instance above the first. In Creative, dial Faded Film to about 30, then push Sharpen +20. The Faded Film slider raises the black point in a way that mimics retained silver in the emulsion. It is a cheat, but it lands close to the real effect for most footage.
Where the Look Falls Apart
The green push is unforgiving on certain footage. Daylight exteriors with a lot of sky will turn an unpleasant olive. Bright outdoor skin tones go grey-green and look unwell. The look is built for interior, controlled, often artificial lighting. If you shot a coffee-shop interview at 3 PM with windows in frame, this grade will fight you.
The grade also flattens. If your raw cut already feels muddy, the desaturation pass will make it muddier. Make sure your exposure and white balance are dialed before you start the color pass.
The LUT Shortcut
Once you have done the manual grade three or four times, you can build it into a LUT and reuse it. That is the workflow shortcut every working colorist eventually lands on. We baked one for the Filmit collection. Drag the slider below to see it on a beach reference scene (an honest stress test, since outdoor footage is where this look gets tricky).
The Tech Noir pack has 20 variants of this look, from heavy crushed-blacks for trailers down to softer matte versions that hold up better on faces. Browse the full pack here.
One More Thing
If you are grading log or raw footage (S-Log3, V-Log, LogC, BRAW), apply a log-to-Rec.709 conversion first, then layer this grade on top. Creative LUTs assume Rec.709 input. Stacking a creative LUT on raw log will produce muddy, broken color. We wrote a separate piece on this exact mistake if you want the full breakdown.
Filmit Studio. $20/month. Every LUT included.
Tech Noir, Teal & Orange, Hollywood, 90+ more categories. Plus every plugin, overlay, and course. One subscription.