Composers do not fight stock music libraries. They use them. Before a director commits to a $40,000 original score, the temp music goes on the timeline. Half a dozen tracks from Artlist, Musicbed, or APM get tried against the cut. The director and editor argue about feel. A mood gets locked. Then the composer writes original cues that hit the same beats. The stock track was never the final answer. It was the conversation tool that got everyone to agreement on direction.
LUTs work the same way for color. Used right, a creative LUT is a reference, not a finishing move. It is the tool you use to figure out what the project should look like before you commit to making it look that way. The colorist still does the work. The LUT just makes it possible to talk about the work in the first place.
What a LUT Actually Is
Strip the marketing and a LUT is one thing: a mathematical transformation that takes a set of input colors and outputs a different set of colors. It is a list. Apply this red, get that red. Apply this shadow, get that shadow. The transformation is consistent across every frame you apply it to.
What that gives you is a starting direction. A LUT can establish contrast, color balance, and saturation in one click. What it cannot do is make local decisions. It cannot lift the shadows on one face that came in dark. It cannot warm an exterior shot that was lit cooler than the interior next to it. It cannot do the work a colorist does between shots.
The Working Colorist’s Workflow
Walk into any post-production house and ask how a colorist starts a project. The answer is almost always the same. They drop a creative LUT on a hero frame, screen it for the director, and get a reaction. The reaction is the data. If the director says "warmer", the LUT comes off and the primary corrections push warm. If the director says "yeah, that", the LUT might stay as a starting node, or it might come off and the colorist rebuilds the same direction shot-by-shot with primaries and secondaries.
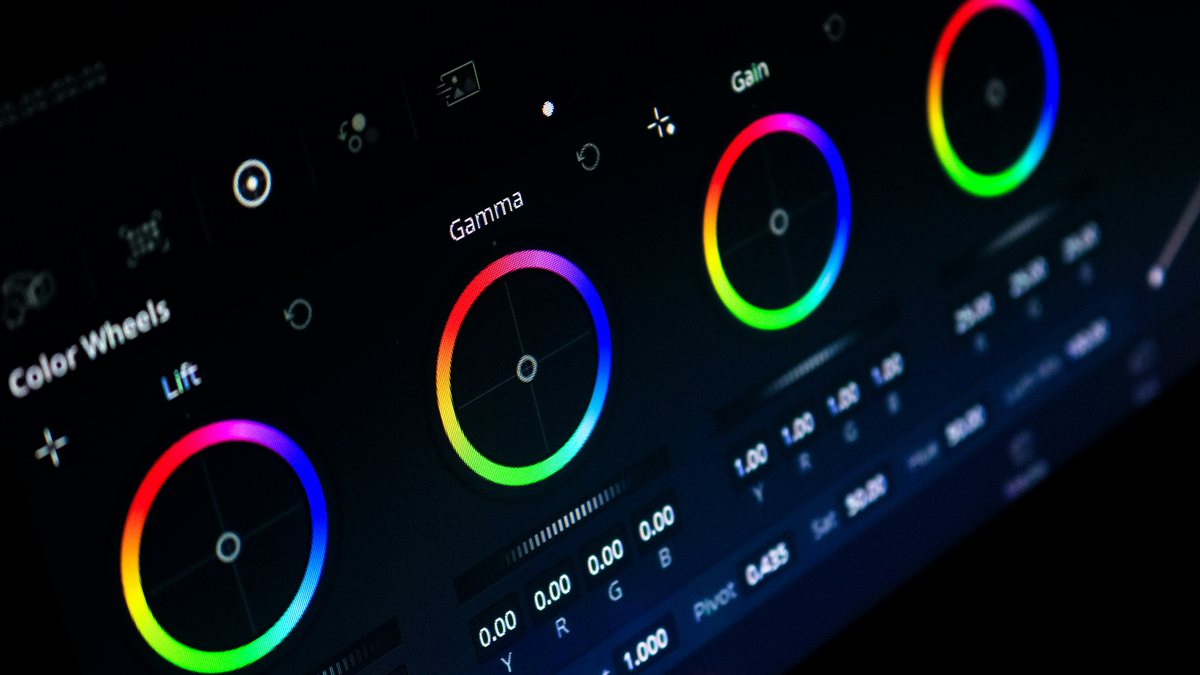
In DaVinci Resolve this is structural. Node graphs make it explicit: node one might be a LUT for direction, node two through six are the colorist’s own corrections, node seven might be a film emulation or output transform. The LUT is the starting frame of reference, but the work in the middle is what gets paid for.
The trap is treating the LUT as the finished color. A LUT applied straight, with no further corrections, gives every shot the same global treatment. Exposure differences between takes do not get matched. Cameras with different sensor characteristics fight each other. Skin tones drift between cuts. The look reads as "filter" instead of "grade" because no human eye intervened between the LUT and the export.
When LUTs Go All the Way
This is the honest part. There is a large category of work where the project does not have budget or schedule for a full hand-grade. Social cuts that need to ship in 90 minutes. Wedding videos delivered on a weekend turnaround. YouTube tutorials shot in one location with consistent lighting. Music videos with tight delivery windows. For this kind of work, a well-applied LUT plus 20 minutes of light shot-matching is the entire color pass. And that is fine. The audience for those formats is not parsing whether the shadows roll off perfectly. They are watching the content.
The mistake is when work that does have time and budget gets the social-cut treatment. A short film with a $30K production budget deserves more than a LUT and a fade. A wedding documentary the couple will watch for the next forty years deserves at least an evening of per-scene correction. Pick the level of finish that matches the project.
What LUTs Cannot Do
A LUT will not match two cameras that shot the same scene with different sensors. It will not save underexposed footage where the shadows have no data. It will not hide a green-fluorescent practical that needs a separate fix. It will not replace a colorist’s eye, because the colorist’s value is in the per-shot judgement calls, not in the global look.
The mature take is to know which problems are LUT-solvable and which are not. Global look direction: LUT-solvable. Per-shot exposure and white balance: not LUT-solvable, needs primaries. Cross-camera matching: not LUT-solvable, needs secondaries or shot-specific transforms. Bad source footage: not LUT-solvable, no amount of color work fixes what the lens did not capture.
How the Filmit Library Is Organized
This is why the Filmit LUT library is structured by film inspiration rather than abstract names. When you can see "this is the Pulp Fiction direction" or "this is the Sicario direction" or "this is the John Wick direction", you can have the same conversation with a director or client that a colorist would have. The category is the direction. The 20 LUTs inside each category are intensity variants, so you can pick how hard to push the look.
Drag the slider to see Cinematic Matte Shadow Teal on a portrait reference. This is the soft, working-colorist starting point. From there, a working colorist would refine for skin tones, balance highlights, and shot-match across the project.
The Real Takeaway
A LUT is not a shortcut for not knowing color. A LUT is the conversation starter that lets you know what color decisions to make. The decisions still come from you. The shot-matching still comes from you. The taste still comes from you.
Use LUTs the way working colorists use them. As reference. As direction. As the first node in a chain of decisions that you are still making with your own eye.
Filmit Studio. $20/month. Every LUT included.
90+ film-inspired LUT categories, organized so the creative direction is obvious from the name. Plus every Filmit plugin, overlay, and course.